Seek (Search for a Specific Time)
Live Video
1.While viewing live video, press the Seek icon. The keyboard LCD displays the date field.
2.Enter the date (MMDDYYYY), and then press the Seek icon again. The keyboard LCD displays the time field.
3.Enter the time (HHMMSS), and then press the Seek icon again. The video from the specified time setting plays.
Recorded Video
1.While viewing recorded video, press the Seek icon. The keyboard LCD displays the date field.
2.Enter the date (MMDDYYYY), and then press the Seek icon again. The keyboard LCD displays the time field.
3.Enter the time (HHMMSS), and then press the Seek icon again. The video from the specified time setting plays.
Set Video Lock
NOTE: This functionality is only available with recorded video.
You can use video lock to save a portion of recorded video and protect it from being deleted as a part of the standard NVR recording process. (Refer to your NVR manual for a description of how recorded video is deleted or overwritten.)
1.While viewing recorded video, advance or rewind the video to the point that you want the lock function to begin.
Or, you can use the search functions (Next Event, Previous Event, or Seek) to find the recording that you want to lock.
2.Select Pause to stop the video at the point that you want to the lock function to begin.
3.Press the Exit icon to return to the default menu, and then press the Define icon.
4.Enter your
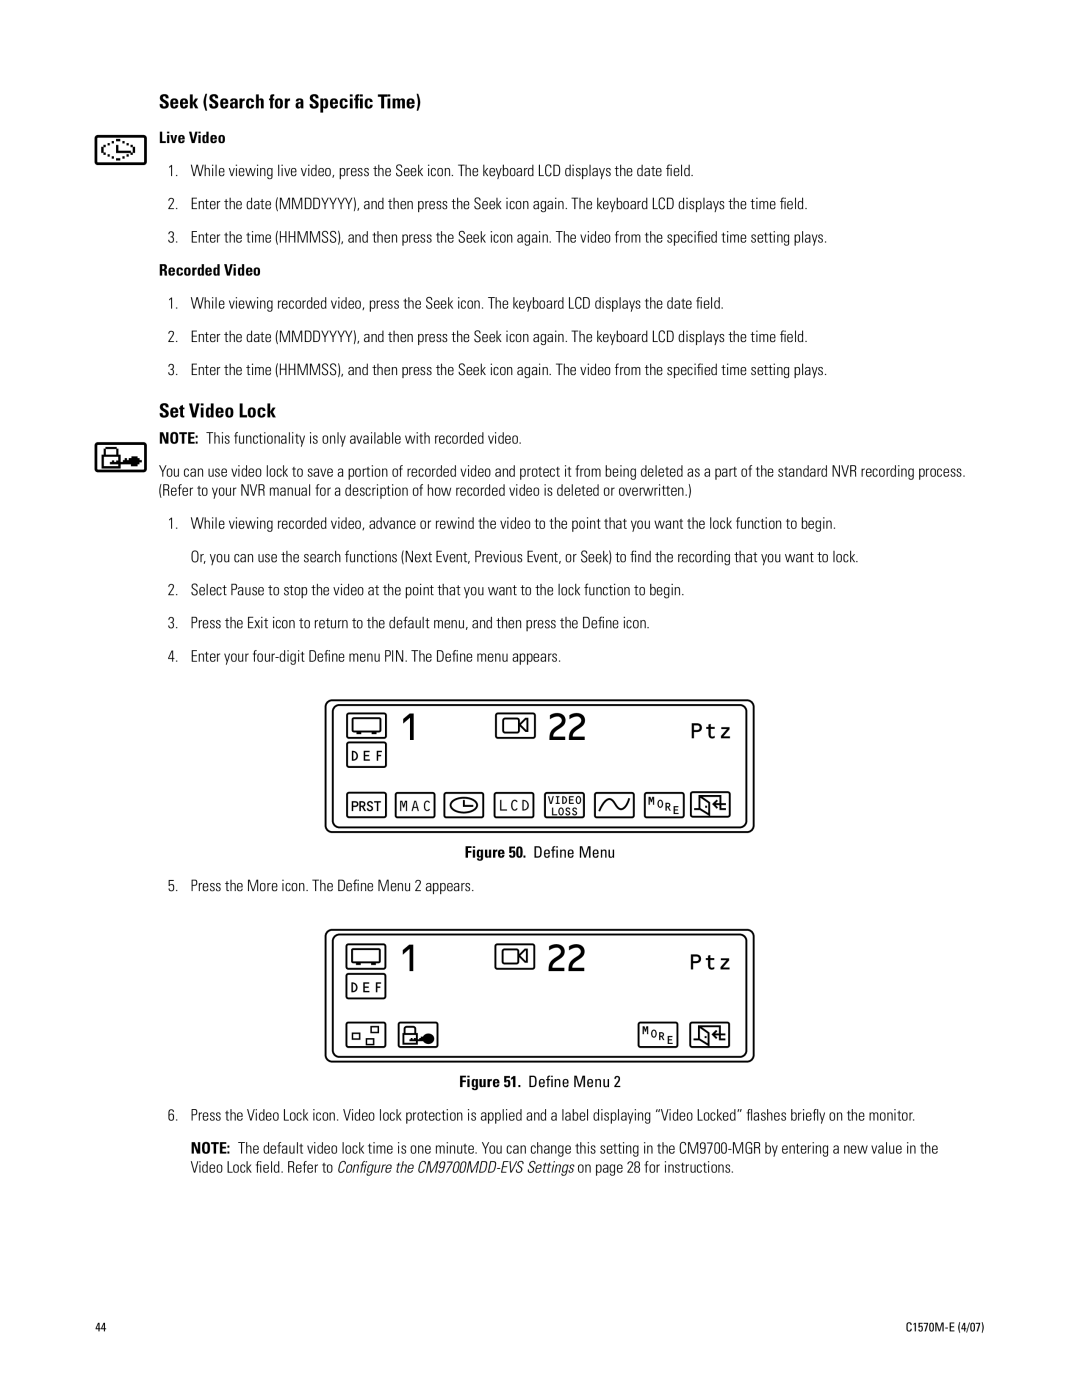
1
DEF
PRST
22 Ptz
VIDEO MO
LOSSRE
Figure 50. Define Menu
5. Press the More icon. The Define Menu 2 appears.
1 | 22 | Ptz |
DEF
MORE
Figure 51. Define Menu 2
6.Press the Video Lock icon. Video lock protection is applied and a label displaying “Video Locked” flashes briefly on the monitor.
NOTE: The default video lock time is one minute. You can change this setting in the
44 |