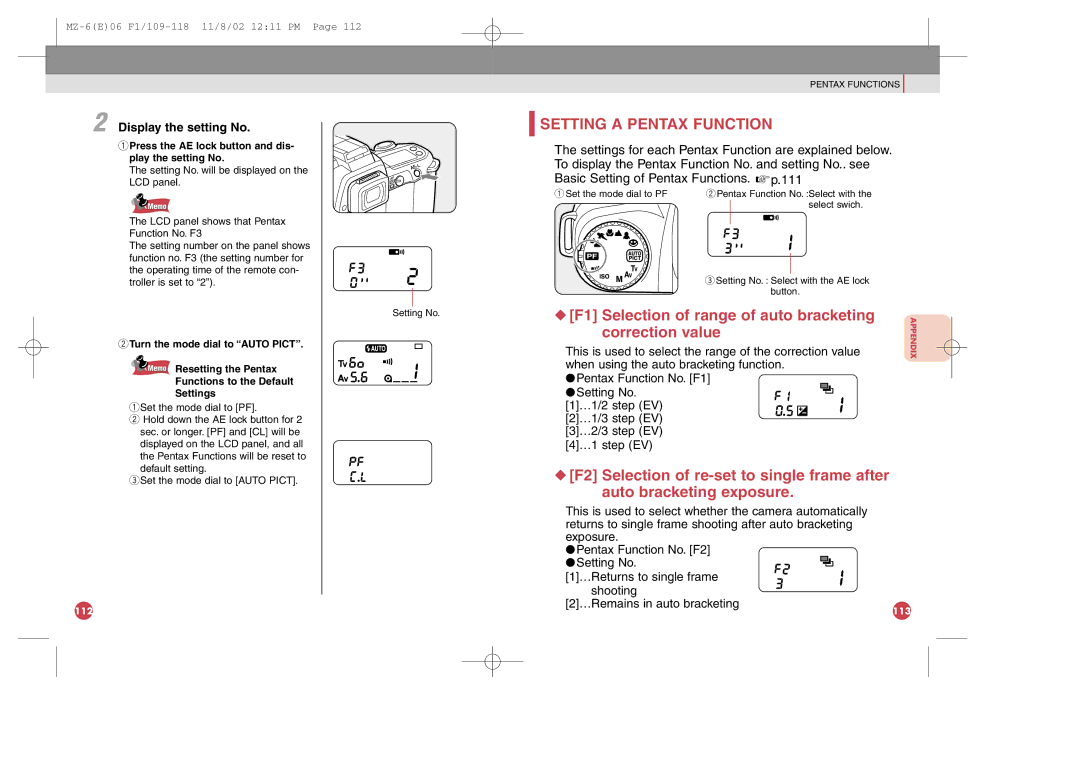
2 Display the setting No.
qPress the AE lock button and dis- play the setting No.
The setting No. will be displayed on the LCD panel.
![]() Memo
Memo
The LCD panel shows that Pentax Function No. F3
The setting number on the panel shows function no. F3 (the setting number for the operating time of the remote con- troller is set to “2”).
wTurn the mode dial to “AUTO PICT”.
![]() Memo Resetting the Pentax
Memo Resetting the Pentax
Functions to the Default
Settings
qSet the mode dial to [PF].
wHold down the AE lock button for 2
sec. or longer. [PF] and [CL] will be displayed on the LCD panel, and all the Pentax Functions will be reset to default setting.
eSet the mode dial to [AUTO PICT].
112
PENTAX FUNCTIONS
 SETTING A PENTAX FUNCTION
The settings for each Pentax Function are explained below.
To display the Pentax Function No. and setting No.. see
Basic Setting of Pentax Functions. ![]()
![]() p.111
p.111
qSet the mode dial to PF | wPentax Function No. :Select with the | |
|
| select swich. |
|
|
|
eSetting No. : Select with the AE lock button.
Setting No. | ◆ [F1] Selection of range of auto bracketing | APPENDIX |
| This is used to select the range of the correction value | |
| correction value |
|
| when using the auto bracketing function. |
|
●Pentax Function No. [F1] ●Setting No.
[1]…1/2 step (EV) [2]…1/3 step (EV) [3]…2/3 step (EV) [4]…1 step (EV)
◆ [F2] Selection of
This is used to select whether the camera automatically returns to single frame shooting after auto bracketing exposure.
●Pentax Function No. [F2]
●Setting No. [1]…Returns to single frame
shooting [2]…Remains in auto bracketing
113