•SIDE AV: Headphone jack, Composite video and audio, and
•CVI 1: Component video (Y Pb Pr) with Component audio input.
•CVI 2: Component video (Y Pb Pr) with Component audio input.
•VGA:Video Graphics Array with audio input.
•HDMI 1: High Definition Multimedia Interface input.
•HDMI 2: High Definition Multimedia Interface input.
•Side HDMI: High Definition Multimedia Interface input.
Refer to Quick Start Guide for connection instructions.
2.7Wall-mount the TV
BWARNING:
Wall mounting the TV should only be performed by qualified installers. Konin- klijke Philips Electronics N.V. bears no responsibility for improper mounting that results in accident or injury.
Use VESA-compatible bracket
1.Purchase a
2.Remove the TV stand.
DNote:
These instructions are only applicable to TV models with mounted stands. If your TV stand is not mounted, see Secure the
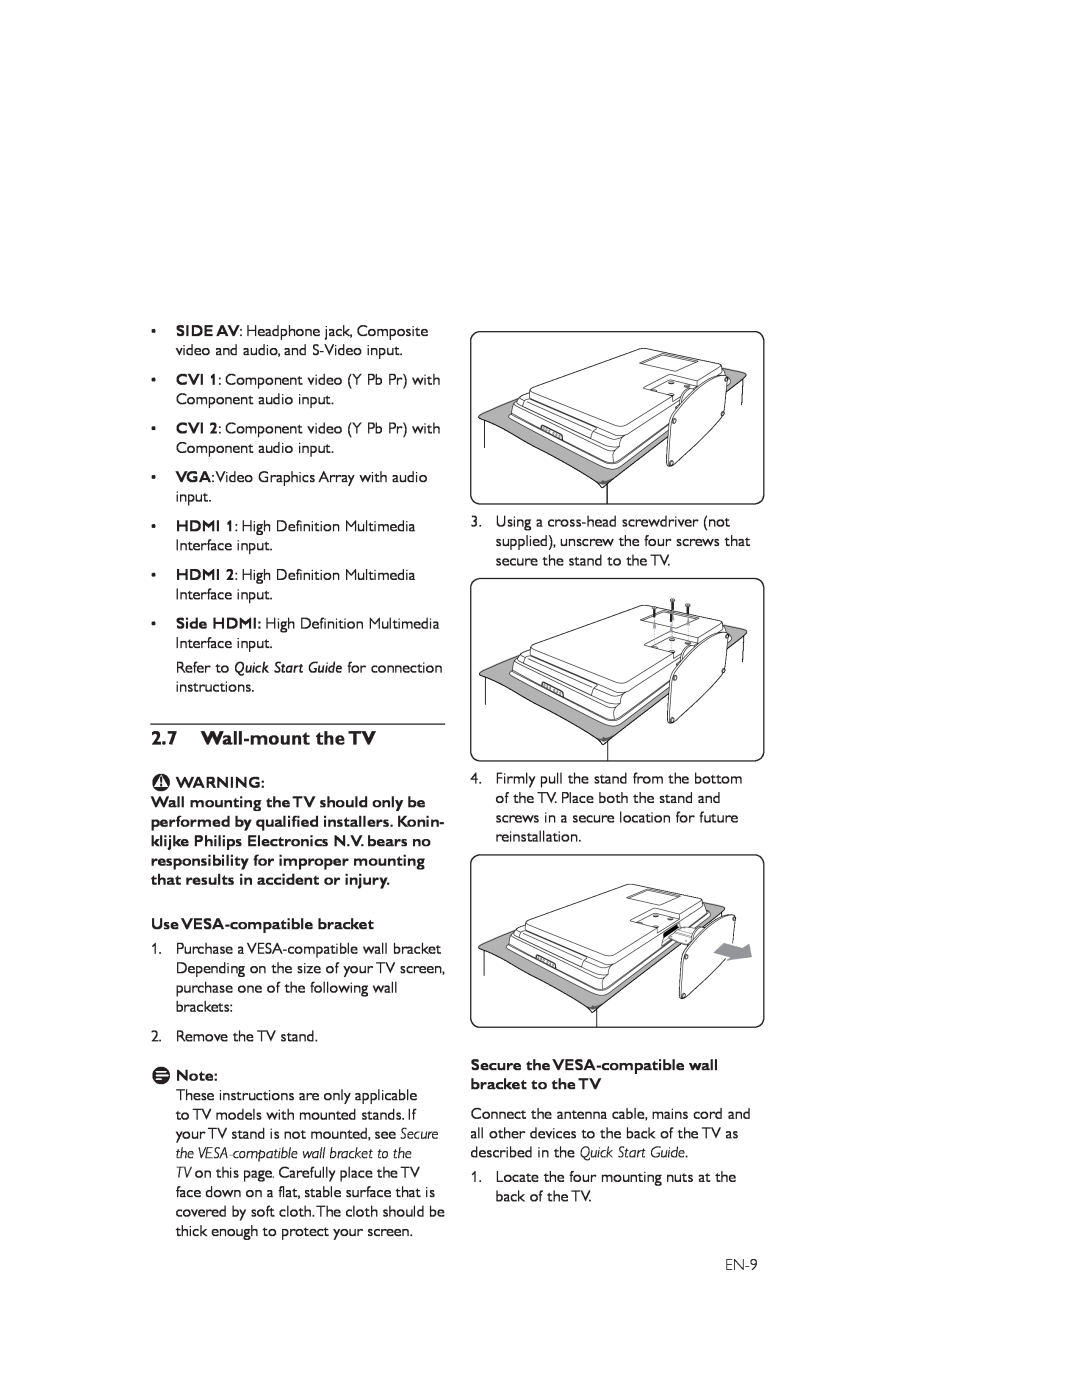
3.Using a
4.Firmly pull the stand from the bottom of the TV. Place both the stand and screws in a secure location for future reinstallation.
Secure the VESA-compatible wall bracket to the TV
Connect the antenna cable, mains cord and all other devices to the back of the TV as described in the Quick Start Guide.
1.Locate the four mounting nuts at the back of the TV.