Europa User Guide | Arpeggiator |
Polyrhythm is independently selectable for upper and lower arpeggiators, and settings for each are stored in the preset. The arpeggiators keep track of all notes held and feed the note count to the polyrhythm module (indicated by the purple arrow).
When polyrhythm is disabled, the clock passes through unaltered.
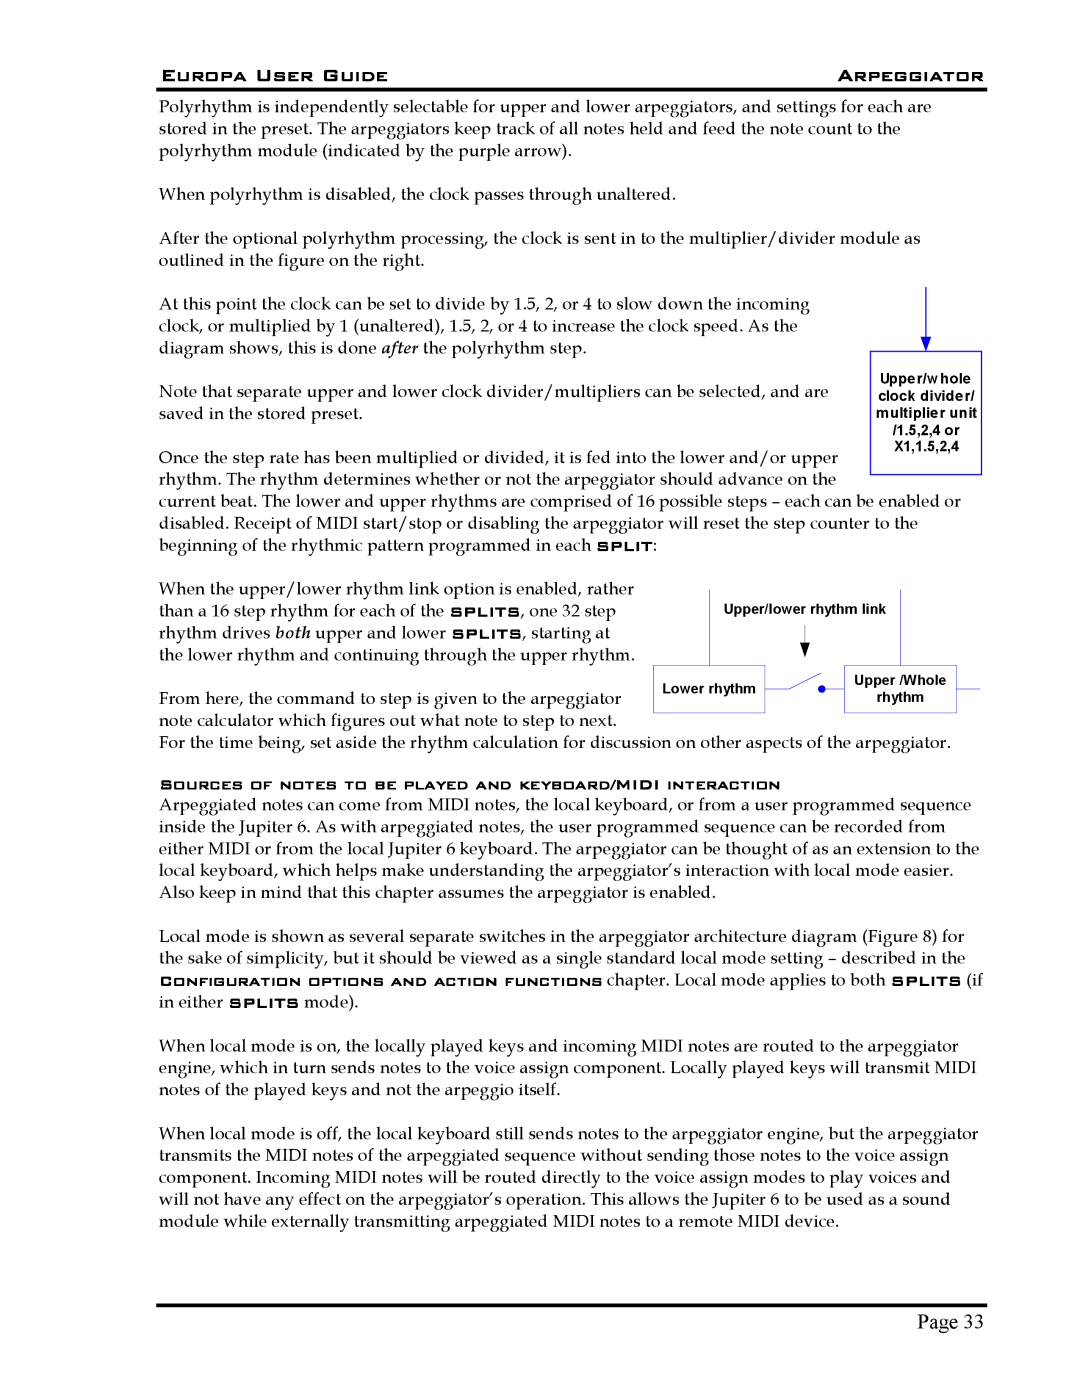
After the optional polyrhythm processing, the clock is sent in to the multiplier/divider module as outlined in the figure on the right.
At this point the clock can be set to divide by 1.5, 2, or 4 to slow down the incoming clock, or multiplied by 1 (unaltered), 1.5, 2, or 4 to increase the clock speed. As the diagram shows, this is done after the polyrhythm step.
Note that separate upper and lower clock divider/multipliers can be selected, and are saved in the stored preset.
Once the step rate has been multiplied or divided, it is fed into the lower and/or upper rhythm. The rhythm determines whether or not the arpeggiator should advance on the
current beat. The lower and upper rhythms are comprised of 16 possible steps – each can be enabled or disabled. Receipt of MIDI start/stop or disabling the arpeggiator will reset the step counter to the beginning of the rhythmic pattern programmed in each SPLIT:
When the upper/lower rhythm link option is enabled, rather than a 16 step rhythm for each of the SPLITS, one 32 step rhythm drives both upper and lower SPLITS, starting at the lower rhythm and continuing through the upper rhythm.
Upper/lower rhythm link
From here, the command to step is given to the arpeggiator note calculator which figures out what note to step to next.
For the time being, set aside the rhythm calculation for discussion on other aspects of the arpeggiator.
Sources of notes to be played and keyboard/MIDI interaction
Arpeggiated notes can come from MIDI notes, the local keyboard, or from a user programmed sequence inside the Jupiter 6. As with arpeggiated notes, the user programmed sequence can be recorded from either MIDI or from the local Jupiter 6 keyboard. The arpeggiator can be thought of as an extension to the local keyboard, which helps make understanding the arpeggiator’s interaction with local mode easier. Also keep in mind that this chapter assumes the arpeggiator is enabled.
Local mode is shown as several separate switches in the arpeggiator architecture diagram (Figure 8) for the sake of simplicity, but it should be viewed as a single standard local mode setting – described in the Configuration options and action functions chapter. Local mode applies to both SPLITS (if in either SPLITS mode).
When local mode is on, the locally played keys and incoming MIDI notes are routed to the arpeggiator engine, which in turn sends notes to the voice assign component. Locally played keys will transmit MIDI notes of the played keys and not the arpeggio itself.
When local mode is off, the local keyboard still sends notes to the arpeggiator engine, but the arpeggiator transmits the MIDI notes of the arpeggiated sequence without sending those notes to the voice assign component. Incoming MIDI notes will be routed directly to the voice assign modes to play voices and will not have any effect on the arpeggiator’s operation. This allows the Jupiter 6 to be used as a sound module while externally transmitting arpeggiated MIDI notes to a remote MIDI device.
Page 33
