Getting Ready
Connecting USB Memory
1.Make sure that the
2.Connect your USB memory to the
USB MEMORY connector.
fig.ConnectUSBmem.eps
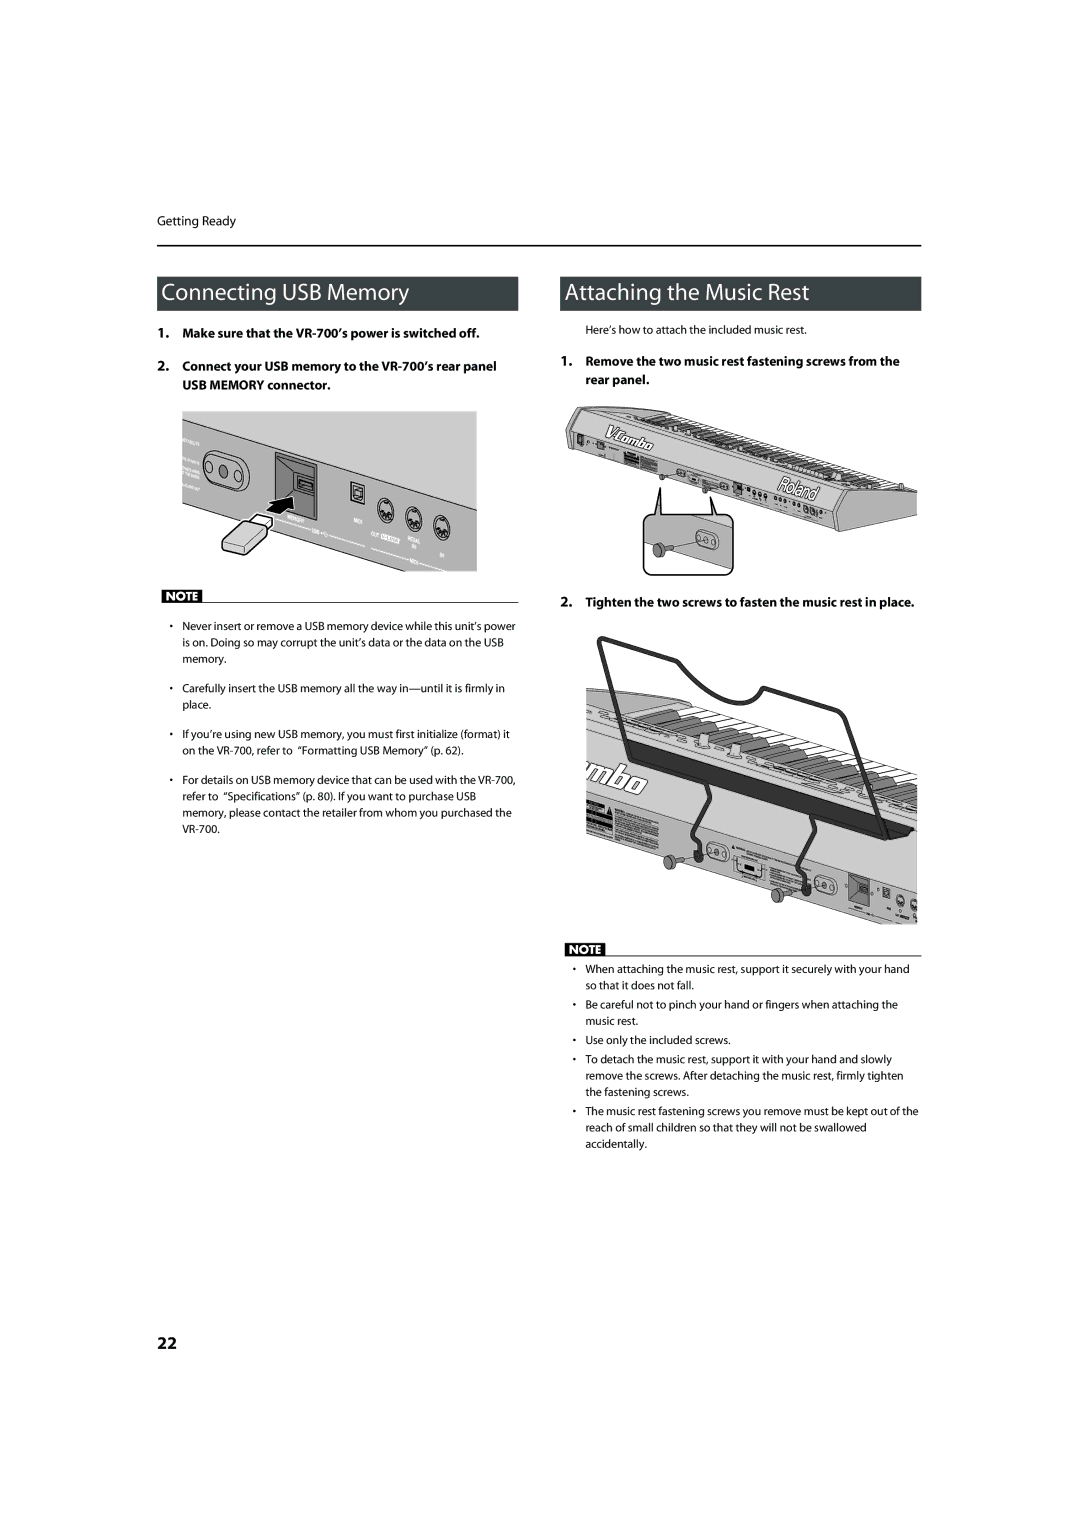
Attaching the Music Rest
Here’s how to attach the included music rest.
1.Remove the two music rest fastening screws from the
rear panel.
fig.MusicrestRemove.eps
•Never insert or remove a USB memory device while this unit’s power is on. Doing so may corrupt the unit’s data or the data on the USB memory.
•Carefully insert the USB memory all the way
•If you’re using new USB memory, you must first initialize (format) it on the
•For details on USB memory device that can be used with the
2.Tighten the two screws to fasten the music rest in place.
fig.MusicrestAttach.eps
•When attaching the music rest, support it securely with your hand so that it does not fall.
•Be careful not to pinch your hand or fingers when attaching the music rest.
•Use only the included screws.
•To detach the music rest, support it with your hand and slowly remove the screws. After detaching the music rest, firmly tighten the fastening screws.
•The music rest fastening screws you remove must be kept out of the reach of small children so that they will not be swallowed accidentally.
22