¡ÒÃÇÔ¹Ô¨©ÑÂʶҹТͧà¤Ã×Í¢èÒÂ
¤Ø³ÊÒÁÒöÇÔ¹Ô¨©ÑÂʶҹТͧà¤Ã×Í¢èÒÂàÁ×èÍà¤Ã×Í¢èÒÂÁÕ¡ÒÃàª×èÍÁµèÍ·ÕèäÁè¶Ù¡µéͧ
1.àÃÕ¡ãªé Samsung Network Manager
2. àÅ×Í¡ Auto Diagnosis ¨Ò¡àÁ¹Ù Manage
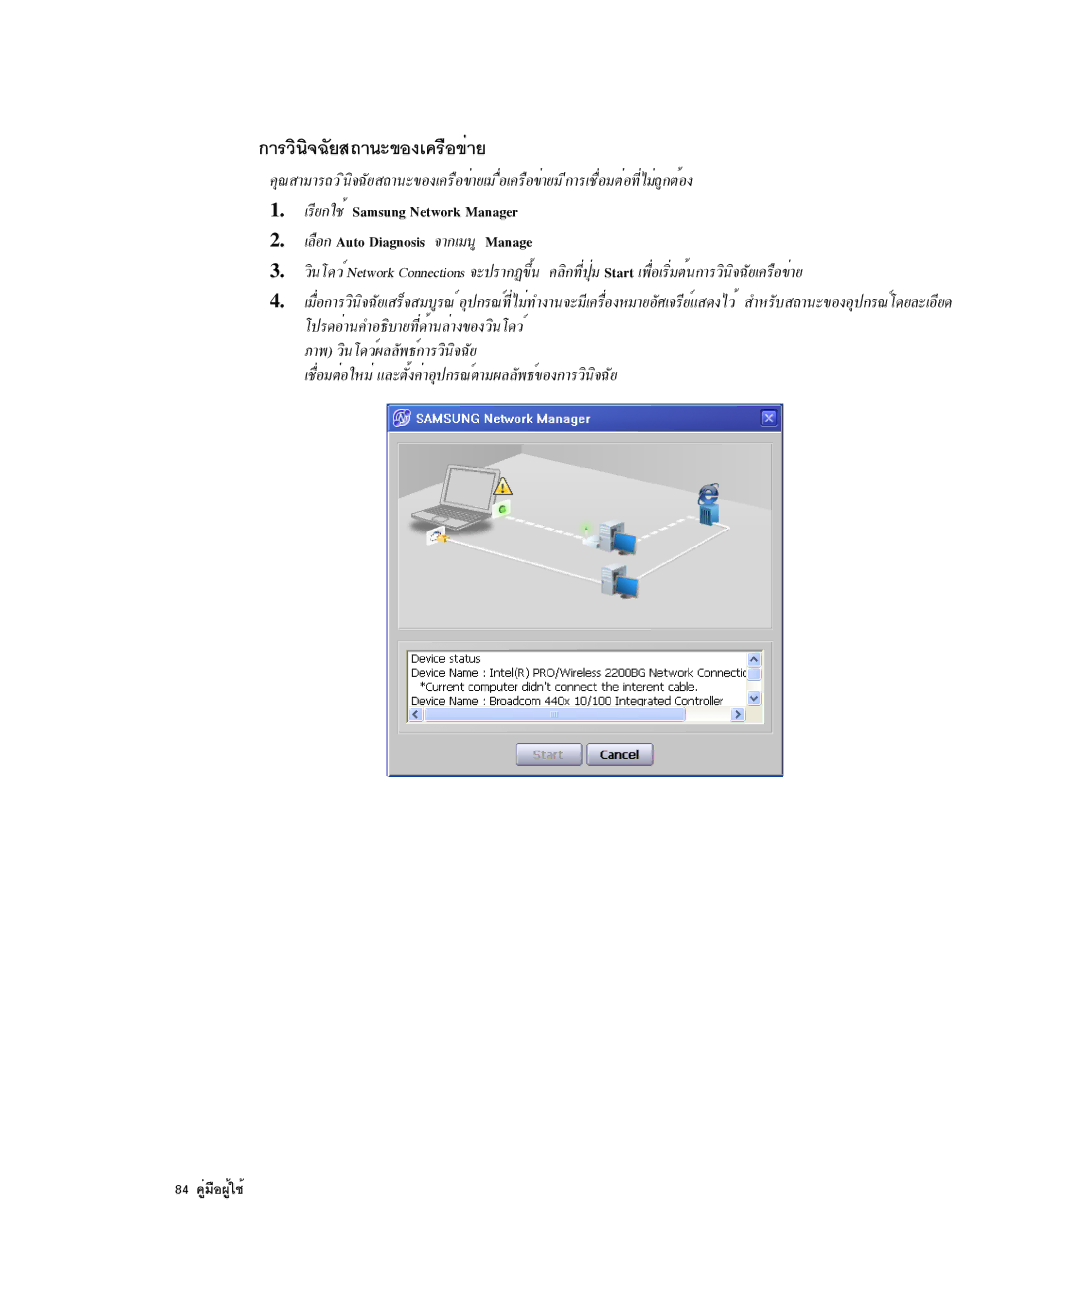
3.ÇÔ¹â´ÇìNetwork Connections ¨Ð»ÃÒ¡¯¢Öé¹ ¤ÅÔ¡·Õè»ØèÁ Start à¾×èÍàÃÔèÁµé¹¡ÒÃÇÔ¹Ô¨©ÑÂà¤Ã×Í¢èÒÂ
4.àÁ×èÍ¡ÒÃÇÔ¹Ô¨©ÑÂàÊÃç¨ÊÁºÙóìÍØ»¡Ã³ì·ÕèäÁè·Ó§Ò¹¨ÐÁÕà¤Ã×èͧËÁÒÂÍÑÈà¨ÃÕÂìáÊ´§äÇé ÊÓËÃѺʶҹТͧÍØ»¡Ã³ìâ´ÂÅÐàÍÕ´ â»Ã´ÍèÒ¹¤Ó͸ԺÒ·Õè´éÒ¹ÅèÒ§¢Í§ÇÔ¹â´Çì ÀÒ¾) ÇÔ¹â´Çì¼ÅÅѾ¸ì¡ÒÃÇÔ¹Ô¨©Ñ àª×èÍÁµèÍãËÁèáÅеÑ駤èÒÍØ»¡Ã³ìµÒÁ¼ÅÅѾ¸ì¢Í§¡ÒÃÇÔ¹Ô¨©ÑÂ