MZ-N10
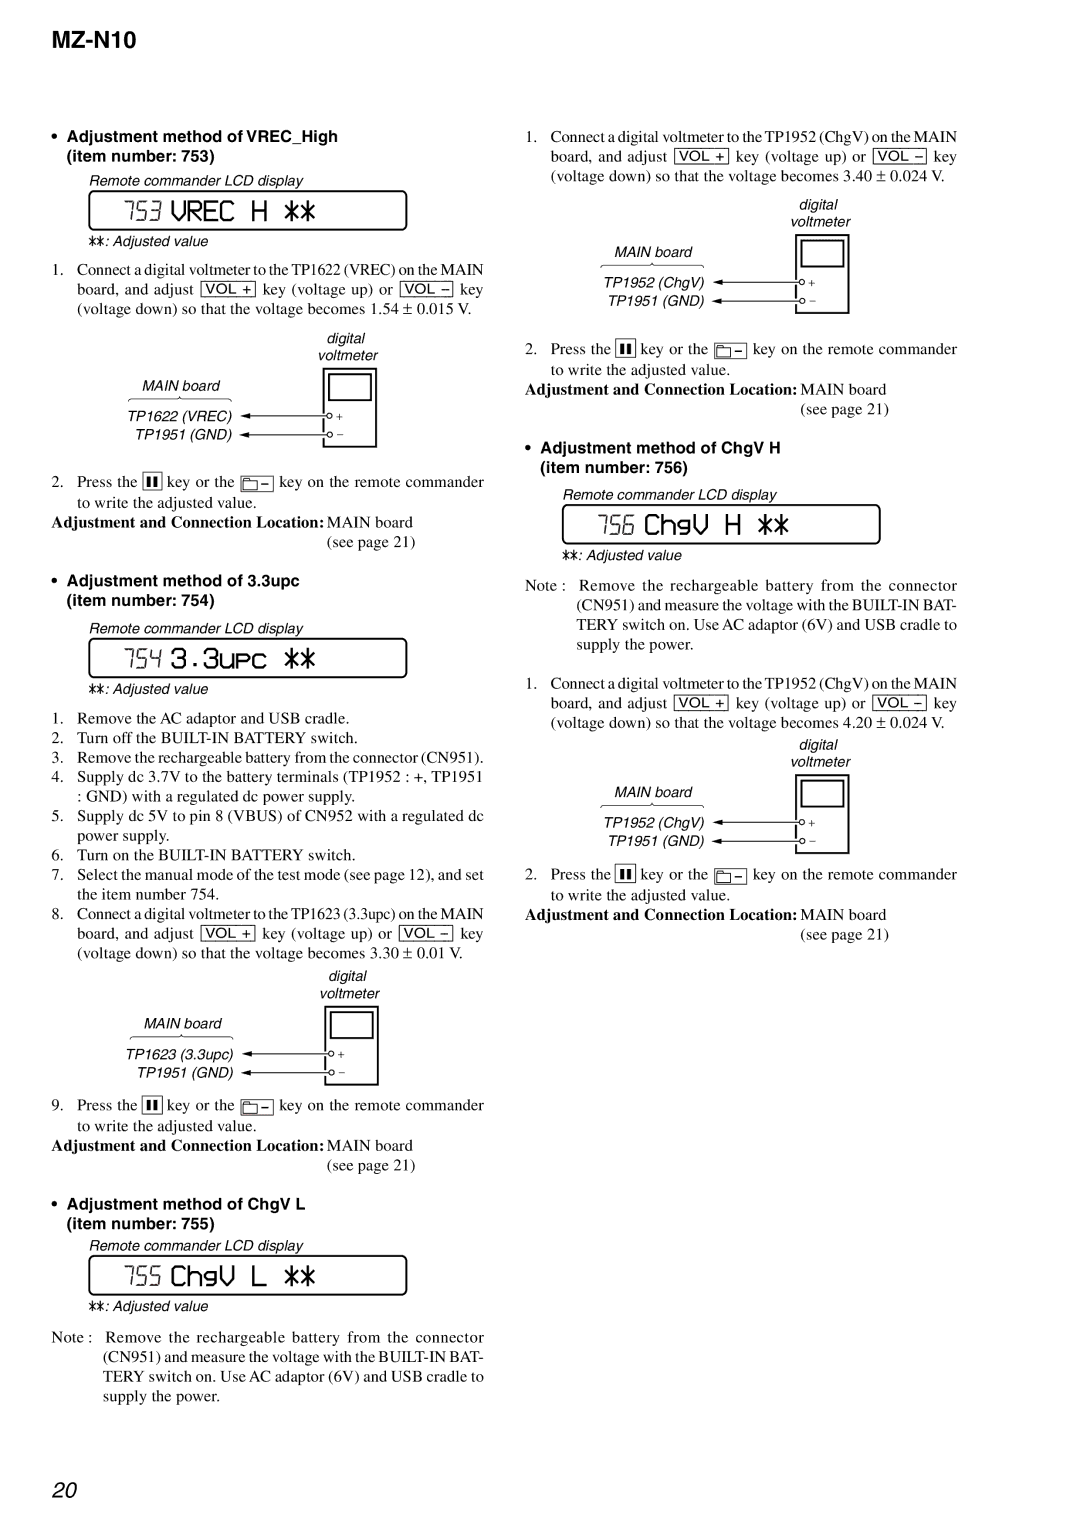
•Adjustment method of VREC_High (item number: 753)
Remote commander LCD display
753 VREC H **
**: Adjusted value
1.Connect a digital voltmeter to the TP1622 (VREC) on the MAIN
board, and adjust [VOL +] key (voltage up) or [VOL
digital voltmeter
MAIN board
TP1622 (VREC)
TP1951 (GND)
2. Press the X key or the ![]()
![]()
![]()
![]() key on the remote commander to write the adjusted value.
key on the remote commander to write the adjusted value.
Adjustment and Connection Location: MAIN board (see page 21)
•Adjustment method of 3.3upc (item number: 754)
Remote commander LCD display
754 3.3upc **
**: Adjusted value
1.Remove the AC adaptor and USB cradle.
2.Turn off the
3.Remove the rechargeable battery from the connector (CN951).
4.Supply dc 3.7V to the battery terminals (TP1952 : +, TP1951
: GND) with a regulated dc power supply.
5.Supply dc 5V to pin 8 (VBUS) of CN952 with a regulated dc power supply.
6.Turn on the
7.Select the manual mode of the test mode (see page 12), and set the item number 754.
8.Connect a digital voltmeter to the TP1623 (3.3upc) on the MAIN
board, and adjust [VOL +] key (voltage up) or [VOL
digital voltmeter
MAIN board
TP1623 (3.3upc)
TP1951 (GND)
9. Press the X key or the ![]() key on the remote commander to write the adjusted value.
key on the remote commander to write the adjusted value.
Adjustment and Connection Location: MAIN board (see page 21)
•Adjustment method of ChgV L (item number: 755)
Remote commander LCD display
755 ChgV L **
**: Adjusted value
Note : Remove the rechargeable battery from the connector (CN951) and measure the voltage with the
1.Connect a digital voltmeter to the TP1952 (ChgV) on the MAIN
board, and adjust [VOL +] key (voltage up) or [VOL
digital voltmeter
MAIN board
TP1952 (ChgV)
TP1951 (GND)
2. Press the X key or the ![]()
![]()
![]()
![]() key on the remote commander to write the adjusted value.
key on the remote commander to write the adjusted value.
Adjustment and Connection Location: MAIN board (see page 21)
•Adjustment method of ChgV H (item number: 756)
Remote commander LCD display
756 ChgV H **
**: Adjusted value
Note : Remove the rechargeable battery from the connector (CN951) and measure the voltage with the
1.Connect a digital voltmeter to the TP1952 (ChgV) on the MAIN
board, and adjust [VOL +] key (voltage up) or [VOL
|
|
|
|
|
| digital | |||||||
|
|
|
|
| voltmeter | ||||||||
MAIN board |
|
|
|
|
|
|
|
|
|
|
|
|
|
|
|
|
|
|
|
|
|
|
|
|
|
| |
TP1952 (ChgV) |
|
|
|
|
|
|
|
|
|
|
|
|
|
|
|
|
|
|
|
|
|
|
|
|
|
| |
TP1951 (GND) |
|
|
|
|
|
|
|
|
|
|
|
|
|
|
|
|
|
|
|
|
|
|
|
|
|
| |
2. Press the X key or the |
|
|
|
| key on the remote commander | ||||||||
|
|
|
| ||||||||||
|
|
|
| ||||||||||
to write the adjusted value.
Adjustment and Connection Location: MAIN board (see page 21)
20