A Closer Look

11

9.Return the paper separator to its original flat position,

10.Pull the paper up, past the sprocket units.

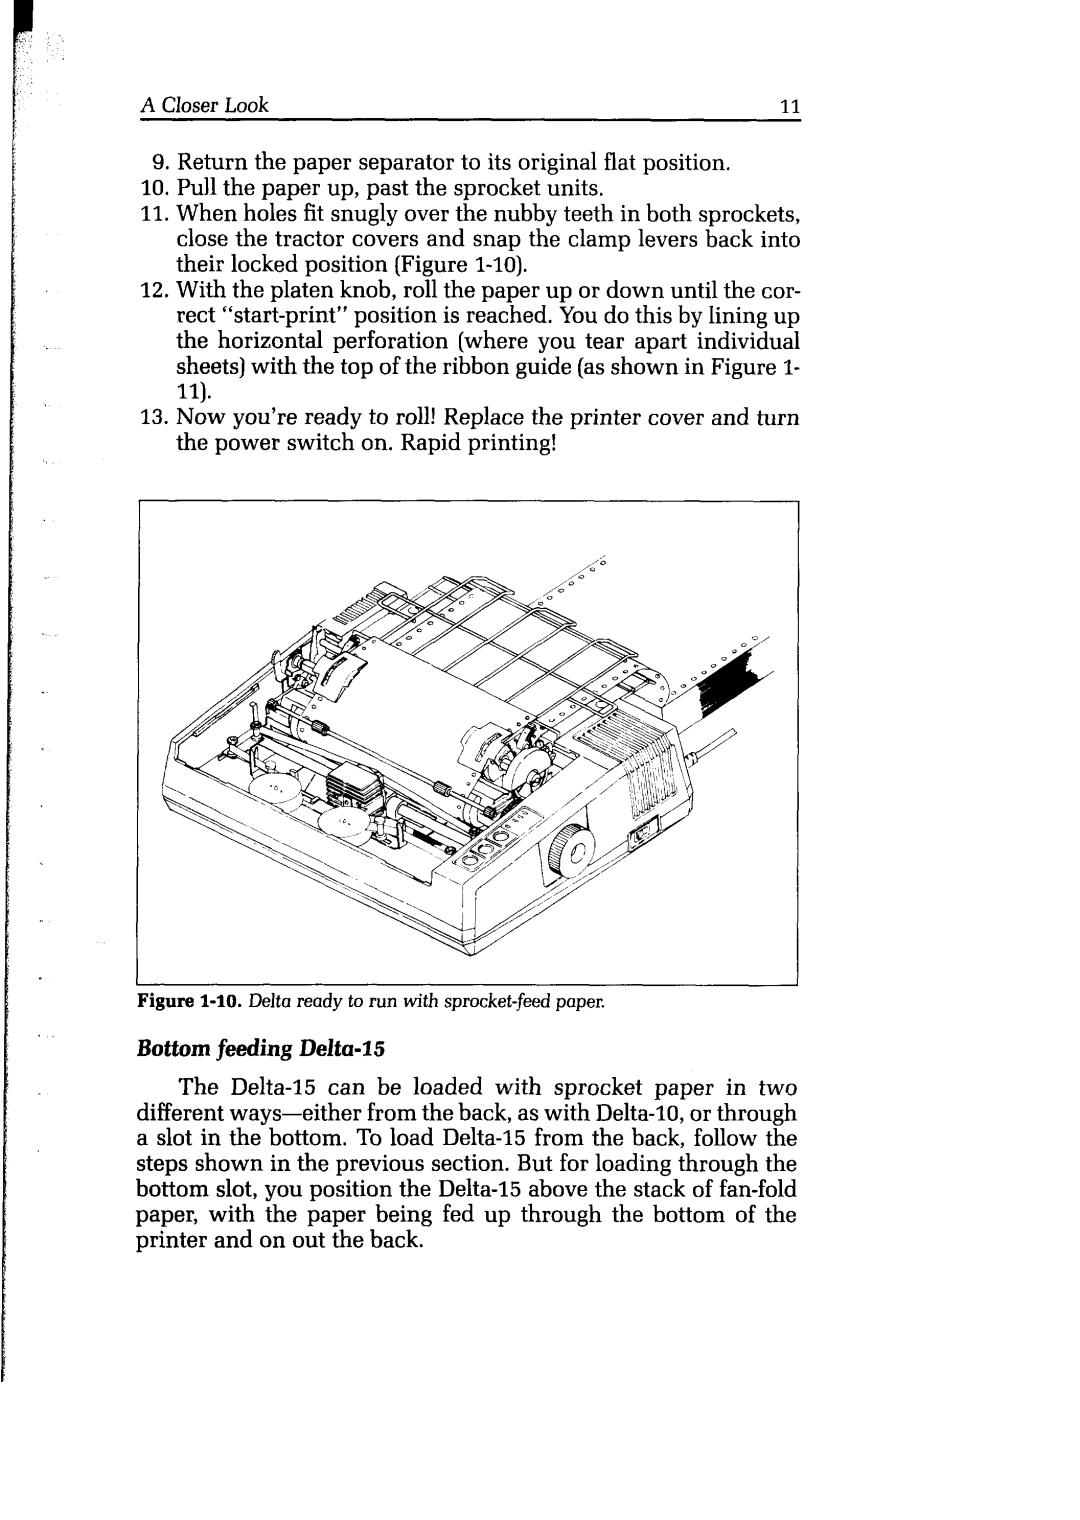
11.When holes fit snugly over the nubby teeth in both sprockets, close the tractor covers and snap the clamp levers back into their locked position (Figure l-10).

12.With the platen knob, roll the paper up or down until the cor- rect “start-print” position is reached. You do this by lining up the horizontal perforation (where you tear apart individual sheets] with the top of the ribbon guide (as shown in Figure I- ll).

13.Now you’re ready to roll! Replace the printer cover and turn the power switch on. Rapid printing!

Figure I-10.Delta ready to run with sprocket-feed paper.

Bottom feeding Delta-15

The Delta-15 can be loaded with sprocket paper in two different ways-either from the back, as with Delta-lo, or through a slot in the bottom. To load Delta-15 from the back, follow the steps shown in the previous section. But for loading through the bottom slot, you position the Delta-15 above the stack of fan-fold paper, with the paper being fed up through the bottom of the printer and on out the back.
Page 23
Image 23
Star Micronics user manual Bottom feeding Delta-15, Figure I-10.Delta ready to run with sprocket-feed paper