A Closer Look | 13 |
12.With the platen knob, roll the paper up or down until the cor- rect
13.Now we’re ready to roll - replace the printer cover, and turn on the power switch. Speedy printing!
L
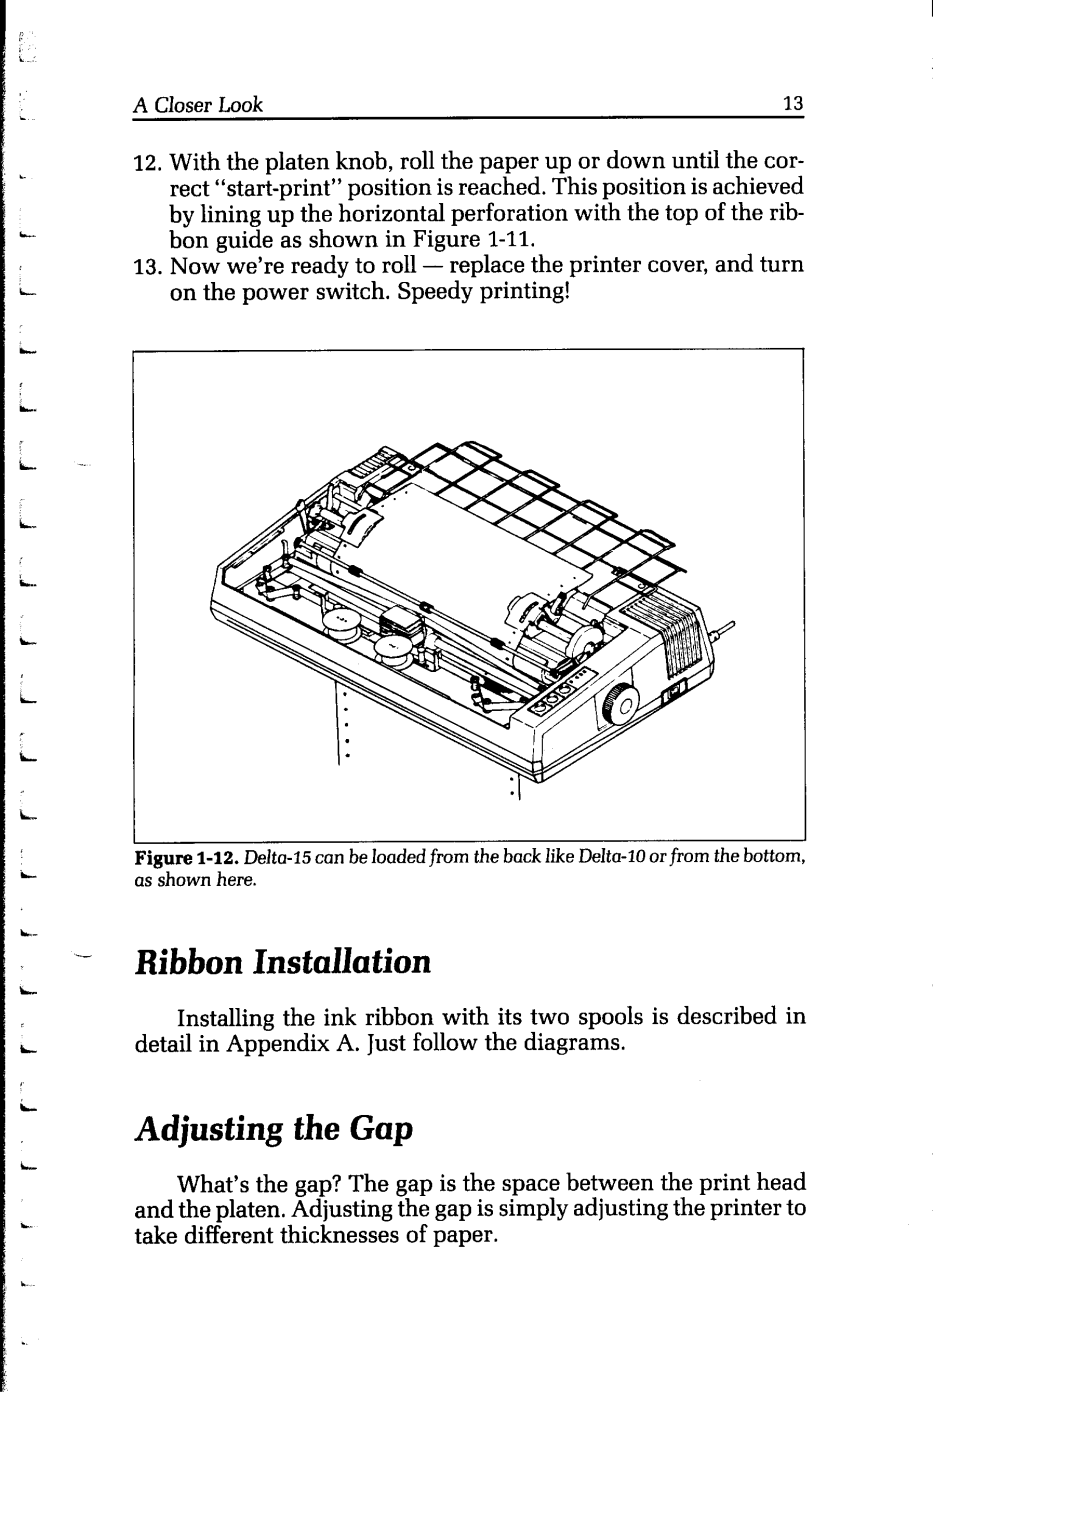
Figure 1-12. Delta-15 con be loaded from the bock like Delta-10 or from the bottom, OSshown here.
Ribbon Installation
Installing the ink ribbon with its two spools is described in detail in Appendix A. Just follow the diagrams.
Adjusting the Gap
What’s the gap? The gap is the space between the print head and the platen, Adjusting the gap is simply adjusting the printer to take different thicknesses of paper.
