71
Try setting the margins with this program:
10Demo of margins 20 GOSUB70
30LPRINT CHR$(27);“1”;CHR$(lO);
40 LPRINT CHR$(27) ;“Q”;CHR$t70);
50GOSUB70
60 END
70FOR I=1 TO 80
80 LPRINT “X” ;
90NEXT I
100LPRINT
110RETURN
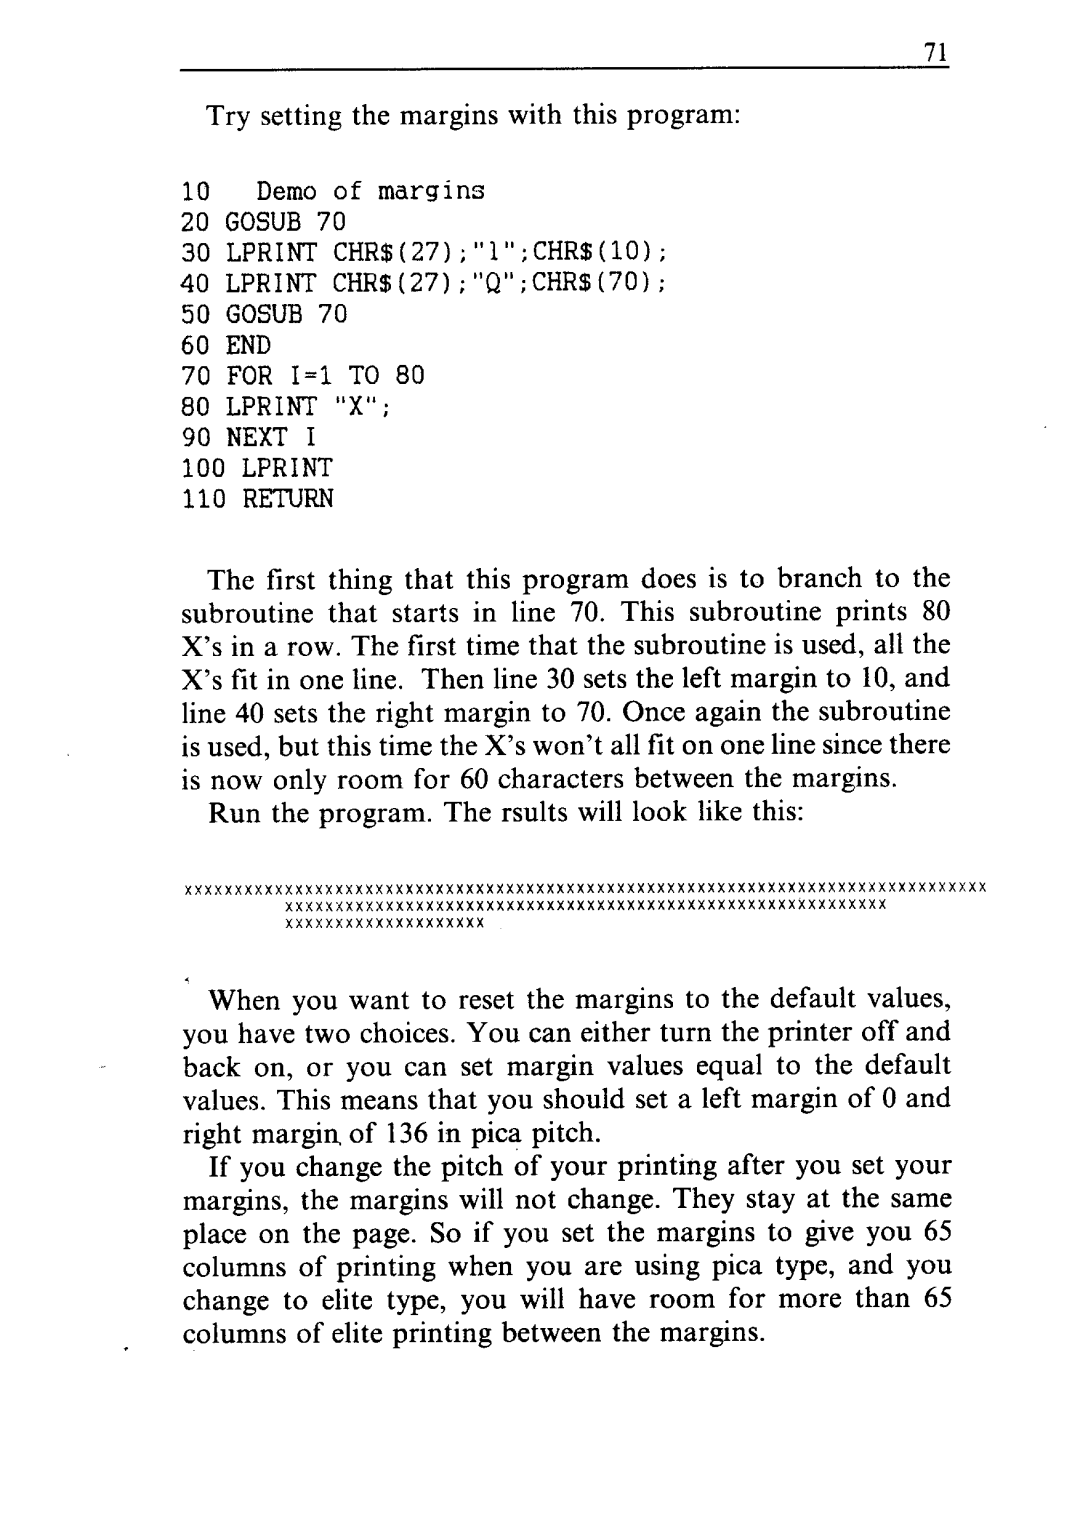
The tirst thing that this program does is to branch to the subroutine that starts in line 70. This subroutine prints 80 X’s in a row. The first time that the subroutine is used, all the X’s tit in one line. Then line 30 sets the left margin to 10, and line 40 sets the right margin to 70. Once again the subroutine is used, but this time the X’s won’t all fit on one line since there is now only room for 60 characters between the margins.
Run the program. The rsults will look like this:
xxxxxxxxxxxxxxxxxxxxxxxxxxxxxxxxxxxxxxxxxxxxxxxxxxxxxxxxxxxxxxxxxxxxxxxxxxxxxxxx xxxxxxxxxxxxxxxxxxxxxxxxxxxxxxxxxxxxxxxxxxxxxxxxxxxxxxxxxxxx xxxxxxxxxxxxxxxxxxxx
.
When you want to reset the margins to the default values, you have two choices. You can either turn the printer off and back on, or you can set margin values equal to the default values. This means that you should set a left margin of 0 and right margin of 136 in pica pitch.
If you change the pitch of your printing after you set your margins, the margins will not change. They stay at the same place on the page. So if you set the margins to give you 65 columns of printing when you are using pica type, and you change to elite type, you will have room for more than 65 columns of elite printing between the margins.
