18
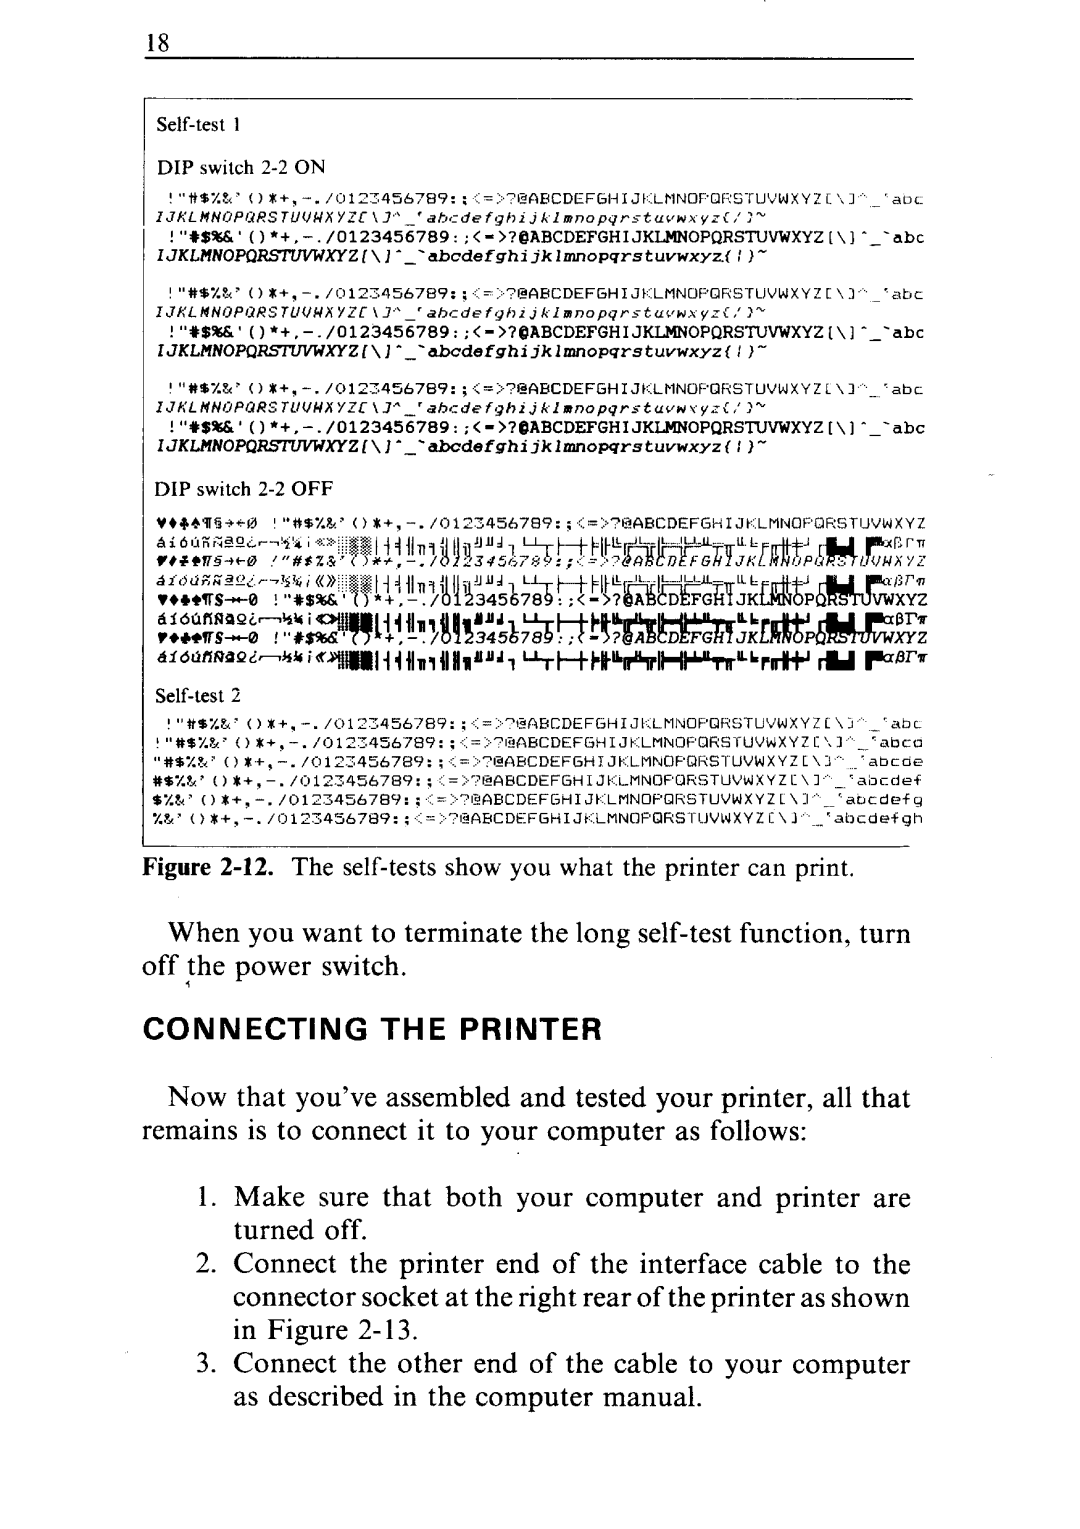
Self-test 1
DIP switch 2-2 ON
!“tt$%t‘ | .=.‘~‘BRBCDEFGIiIJt.LMNOF’OfiSTU’~WXYZI‘,l | _‘aoc. |
I JKLMNOPi~R.5 JUUWX YZC \ 1,‘
IJKLHNOPQRSlVW XYZ[\J-_‘abcdefghijklmnopqrstuvwxyz( 1)"
!"#%%k 0
IJKL~NOPQRSJUUWXYZC
'"#B%P' | * ; :=>?I2~BCDEFGHIJt~.LMNO~Clf?STlJVWXYZt\l | ~abr | |||
ahcdefyhijkIrnopyrstu~~~~y=~~‘~~ |
|
| |||
| |||||
ZJKLMNOFQRSZVVW XYZt\J^_'abcdefghijklmnopgrstuvwxyz~:)" |
|
| |||
DIP switch |
|
|
|
| |
v*fZwttrjJ | ’ “kB7.99.’ (1 t+. | /oi 2;456789: | ; I=“BfiHCDEFGHIJt | LMNOPL2F:STUVWXYZ | |
! “+t%%&,’ () I+. | : .=.:“IPABCDEFGHIJt~LMNOF’Ofl8TUVWXYLL\j | ‘sbr | ||||
! “#$%P,70 | /0125456789: | : ..=.. ‘.ll!!ABCDEFtiHIJt | _‘abca | |||
“#%%t‘ | .‘abcm | |||||
#%%t’ | 0 | /0123456789: | : =‘r~~~AHCDEFGHIJt:,. | .~tlNOt=ORSTUVWXYZC\l | ‘nbcdef | |
%%t<‘ | ="l?ABCDEFGtiIJt | LMNOPClli’STUVWXYZL\:l | ‘_m’aocdefy | |||
~..‘abcdefgh | ||||||
Figure 2-12. The self-tests show you what the printer can print.
When you want to terminate the long
CONNECTING THE PRINTER
Now that you’ve assembled and tested your printer, all that remains is to connect it to your computer as follows:
1.Make sure that both your computer and printer are turned off.
2.Connect the printer end of the interface cable to the connector socket at the right rear of the printer as shown in Figure
3.Connect the other end of the cable to your computer as described in the computer manual.