Screws
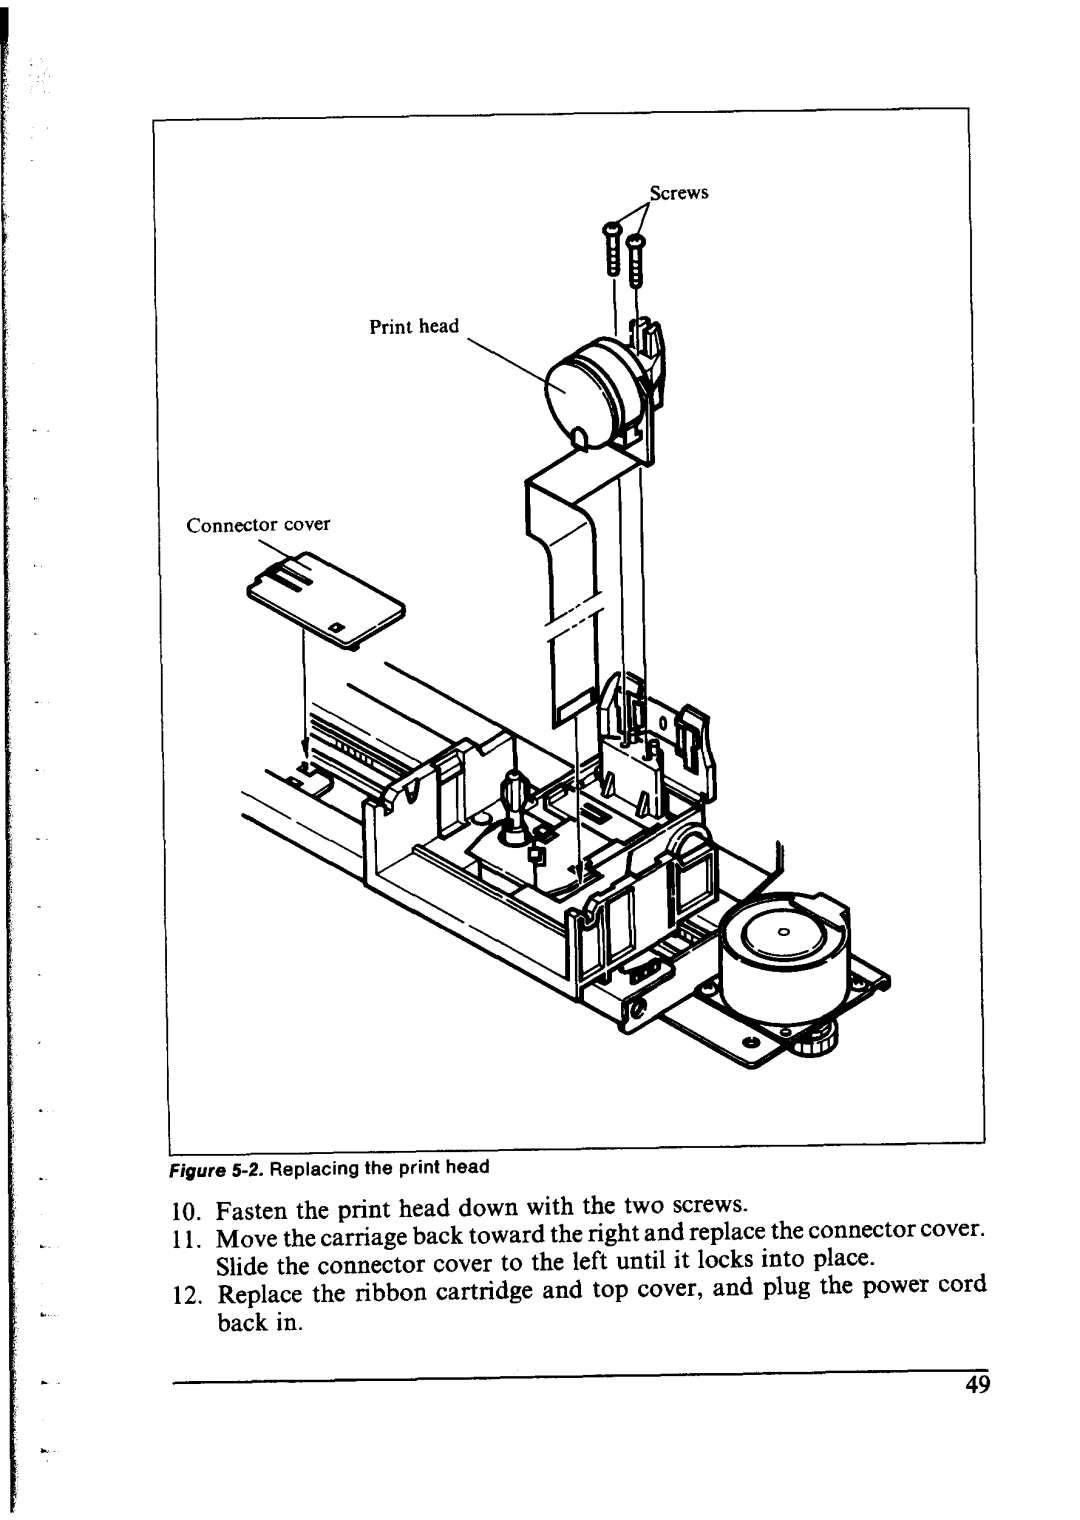
Qure 5-2. Replacing the print head
10.Fasten the print head down with the two screws.
11.Move the carriage back toward the right and replace the connector cover. Slide the connector cover to the left until it locks into place.
12.Replace the ribbon cartridge and top cover, and plug the power cord back in.
49