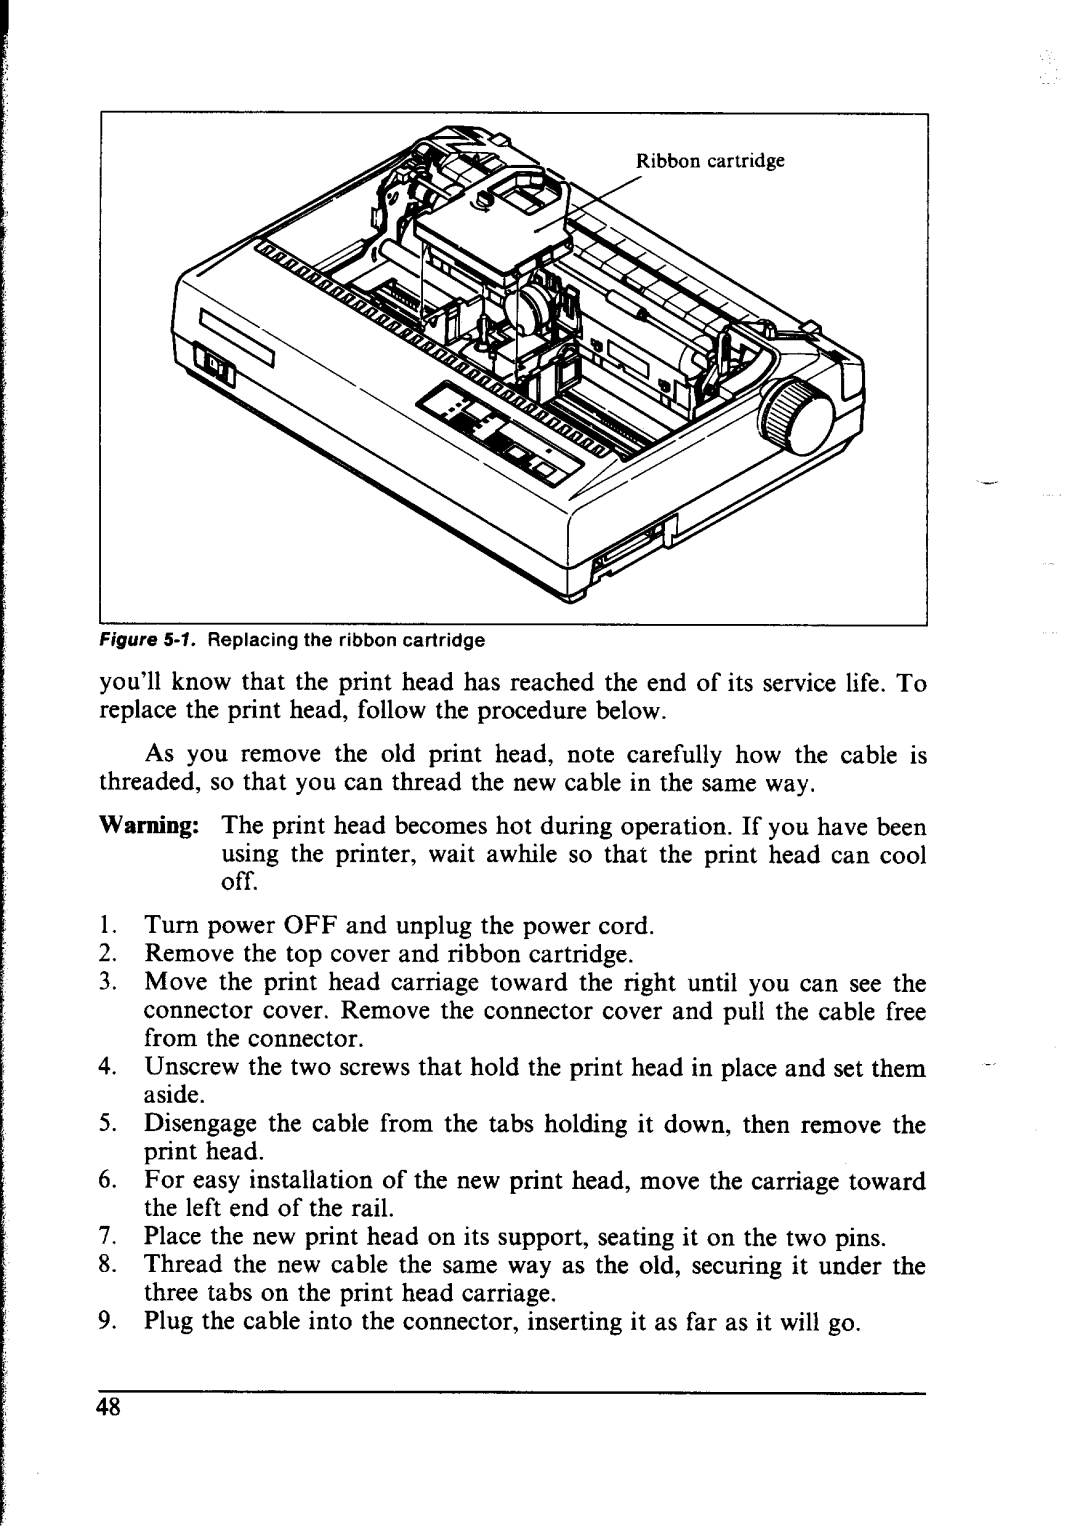
Figure 5-i. Replacing the ribbon cartridge
you’ll know that the print head has reached the end of its service life. To replace the print head, follow the procedure below.
As you remove the old print head, note carefully how the cable is threaded, so that you can thread the new cable in the same way.
Warning: The print head becomes hot during operation. If you have been using the printer, wait awhile so that the print head can cool
off. - -
1.Turn power OFF and unplug the power cord.
2.Remove the top cover and ribbon cartridge.
3.Move the print head carriage toward the right until you can see the connector cover. Remove the connector cover and pull the cable free from the connector.
4.Unscrew the two screws that hold the print head in place and set them aside.
5.Disengage the cable from the tabs holding it down, then remove the print head.
6.For easy installation of the new print head, move the carriage toward the left end of the rail.
7.Place the new print head on its support, seating it on the two pins.
8.Thread the new cable the same way as the old, securing it under the three tabs on the print head carriage.
9.Plug the cable into the connector, inserting it as far as it will go.
48