NETWORK GUIDE...continued
DYNDNS.ORG ACCOUNT SETUP
(required if using DYNDNS.ORG)
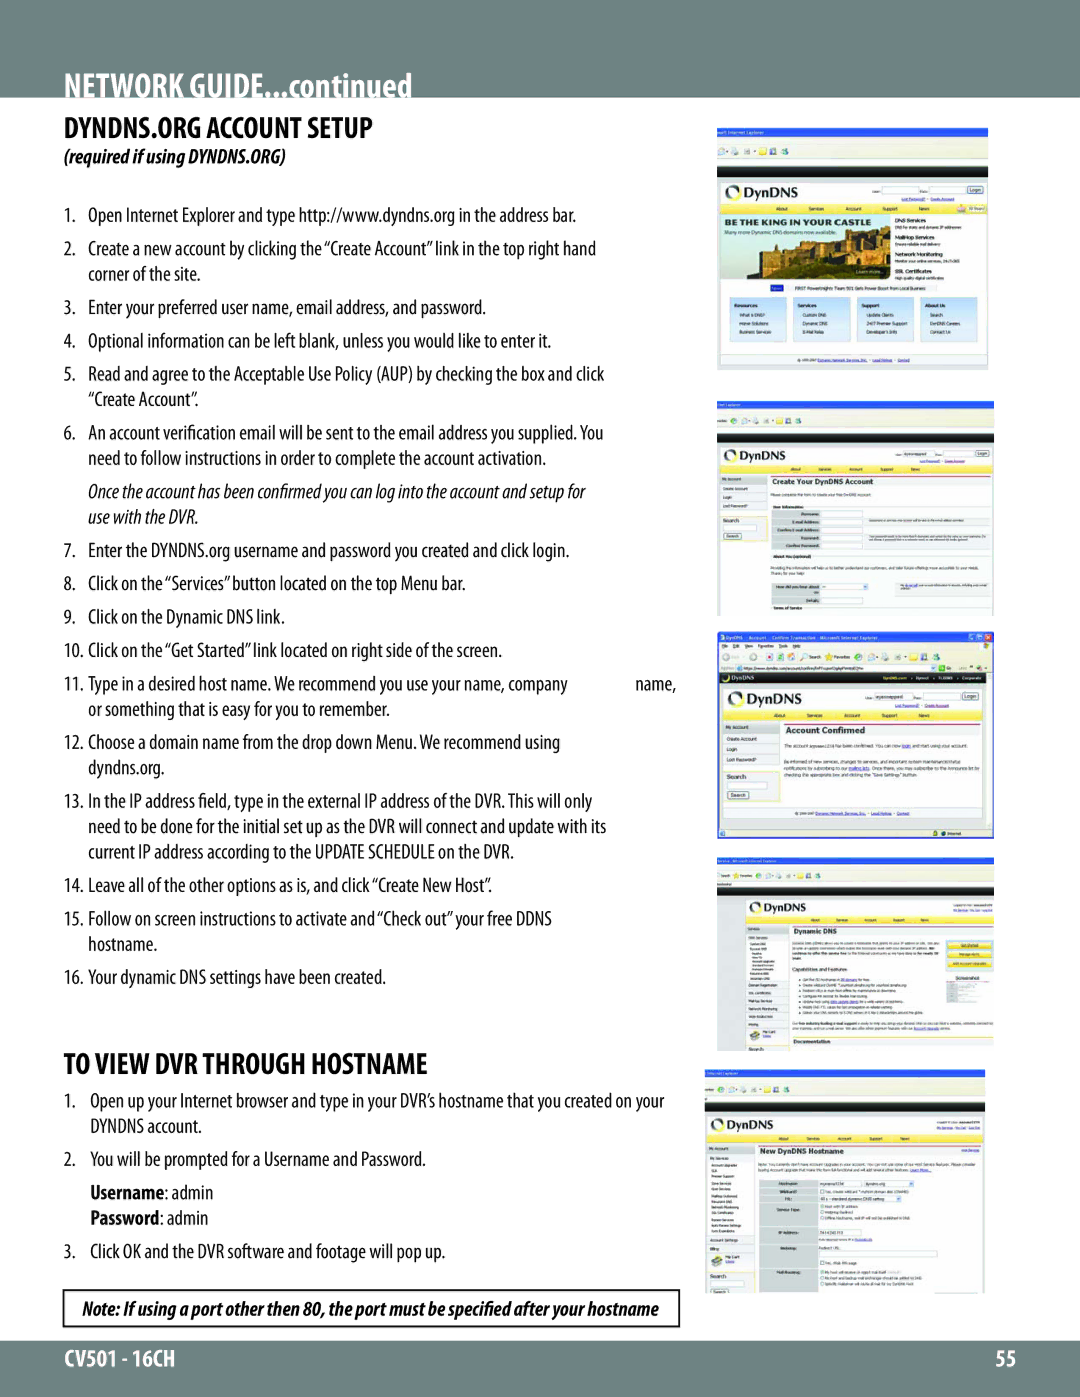
1.Open Internet Explorer and type http://www.dyndns.org in the address bar.
2.Create a new account by clicking the “Create Account” link in the top right hand corner of the site.
3.Enter your preferred user name, email address, and password.
4.Optional information can be left blank, unless you would like to enter it.
5.Read and agree to the Acceptable Use Policy (AUP) by checking the box and click “Create Account”.
6.An account verification email will be sent to the email address you supplied. You need to follow instructions in order to complete the account activation.
Once the account has been confirmed you can log into the account and setup for use with the DVR.
7.Enter the DYNDNS.org username and password you created and click login.
8.Click on the “Services” button located on the top Menu bar.
9.Click on the Dynamic DNS link.
10.Click on the “Get Started” link located on right side of the screen.
11. Type in a desired host name. We recommend you use your name, company | name, |
or something that is easy for you to remember. |
|
12.Choose a domain name from the drop down Menu. We recommend using dyndns.org.
13.In the IP address field, type in the external IP address of the DVR. This will only need to be done for the initial set up as the DVR will connect and update with its current IP address according to the UPDATE SCHEDULE on the DVR.
14.Leave all of the other options as is, and click “Create New Host”.
15.Follow on screen instructions to activate and “Check out” your free DDNS hostname.
16.Your dynamic DNS settings have been created.
TO VIEW DVR THROUGH HOSTNAME
1.Open up your Internet browser and type in your DVR’s hostname that you created on your DYNDNS account.
2.You will be prompted for a Username and Password.
Username: admin
Password: admin
3.Click OK and the DVR software and footage will pop up.
Note: If using a port other then 80, the port must be specified after your hostname
CV501 - 16CH | 55 |
|
|
