THINGS TO CONSIDER BEFORE INSTALLATION
CAMERA INSTALLATION
•The camera should be installed between 8 and 13ft above the area to be monitored
•Ensure there are no obstructions in the camera’s view, to maximize viewing area
•Ensure that the sunshade is positioned to avoid glare and position camera away from direct sunlight or indoor lighting
•Decide whether the camera will be
•Each camera comes with 60ft of video/power wire, and there are also four 60ft extension wires included. Please make sure that you mount four cameras no more than 60ft from the TV/monitor/VCR/DVR and the other four no more than 120ft away from the TV/monitor/VCR/ DVR. If longer wiring distance is required for additional cameras, 60ft extensions can be purchased (DF10W) from your local re seller or at www.svat.com
•We recommend using a surge protected power bar to protect the cameras internal circuitry
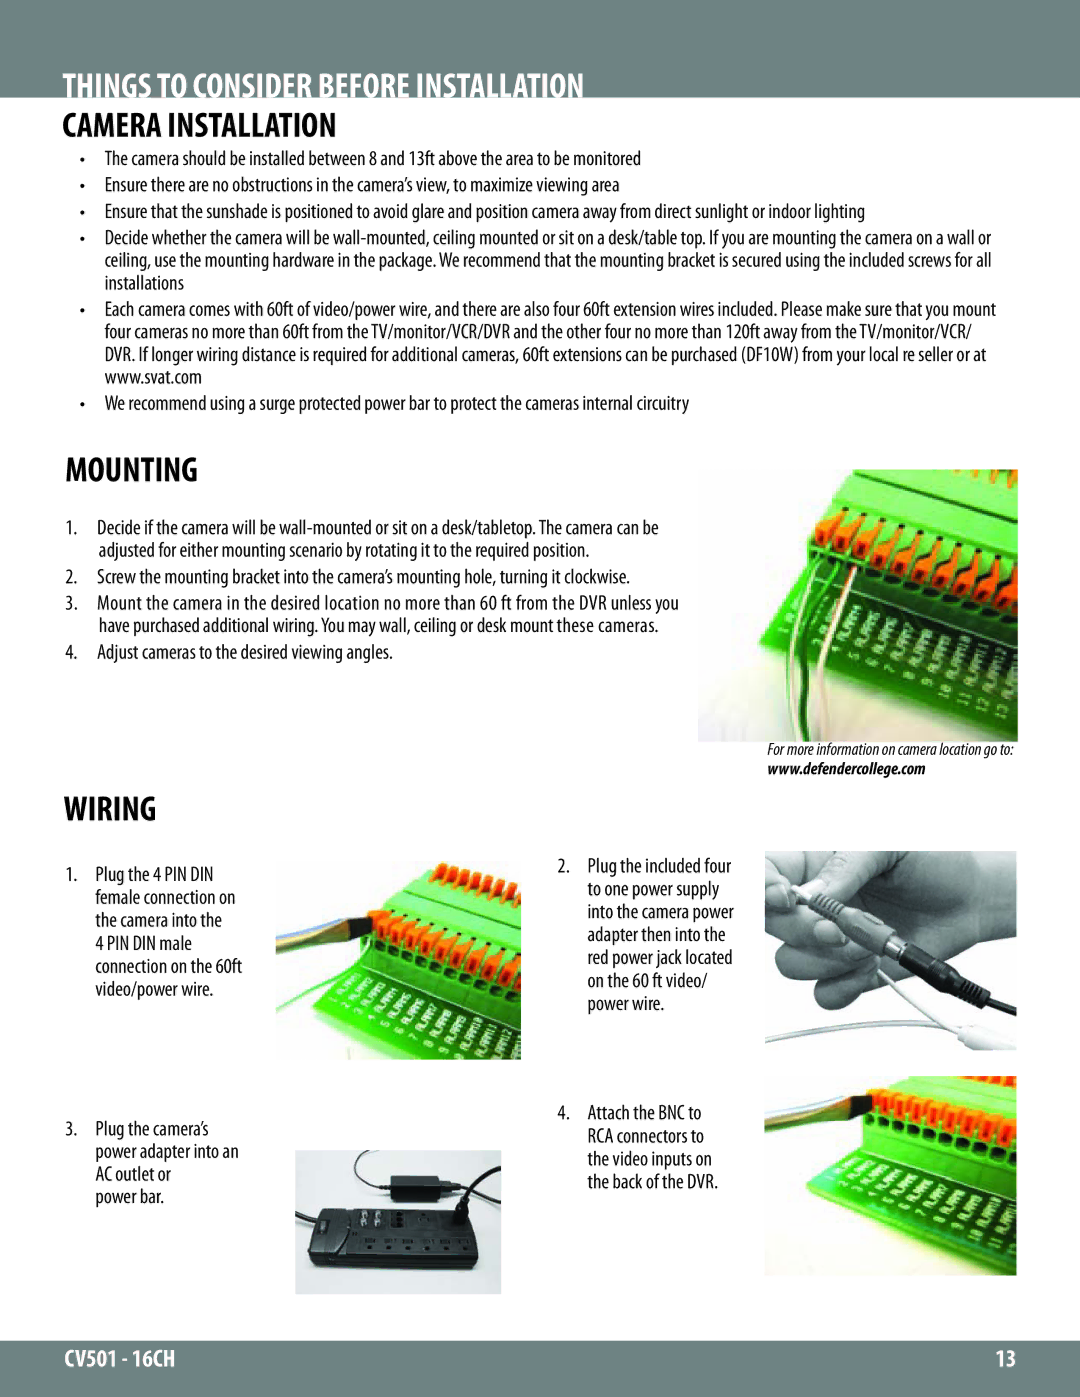
MOUNTING
1.Decide if the camera will be
2.Screw the mounting bracket into the camera’s mounting hole, turning it clockwise.
3.Mount the camera in the desired location no more than 60 ft from the DVR unless you have purchased additional wiring. You may wall, ceiling or desk mount these cameras.
4.Adjust cameras to the desired viewing angles.
For more information on camera location go to:
www.defendercollege.com
WIRING
1.Plug the 4 PIN DIN female connection on the camera into the 4 PIN DIN male connection on the 60ft video/power wire.
3.Plug the camera’s power adapter into an AC outlet or
power bar.
2.Plug the included four to one power supply into the camera power adapter then into the red power jack located on the 60 ft video/ power wire.
4.Attach the BNC to RCA connectors to the video inputs on the back of the DVR.
CV501 - 16CH | 13 |
|
|