Section 6.7 - Punch operations
which allows you to restore the previous version. Only one level of undo is allowed, and if no value has been stored in the in or out memory prior to the wrong value being entered, no undo is possi- ble. To undo the wrong entry:
1)Press and hold down the CANCEL key, and press either the IN or the OUT key, depending on the memory store operation that you want to undo.
The
This undo function can also be used with the “on-
Please note that there is no “redo” function.
6.7.5 Setting pre-roll and post-roll times
These times used for punch operations only, and are independent of the
The PRRL key can be used to locate to the punch- in time, minus the punch
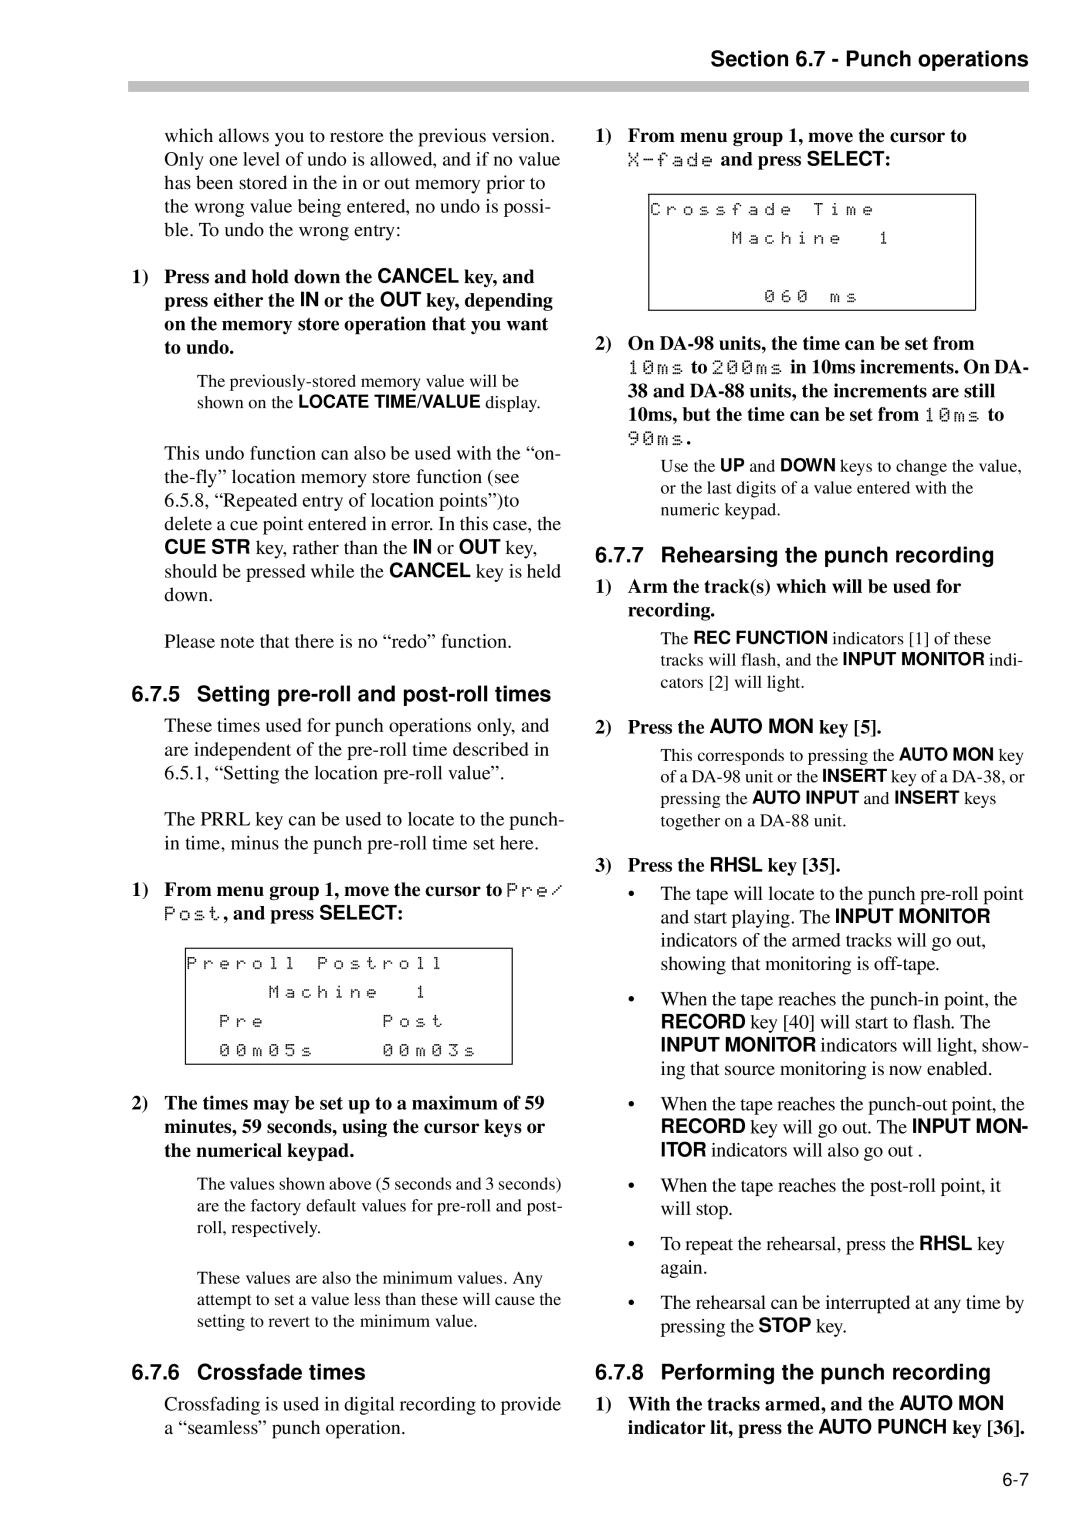
1)From menu group 1, move the cursor to Pre/ Post, and press SELECT:
P r e r o l l P o s t r o l l
M a c h i n e | 1 |
P r e | P o s t |
0 0 m 0 5 s | 0 0 m 0 3 s |
2)The times may be set up to a maximum of 59 minutes, 59 seconds, using the cursor keys or the numerical keypad.
The values shown above (5 seconds and 3 seconds) are the factory default values for
These values are also the minimum values. Any attempt to set a value less than these will cause the setting to revert to the minimum value.
1)From menu group 1, move the cursor to
C r o s s f a d e | T i m e |
M a c h i n e 1 | |
0 6 | 0 m s |
|
|
2)On
10ms, but the time can be set from 10ms to 90ms.
Use the UP and DOWN keys to change the value, or the last digits of a value entered with the numeric keypad.
6.7.7 Rehearsing the punch recording
1)Arm the track(s) which will be used for recording.
The REC FUNCTION indicators [1] of these tracks will flash, and the INPUT MONITOR indi- cators [2] will light.
2) Press the AUTO MON key [5].
This corresponds to pressing the AUTO MON key of a
3)Press the RHSL key [35].
•The tape will locate to the punch
•When the tape reaches the
•When the tape reaches the
•When the tape reaches the
•To repeat the rehearsal, press the RHSL key again.
•The rehearsal can be interrupted at any time by pressing the STOP key.
6.7.6 Crossfade times | 6.7.8 Performing the punch recording |
Crossfading is used in digital recording to provide a “seamless” punch operation.
1)With the tracks armed, and the AUTO MON indicator lit, press the AUTO PUNCH key [36].