Section 8.2 - Advanced timecode functions
3)Transfer the value from the LOCATE TIME/ VALUE display to the LCD display by holding down the SHIFT key and pressing the ENTER/ LOAD key.
NOTE
98If you are using a
If you need to
NOTE
There is an “invisible” field immediately to the right of the frames field. If you place the cursor there and increment or decremennt the value, you can change the time as a whole (as the frames field passes its maximum value, the seconds field will increment).
8.1.10 Auto Timecode Offset function
In addition to the manual offset entry, it is also possible to set a timecode offset automatically by following the procedure below:
1)From menu group 4, move the cursor to TC Offset and press SELECT.
2)Use the RIGHT key to move the cursor to a second “invisible” field to the right of the frames field. The display will appear as follows:
T i m e c o d e O f f s e t
M a c h i n e 2
A U T O O F F S E T
3)Locate the two tapes (master and slave) so that they have the right offset.
You can play up the tapes and pause them once they have been lined up, or carry out the next step while either or both of the tapes is being replayed.
4)Press either the UP or DOWN key at the correct offset time to capture and store the offset.
NOTE
The value entered in this way can be edited later using the technique described above.
8.1.11 Independent clock settings
98It is sometimes useful to be able to reference different clock timings for the different DTRS units in the chain (if one unit is recording digital input from another digital source and another is referenced to video, for example).
To allow independent settings (this function is only available if the time mode is set to timecode, and the
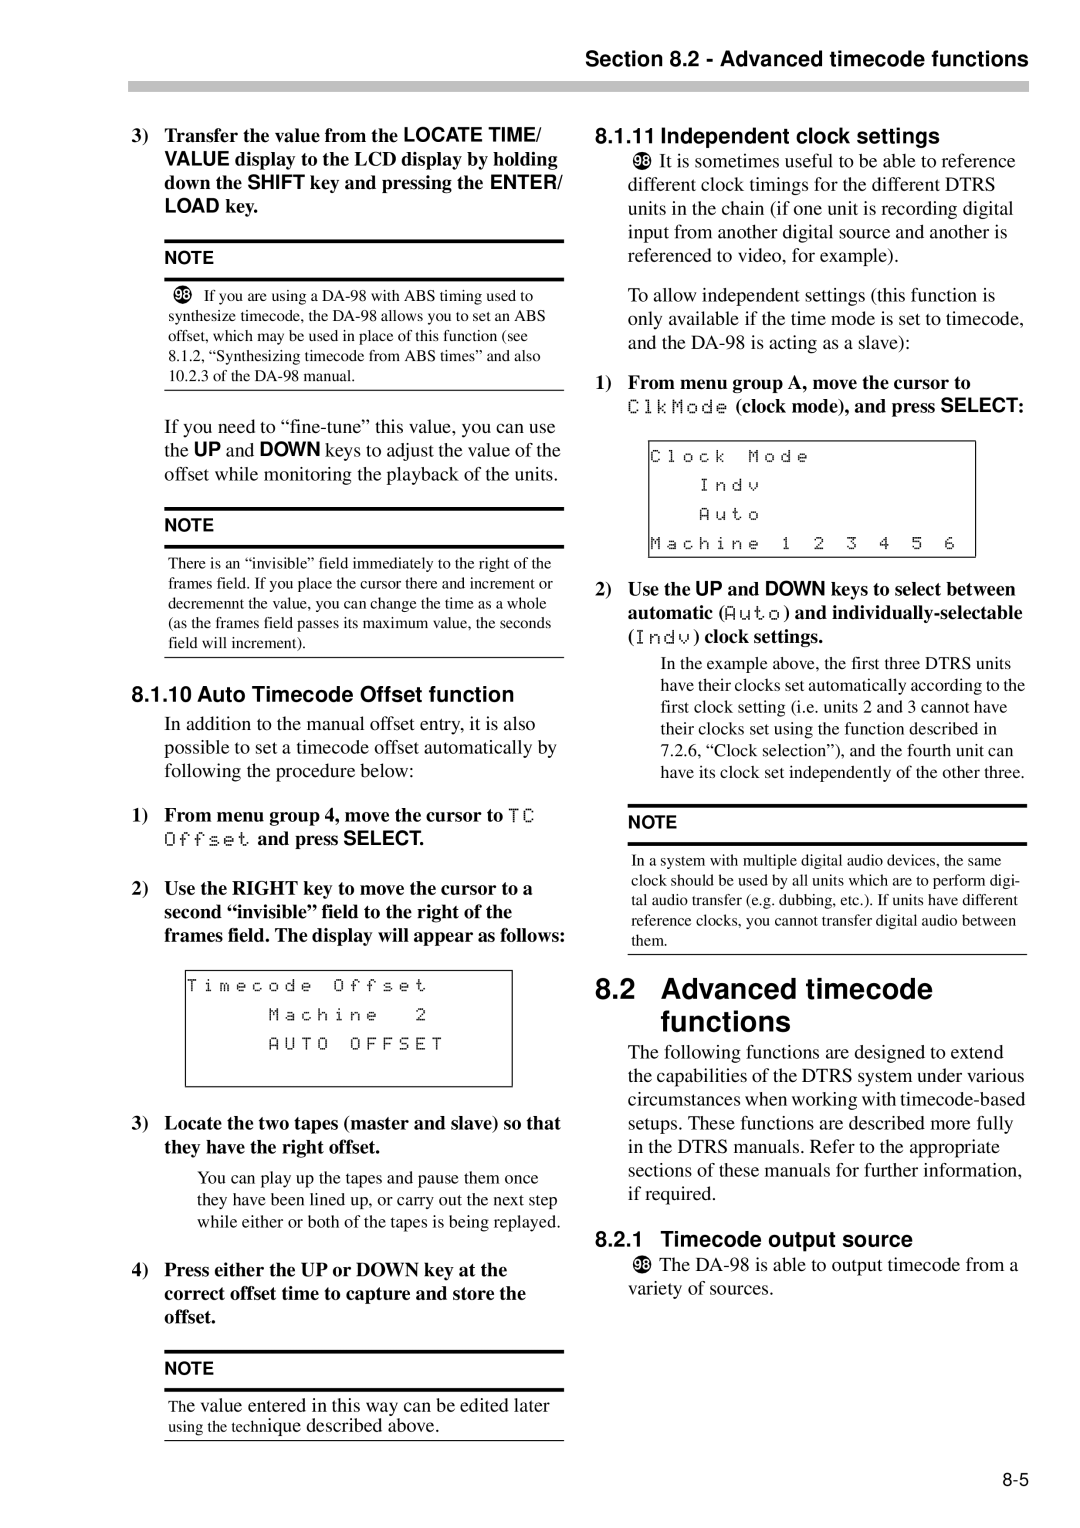
1)From menu group A, move the cursor to ClkMode (clock mode), and press SELECT:
C l o c k M o d e |
|
| |
I n d v |
| » |
|
A u t o | » | » » |
|
M a c h i n e 1 | 2 3 4 | 5 6 | |
|
|
|
|
2)Use the UP and DOWN keys to select between automatic (Auto) and
In the example above, the first three DTRS units have their clocks set automatically according to the first clock setting (i.e. units 2 and 3 cannot have their clocks set using the function described in 7.2.6, “Clock selection”), and the fourth unit can have its clock set independently of the other three.
NOTE
In a system with multiple digital audio devices, the same clock should be used by all units which are to perform digi- tal audio transfer (e.g. dubbing, etc.). If units have different reference clocks, you cannot transfer digital audio between them.
8.2 Advanced timecode functions
The following functions are designed to extend the capabilities of the DTRS system under various circumstances when working with
8.2.1 Timecode output source
98The