Section 7.2 - Unit-related functions
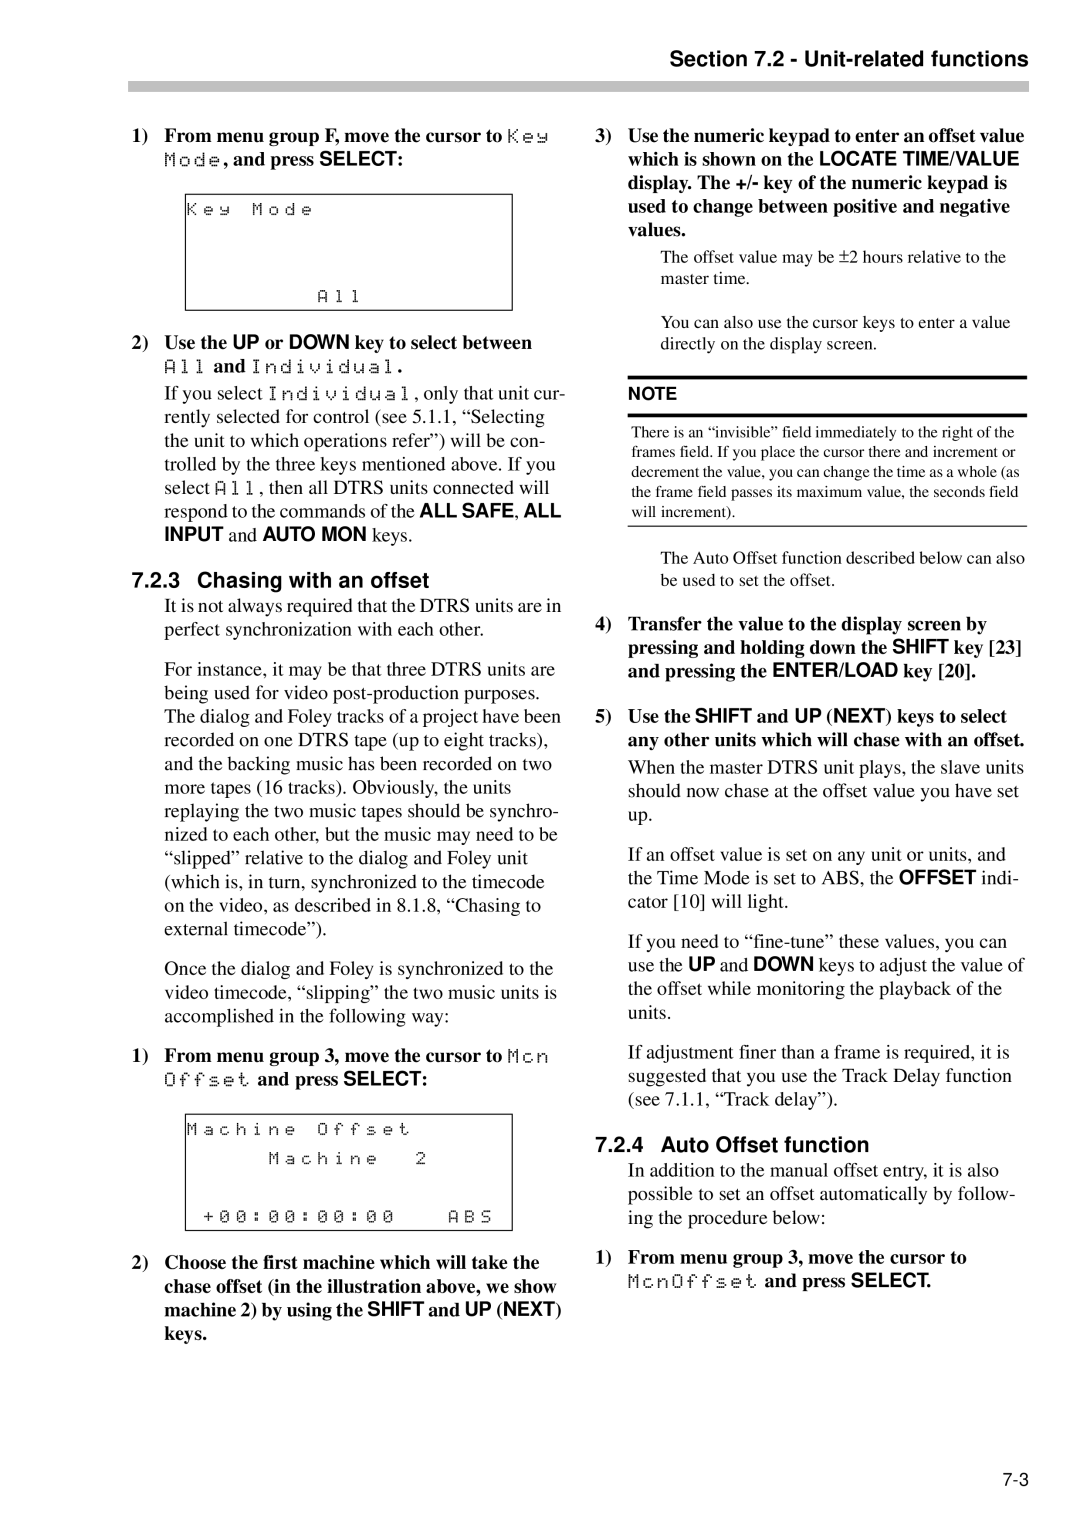
1)From menu group F, move the cursor to Key Mode, and press SELECT:
K e y M o d e
A l l
2) Use the UP or DOWN key to select between All and Individual.
If you select Individual, only that unit cur- rently selected for control (see 5.1.1, “Selecting the unit to which operations refer”) will be con- trolled by the three keys mentioned above. If you select All, then all DTRS units connected will respond to the commands of the ALL SAFE, ALL INPUT and AUTO MON keys.
7.2.3 Chasing with an offset
It is not always required that the DTRS units are in perfect synchronization with each other.
For instance, it may be that three DTRS units are being used for video
Once the dialog and Foley is synchronized to the video timecode, “slipping” the two music units is accomplished in the following way:
1)From menu group 3, move the cursor to Mcn Offset and press SELECT:
M a c h i n e O f f s e t |
|
M a c h i n e | 2 |
+ 0 0 : 0 0 : 0 0 : 0 0 | A B S |
|
|
2)Choose the first machine which will take the chase offset (in the illustration above, we show machine 2) by using the SHIFT and UP (NEXT) keys.
3)Use the numeric keypad to enter an offset value which is shown on the LOCATE TIME/VALUE display. The +/- key of the numeric keypad is used to change between positive and negative values.
The offset value may be ±2 hours relative to the master time.
You can also use the cursor keys to enter a value directly on the display screen.
NOTE
There is an “invisible” field immediately to the right of the frames field. If you place the cursor there and increment or decrement the value, you can change the time as a whole (as the frame field passes its maximum value, the seconds field will increment).
The Auto Offset function described below can also be used to set the offset.
4)Transfer the value to the display screen by pressing and holding down the SHIFT key [23] and pressing the ENTER/LOAD key [20].
5)Use the SHIFT and UP (NEXT) keys to select any other units which will chase with an offset. When the master DTRS unit plays, the slave units should now chase at the offset value you have set up.
If an offset value is set on any unit or units, and the Time Mode is set to ABS, the OFFSET indi- cator [10] will light.
If you need to
If adjustment finer than a frame is required, it is suggested that you use the Track Delay function (see 7.1.1, “Track delay”).
7.2.4 Auto Offset function
In addition to the manual offset entry, it is also possible to set an offset automatically by follow- ing the procedure below:
1) From menu group 3, move the cursor to McnOffset and press SELECT.
