System Logs
Item | Description |
Truncate All Log File | Clear all log files. |
<< < > >> | Use the forward ( > >> ) and backward ( << < ) buttons |
| to browse the log pages. |
INFO | Provides all log information including warning messages and |
| error messages. |
WARN | Shows all warning messages and error messages. |
ERROR | Shows only error messages. |
GO | Specify the number of lines per page and press Go. |
Ascending | Shows logs by date in ascending order. |
Descending | Shows logs by date in descending order. |
Download All Log File | Export all logs to an external file. |
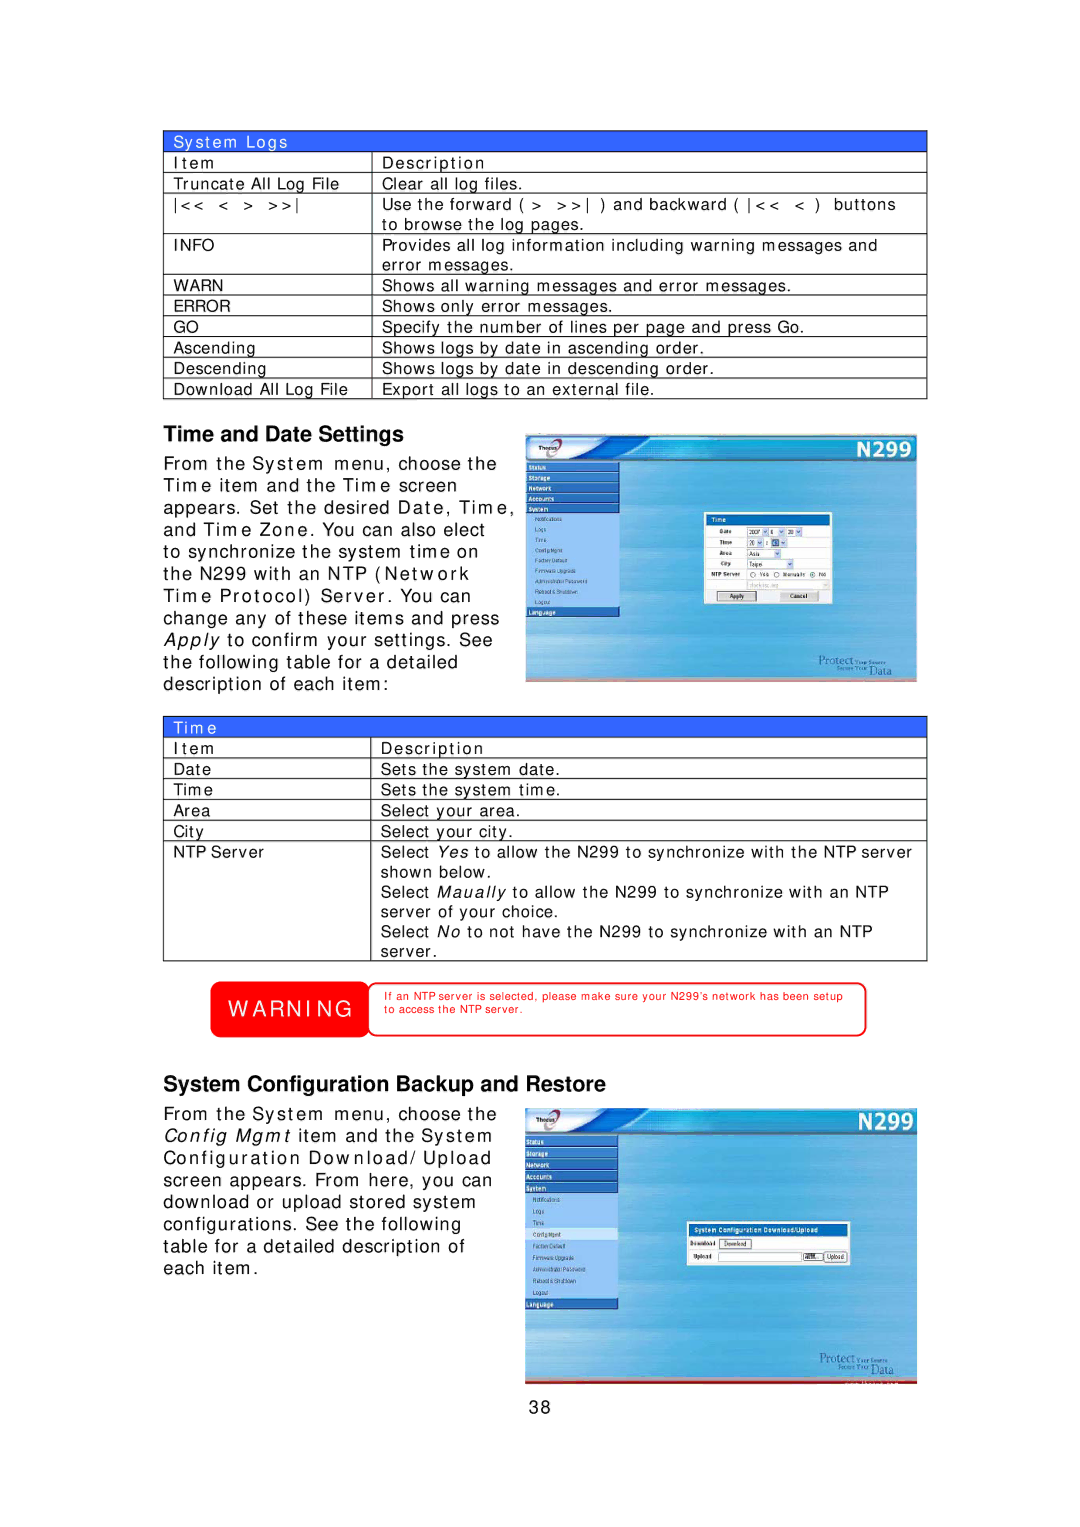
Time and Date Settings
From the System menu, choose the Time item and the Time screen appears. Set the desired Date, Time, and Time Zone. You can also elect to synchronize the system time on the N299 with an NTP (Network Time Protocol) Server. You can change any of these items and press Apply to confirm your settings. See the following table for a detailed description of each item:
Time
Item | Description |
Date | Sets the system date. |
Time | Sets the system time. |
Area | Select your area. |
City | Select your city. |
NTP Server | Select Yes to allow the N299 to synchronize with the NTP server |
| shown below. |
| Select Maually to allow the N299 to synchronize with an NTP |
| server of your choice. |
| Select No to not have the N299 to synchronize with an NTP |
| server. |
WARNING | If an NTP server is selected, please make sure your N299’s network has been setup |
to access the NTP server. |
System Configuration Backup and Restore
From the System menu, choose the Config Mgmt item and the System
Configuration Download/Upload screen appears. From here, you can download or upload stored system configurations. See the following table for a detailed description of each item.
38