Using Photo Gallery
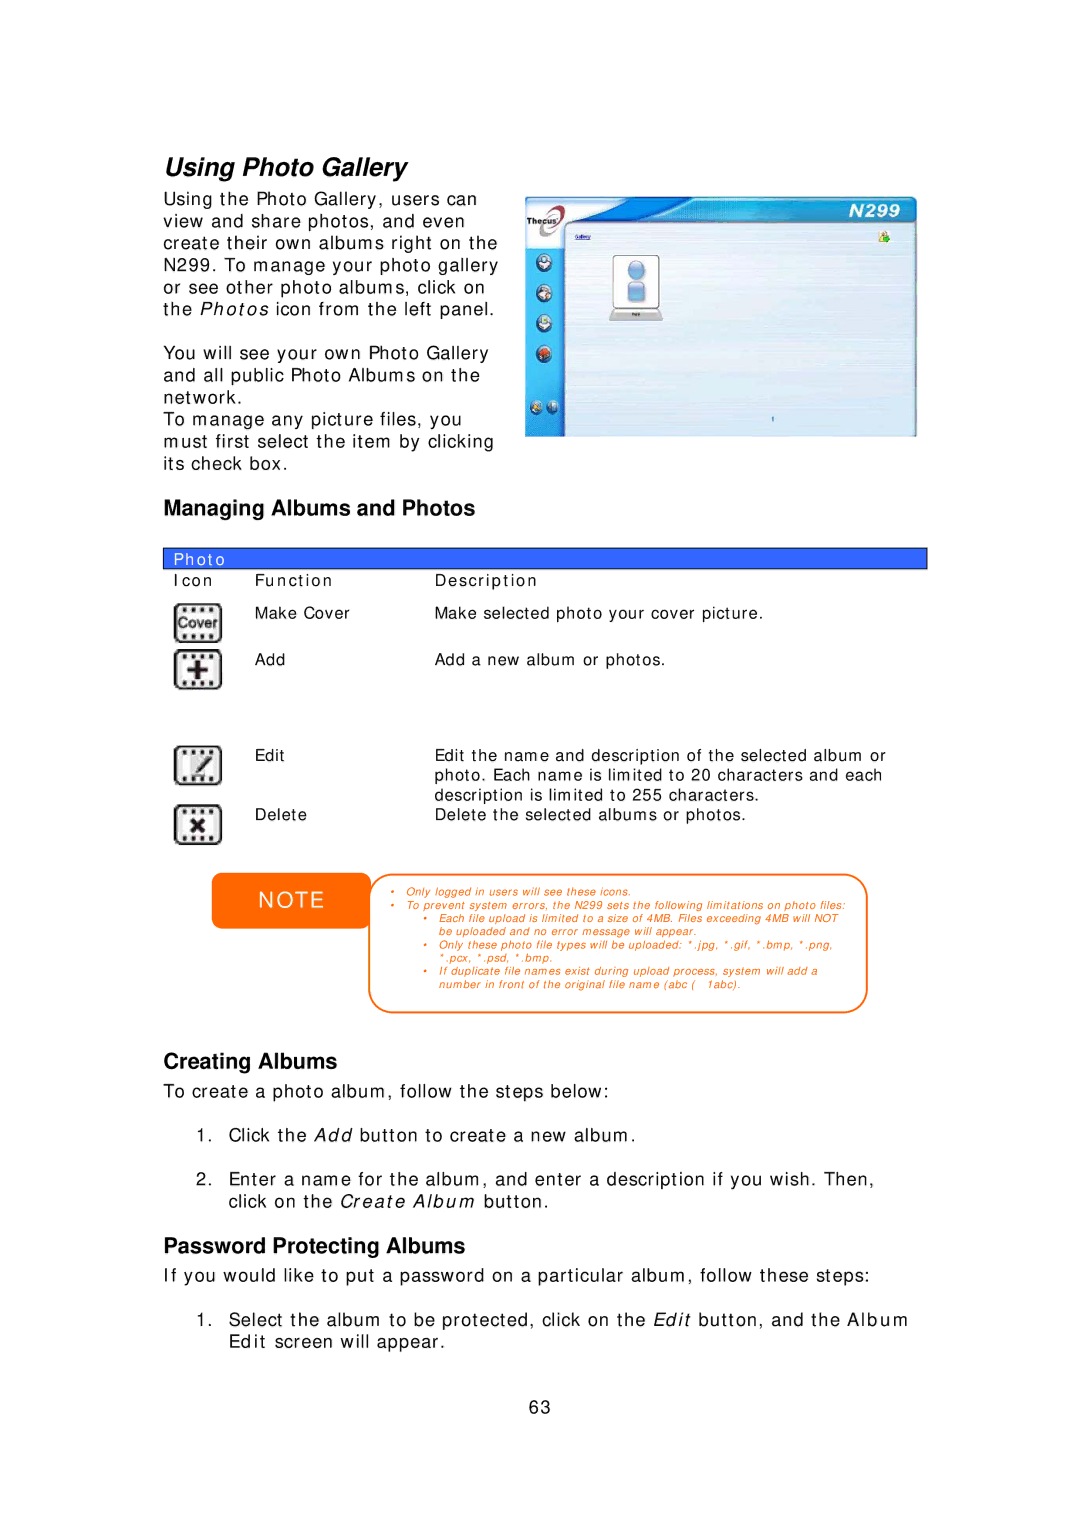
Using the Photo Gallery, users can view and share photos, and even create their own albums right on the N299. To manage your photo gallery or see other photo albums, click on the Photos icon from the left panel.
You will see your own Photo Gallery and all public Photo Albums on the network.
To manage any picture files, you must first select the item by clicking its check box.
Managing Albums and Photos
Photo
Icon | Function | Description |
| Make Cover | Make selected photo your cover picture. |
| Add | Add a new album or photos. |
Edit | Edit the name and description of the selected album or |
| photo. Each name is limited to 20 characters and each |
| description is limited to 255 characters. |
Delete | Delete the selected albums or photos. |
NOTE | • Only logged in users will see these icons. |
• To prevent system errors, the N299 sets the following limitations on photo files: | |
| • Each file upload is limited to a size of 4MB. Files exceeding 4MB will NOT |
| be uploaded and no error message will appear. |
| • Only these photo file types will be uploaded: *.jpg, *.gif, *.bmp, *.png, |
| *.pcx, *.psd, *.bmp. |
| • If duplicate file names exist during upload process, system will add a |
| number in front of the original file name (abc ( 1abc). |
Creating Albums
To create a photo album, follow the steps below:
1.Click the Add button to create a new album.
2.Enter a name for the album, and enter a description if you wish. Then, click on the Create Album button.
Password Protecting Albums
If you would like to put a password on a particular album, follow these steps:
1.Select the album to be protected, click on the Edit button, and the Album Edit screen will appear.
63
