Using the menus 2 (Continued)
![]() Note
Note
•If you select [Network Projector] in the Setting display (2) menu, the same items in [Network Utility] will be displayed except for the following 2 items.
1[Easy Connect (USB memory)] feature is not available.
2In the item [Application], [Password] and [Disconnect] are available as follows.
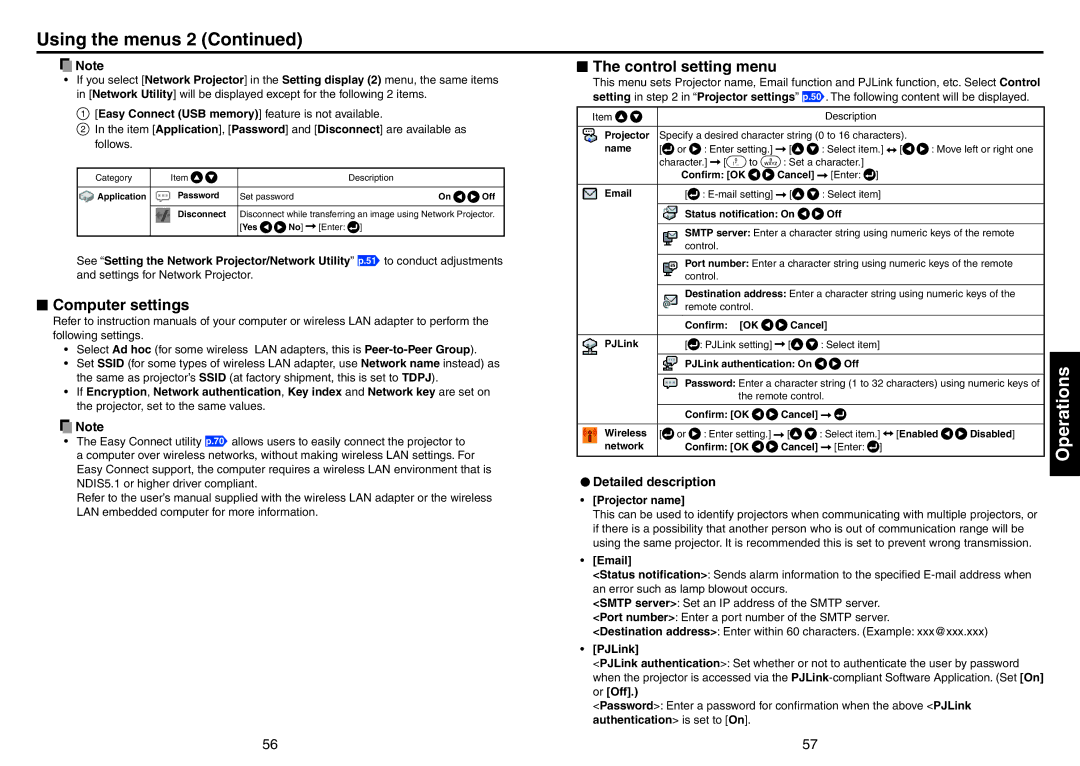
Category | Item |
| Description |
|
|
|
|
|
|
Application | Password | Set password | On | Off |
Disconnect Disconnect while transferring an image using Network Projector.
[Yes ![]()
![]() No]
No] ![]() [Enter:
[Enter: ![]() ]
]
See “Setting the Network Projector/Network Utility” p.51 to conduct adjustments and settings for Network Projector.
N Computer settings
Refer to instruction manuals of your computer or wireless LAN adapter to perform the following settings.
•Select Ad hoc (for some wireless LAN adapters, this is
•Set SSID (for some types of wireless LAN adapter, use Network name instead) as the same as projector’s SSID (at factory shipment, this is set to TDPJ).
•If Encryption, Network authentication, Key index and Network key are set on the projector, set to the same values.
![]() Note
Note
•The Easy Connect utility p.70 allows users to easily connect the projector to a computer over wireless networks, without making wireless LAN settings. For Easy Connect support, the computer requires a wireless LAN environment that is NDIS5.1 or higher driver compliant.
Refer to the user’s manual supplied with the wireless LAN adapter or the wireless LAN embedded computer for more information.
N The control setting menu
This menu sets Projector name, Email function and PJLink function, etc. Select Control setting in step 2 in “Projector settings” p.50 . The following content will be displayed.
Item |
|
|
|
|
| Description |
|
|
| |
|
|
|
| |||||||
Projector | Specify a desired character string (0 to 16 characters). |
|
| |||||||
name | [ | or | : Enter setting.] | [ | : Select item.] | [ | : Move left or right one | |||
| character.] [ | to | : Set a character.] |
|
|
|
| |||
|
| Confirm: [OK | Cancel] | [Enter: | ] |
|
|
| ||
|
|
|
|
|
|
|
|
| ||
| [ | : | [ | : Select item] |
|
|
| |||
|
|
|
|
|
|
|
| |||
|
| Status notification: On | Off |
|
|
|
| |||
|
|
| ||||||||
|
| SMTP server: Enter a character string using numeric keys of the remote | ||||||||
|
| control. |
|
|
|
|
|
|
| |
|
|
| ||||||||
|
| Port number: Enter a character string using numeric keys of the remote | ||||||||
|
| control. |
|
|
|
|
|
|
| |
|
|
| ||||||||
|
| Destination address: Enter a character string using numeric keys of the | ||||||||
|
| remote control. |
|
|
|
|
|
| ||
|
|
|
|
|
|
|
|
| ||
|
| Confirm: | [OK | Cancel] |
|
|
|
| ||
|
|
|
|
|
|
|
|
| ||
PJLink |
| [ | : PJLink setting] | [ | : Select item] |
|
|
| ||
|
|
|
|
|
|
|
| |||
|
| PJLink authentication: On | Off |
|
|
|
| |||
|
|
| ||||||||
|
| Password: Enter a character string (1 to 32 characters) using numeric keys of | ||||||||
|
|
|
| the remote control. |
|
|
|
| ||
|
|
|
|
|
|
|
|
| ||
|
| Confirm: [OK | Cancel] |
|
|
|
|
| ||
|
|
|
|
|
|
|
| |||
Wireless | [ | or | : Enter setting.] | [ | : Select item.] | [Enabled | Disabled] | |||
network |
| Confirm: [OK | Cancel] | [Enter: | ] |
|
|
| ||
|
|
|
|
|
|
|
|
|
|
|
L Detailed description
•[Projector name]
This can be used to identify projectors when communicating with multiple projectors, or if there is a possibility that another person who is out of communication range will be using the same projector. It is recommended this is set to prevent wrong transmission.
•[Email]
<Status notification>: Sends alarm information to the specified
<SMTP server>: Set an IP address of the SMTP server.
<Port number>: Enter a port number of the SMTP server.
<Destination address>: Enter within 60 characters. (Example: xxx@xxx.xxx)
•[PJLink]
<PJLink authentication>: Set whether or not to authenticate the user by password when the projector is accessed via the
<Password>: Enter a password for confirmation when the above <PJLink authentication> is set to [On].
Operations
56 | 57 |