VIWING COMPUTER IMAGES
A. Connecting this projector with a computer
Preparations:
•Make sure that the power for the projector and computer are turned off.
•With a
To DVI terminal
| 1 |
|
| 2 | To monitor port |
|
| |
DVI |
|
|
YCb/Pb Cr/Pr | Mini |
|
conversion cable |
|
To DVI terminal
1 |
|
2 | To DVI terminal |
DVI
Cb/Pb Cr/Pr | DVI cable |
|
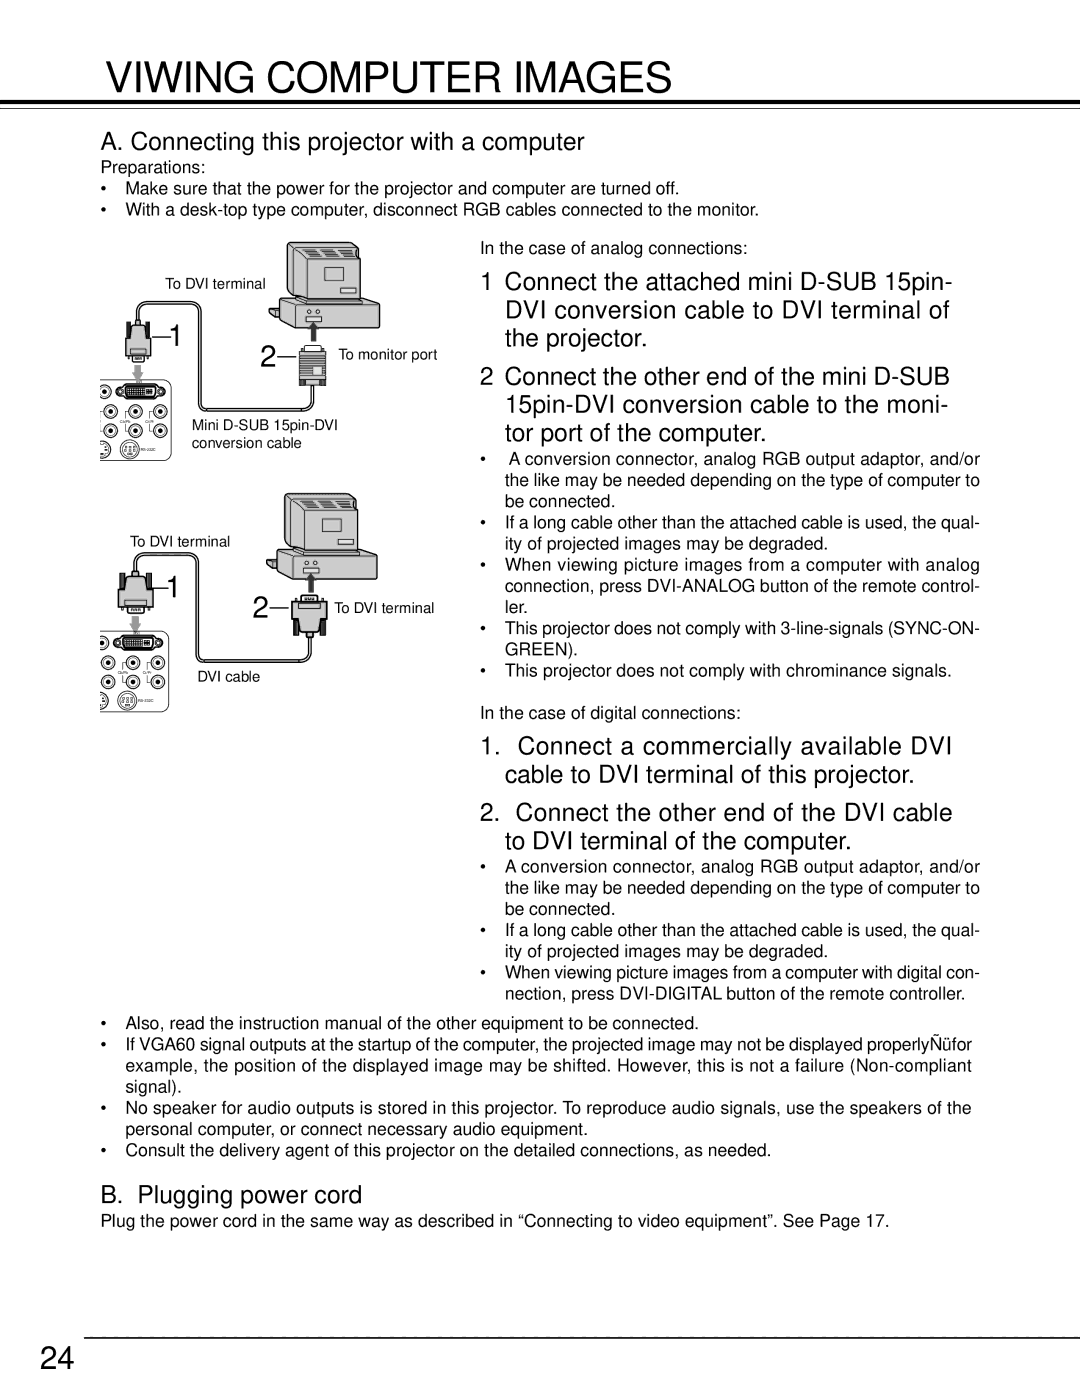
In the case of analog connections:
1Connect the attached mini
2Connect the other end of the mini
tor port of the computer.
•A conversion connector, analog RGB output adaptor, and/or the like may be needed depending on the type of computer to be connected.
•If a long cable other than the attached cable is used, the qual- ity of projected images may be degraded.
•When viewing picture images from a computer with analog connection, press
•This projector does not comply with
•This projector does not comply with chrominance signals.
In the case of digital connections:
1.Connect a commercially available DVI cable to DVI terminal of this projector.
2.Connect the other end of the DVI cable
to DVI terminal of the computer.
•A conversion connector, analog RGB output adaptor, and/or the like may be needed depending on the type of computer to be connected.
•If a long cable other than the attached cable is used, the qual- ity of projected images may be degraded.
•When viewing picture images from a computer with digital con- nection, press
•Also, read the instruction manual of the other equipment to be connected.
•If VGA60 signal outputs at the startup of the computer, the projected image may not be displayed properlyÑü for example, the position of the displayed image may be shifted. However, this is not a failure
•No speaker for audio outputs is stored in this projector. To reproduce audio signals, use the speakers of the personal computer, or connect necessary audio equipment.
•Consult the delivery agent of this projector on the detailed connections, as needed.
B. Plugging power cord
Plug the power cord in the same way as described in “Connecting to video equipment”. See Page 17.
24
