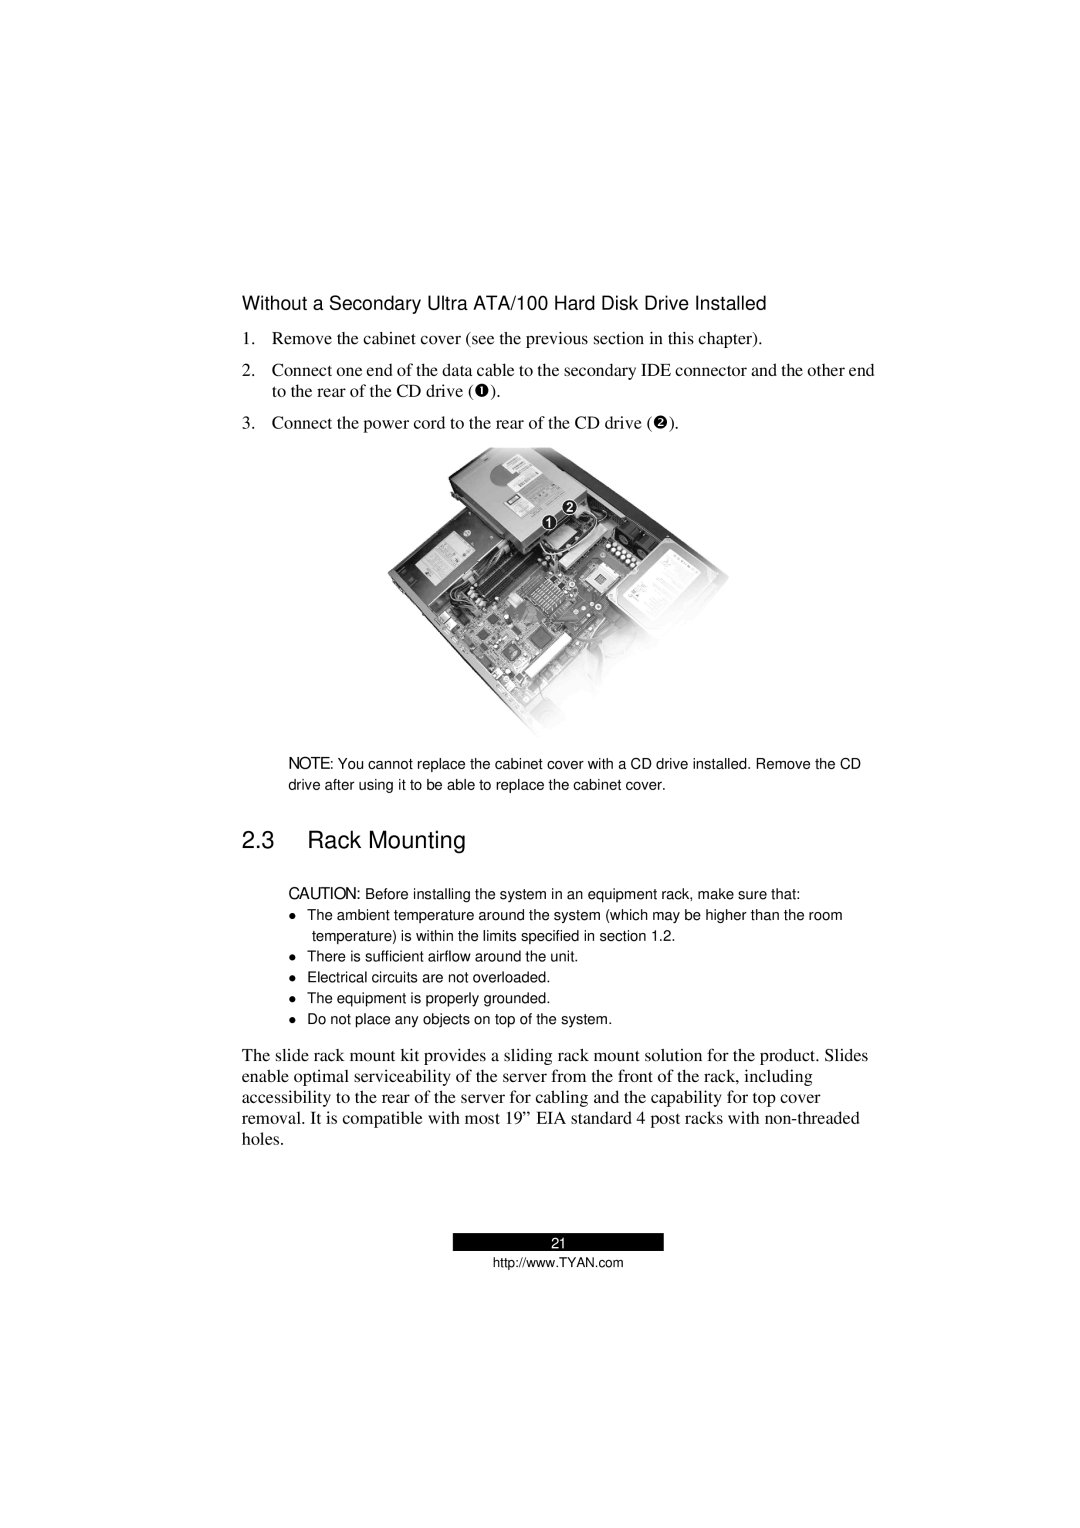
Without a Secondary Ultra ATA/100 Hard Disk Drive Installed
1.Remove the cabinet cover (see the previous section in this chapter).
2.Connect one end of the data cable to the secondary IDE connector and the other end to the rear of the CD drive (Œ).
3.Connect the power cord to the rear of the CD drive (•).
NOTE: You cannot replace the cabinet cover with a CD drive installed. Remove the CD drive after using it to be able to replace the cabinet cover.
2.3Rack Mounting
CAUTION: Before installing the system in an equipment rack, make sure that:
•The ambient temperature around the system (which may be higher than the room temperature) is within the limits specified in section 1.2.
•There is sufficient airflow around the unit.
•Electrical circuits are not overloaded.
•The equipment is properly grounded.
•Do not place any objects on top of the system.
The slide rack mount kit provides a sliding rack mount solution for the product. Slides enable optimal serviceability of the server from the front of the rack, including accessibility to the rear of the server for cabling and the capability for top cover removal. It is compatible with most 19” EIA standard 4 post racks with
21
http://www.TYAN.com
