STEP 2: CONNECTING THE SCANNER | 7 |
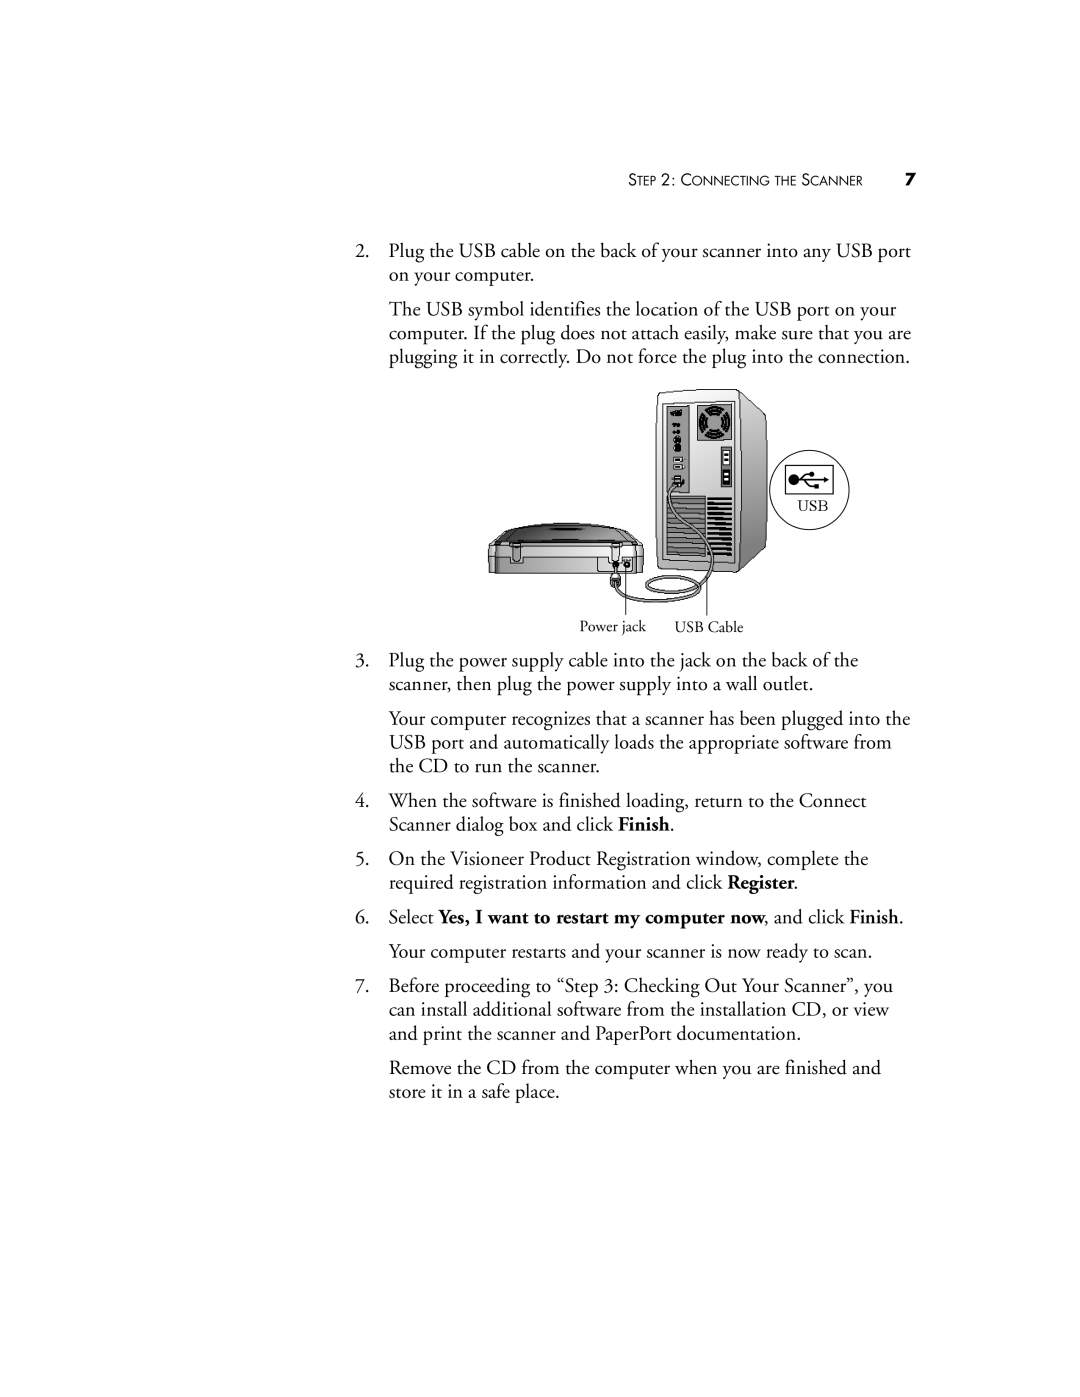
2.Plug the USB cable on the back of your scanner into any USB port on your computer.
The USB symbol identifies the location of the USB port on your computer. If the plug does not attach easily, make sure that you are plugging it in correctly. Do not force the plug into the connection.
USB
Power jack USB Cable
3.Plug the power supply cable into the jack on the back of the scanner, then plug the power supply into a wall outlet.
Your computer recognizes that a scanner has been plugged into the USB port and automatically loads the appropriate software from the CD to run the scanner.
4.When the software is finished loading, return to the Connect Scanner dialog box and click Finish.
5.On the Visioneer Product Registration window, complete the required registration information and click Register.
6.Select Yes, I want to restart my computer now, and click Finish. Your computer restarts and your scanner is now ready to scan.
7.Before proceeding to “Step 3: Checking Out Your Scanner”, you can install additional software from the installation CD, or view and print the scanner and PaperPort documentation.
Remove the CD from the computer when you are finished and store it in a safe place.