SCANNING FROM THE PAPERPORT SOFTWARE | 31 |
7.Check the preview image. If you want to change the scanner setting for the item, click one of the options in the Scan Page For list.
For example, to scan a black and white image instead of a color photo, select Black & White Photo in the list.
See the table in the section “Selecting a Predefined Scanner Setting” on page 33 for a description of these predefined settings.
8.To select the area to scan, drag the borders of the selection rectangle surrounding the preview image to reduce or enlarge the area.
When you preview an item to scan, the selection rectangle around the image indicates the scan area. However, you may want to select only a certain area of an item to scan. Selecting an appropriate scan area can result in a faster scan and a smaller file size. See “Selecting the Area of the Item You Want to Scan” on page 37 for details.
The scanned image’s file size and available space on your computer’s hard drive are shown at the
9.If you want to preview the item again with the new settings, click the Preview button again on the Scan Manager.
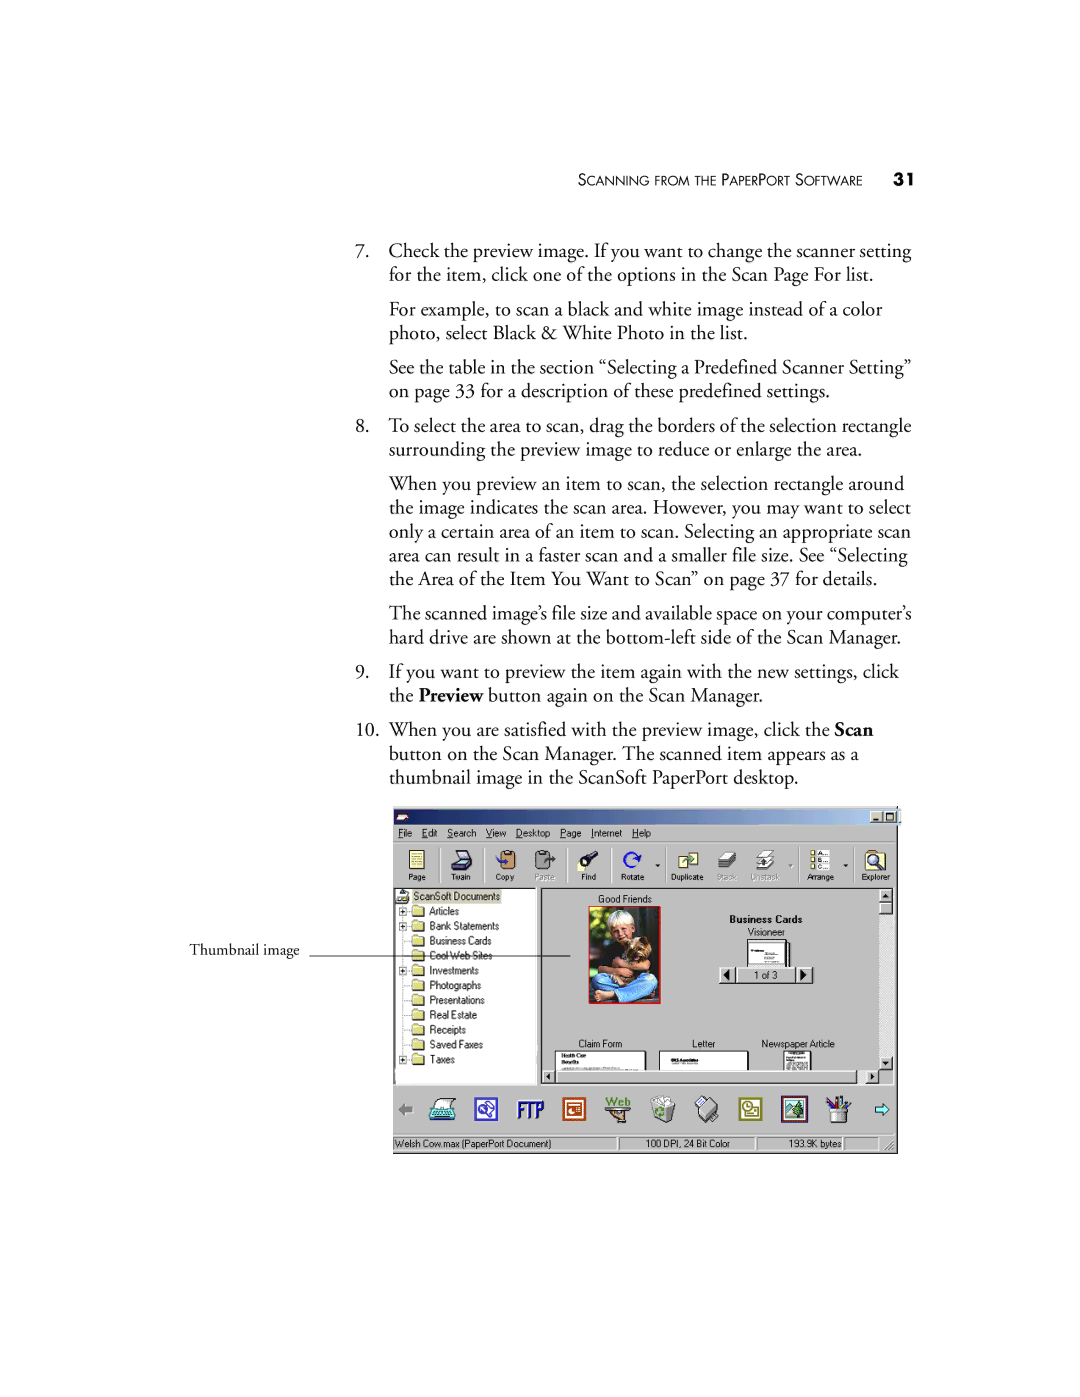
10.When you are satisfied with the preview image, click the Scan button on the Scan Manager. The scanned item appears as a thumbnail image in the ScanSoft PaperPort desktop.