ProScalerHigh Definition Video Processor User’s Manual
Note: Wolf Cinema always recommends that you, your custom installer or video calibrator thoroughly test the HDMI video cable(s) with the entire system prior to final installation. HDMI cables vary greatly in overall quality and signal integrity. Many HDMI cables are not designed to support certain information and signal timings over long cable runs. Contact Wolf Cinema technical support and/or your cable manufacturer for additional information regarding recommended HDMI cable lengths and overall system compatibility.
3
X | Note: The GPIO port not used in the | ||
|
|
| |
|
|
| communication protocol between the ProScaler and our |
|
|
| |
|
|
| projectors. Leave disconnected. |
|
|
|
|
4Connect both Projector and ProScaler to AC power.
Note: Use extreme care when connecting AC Power to any products. Review the important safety notices indicated on pages
5Power on the two components:
ProScaler: The ProScaler will automatically turn on. If a Red LED is shown on the right side of the front panel, the scaler is receiving AC power but no video input signal is detected. If a Blue LED is shown, the scaler is receiving AC power and a good video signal has been detected. No LED indicates there is no AC power to the scaler.
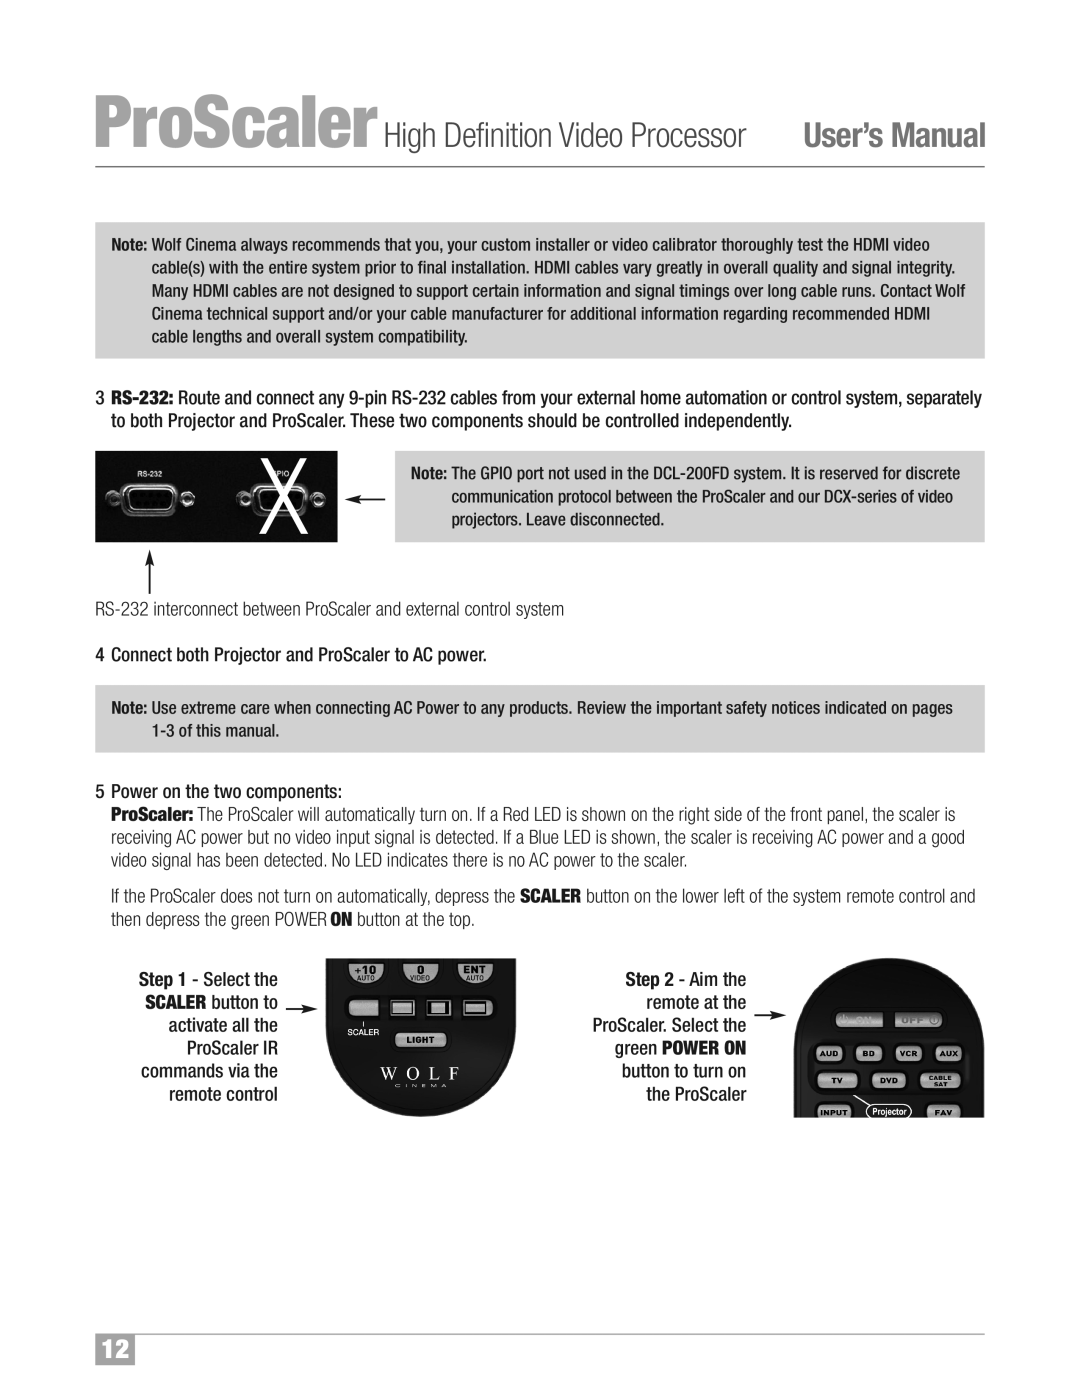
If the ProScaler does not turn on automatically, depress the SCALER button on the lower left of the system remote control and then depress the green POWER ON button at the top.
Step 1 - Select the |
| Step 2 - Aim the |
SCALER button to |
| remote at the |
activate all the |
| ProScaler. Select the |
ProScaler IR |
| green POWER ON |
commands via the |
| button to turn on |
remote control |
| the ProScaler |
12
