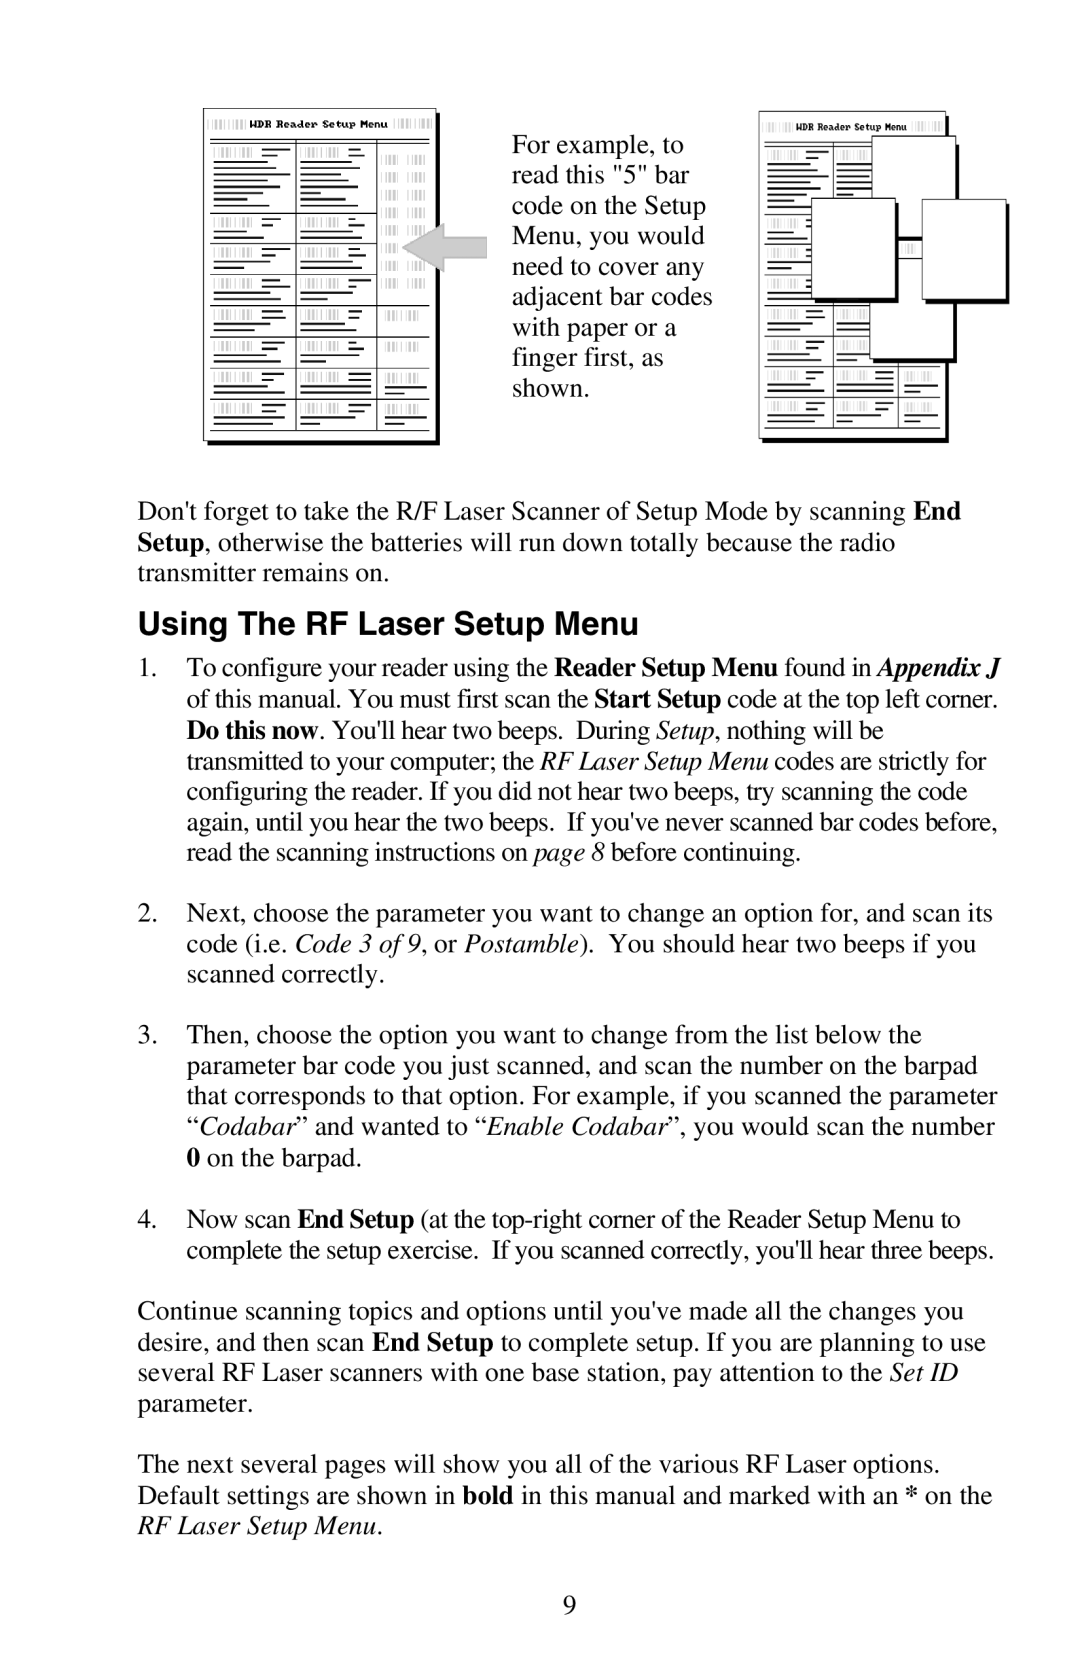
For example, to read this "5" bar code on the Setup Menu, you would need to cover any adjacent bar codes with paper or a finger first, as shown.
Don't forget to take the R/F Laser Scanner of Setup Mode by scanning End Setup, otherwise the batteries will run down totally because the radio transmitter remains on.
Using The RF Laser Setup Menu
1.To configure your reader using the Reader Setup Menu found in Appendix J of this manual. You must first scan the Start Setup code at the top left corner. Do this now. You'll hear two beeps. During Setup, nothing will be transmitted to your computer; the RF Laser Setup Menu codes are strictly for configuring the reader. If you did not hear two beeps, try scanning the code again, until you hear the two beeps. If you've never scanned bar codes before, read the scanning instructions on page 8 before continuing.
2.Next, choose the parameter you want to change an option for, and scan its code (i.e. Code 3 of 9, or Postamble). You should hear two beeps if you scanned correctly.
3.Then, choose the option you want to change from the list below the parameter bar code you just scanned, and scan the number on the barpad that corresponds to that option. For example, if you scanned the parameter “Codabar” and wanted to “Enable Codabar”, you would scan the number 0 on the barpad.
4.Now scan End Setup (at the
Continue scanning topics and options until you've made all the changes you desire, and then scan End Setup to complete setup. If you are planning to use several RF Laser scanners with one base station, pay attention to the Set ID parameter.
The next several pages will show you all of the various RF Laser options. Default settings are shown in bold in this manual and marked with an * on the RF Laser Setup Menu.
9