Connecting to the Network
Follow these instructions to connect the machine to an Ethernet TCP/IP network.
If you are connecting your machine to a different type of network, or you wish to use other protocols, refer to the System Administration CD.
Test the device
Before connecting the machine to your network, make sure that it is operating correctly as a copier.
1Place a document in the Document Feeder and make 3 copies.
2If the copies are made successfully, install the network connection as described in the next steps. If copying is not successful, refer to Troubleshooting on page 33.
Network Connection using TCP/IP
You can set up the TCP/IP network connection using either of the following methods:
•DHCP: Use this method to allow a DHCP server to automatically assign an IP address. This is the factory default setting.
•Static IP address: Use this method to manually assign an IP address provided by the network administrator.
When the machine is powered on, it automatically uses DHCP to obtain its network configuration. To use a static IP address, DHCP must be turned off and the IP address, gateway address, subnet mask, and DNS Server address must be entered manually.
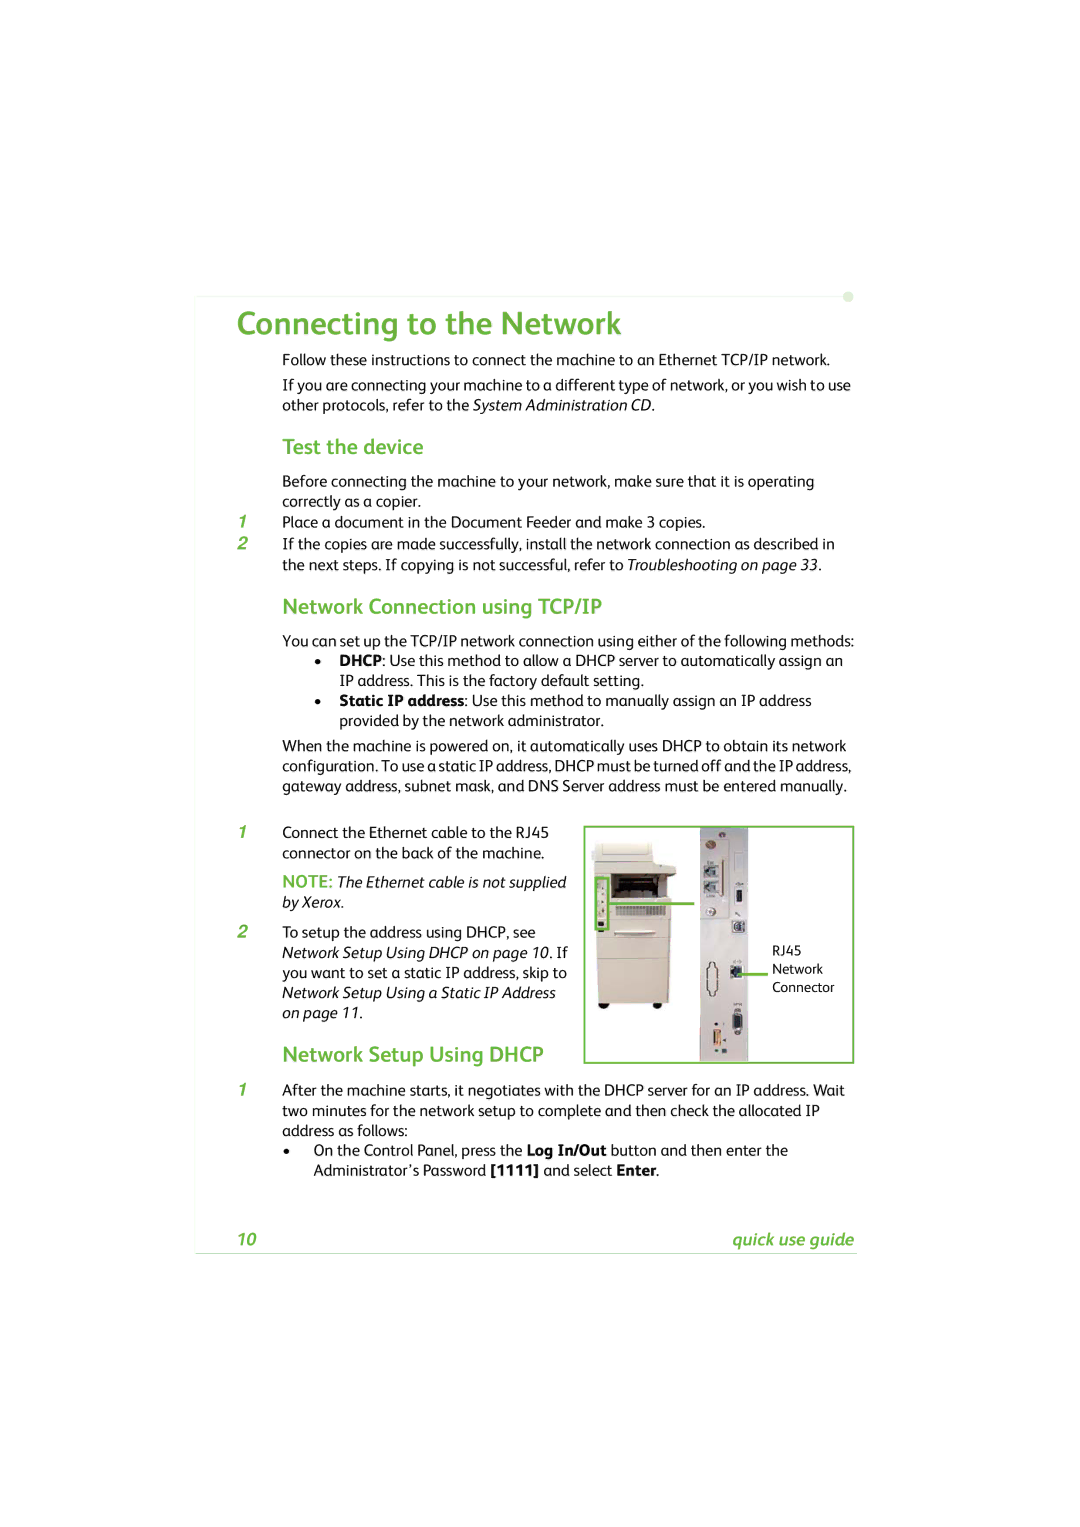
1 | Connect the Ethernet cable to the RJ45 |
|
|
|
|
|
|
|
|
|
|
|
| ||
| connector on the back of the machine. |
|
|
|
|
| |
| NOTE: The Ethernet cable is not supplied |
|
|
|
|
| |
|
|
|
|
|
| ||
2 | by Xerox. |
|
|
|
|
| |
|
|
|
|
| |||
To setup the address using DHCP, see |
|
|
|
| RJ45 | ||
|
|
|
| ||||
| Network Setup Using DHCP on page 10. If |
|
|
|
| ||
| you want to set a static IP address, skip to |
|
|
|
| Network | |
|
|
|
|
| |||
| Network Setup Using a Static IP Address |
|
|
|
| Connector | |
| on page 11. |
|
|
|
|
| |
Network Setup Using DHCP
1After the machine starts, it negotiates with the DHCP server for an IP address. Wait two minutes for the network setup to complete and then check the allocated IP address as follows:
•On the Control Panel, press the Log In/Out button and then enter the Administrator’s Password [1111] and select Enter.
10 | quick use guide |