Installing Option Kits
This section provides instructions on how to install and configure optional features:
•Network Accounting
•Server Fax
NOTE: For more instructions on installing and configuring Server Fax and Network Accounting, refer to the System Administration CD.
Installing Option Kits
All the Option Kits are installed in the same way. Each kit will contain a Feature Enablement Key and instructions.
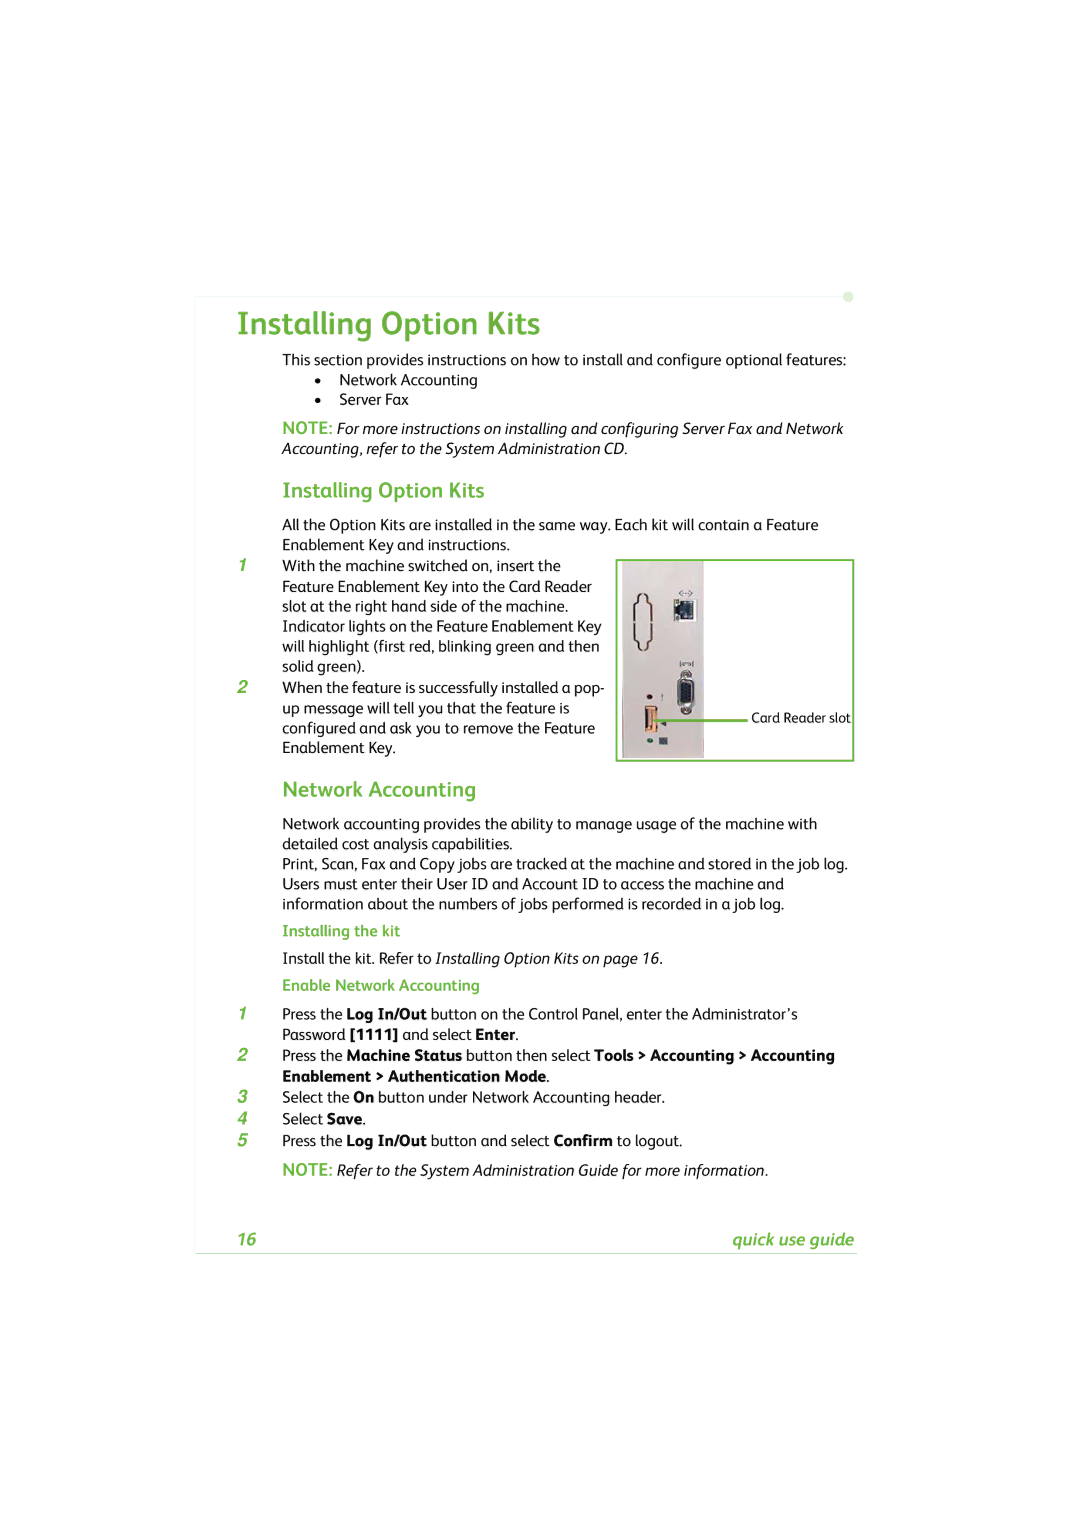
1With the machine switched on, insert the Feature Enablement Key into the Card Reader slot at the right hand side of the machine. Indicator lights on the Feature Enablement Key will highlight (first red, blinking green and then solid green).
2When the feature is successfully installed a pop- up message will tell you that the feature is
configured and ask you to remove the Feature Enablement Key.
Network Accounting
Network accounting provides the ability to manage usage of the machine with detailed cost analysis capabilities.
Print, Scan, Fax and Copy jobs are tracked at the machine and stored in the job log. Users must enter their User ID and Account ID to access the machine and information about the numbers of jobs performed is recorded in a job log.
Installing the kit
Install the kit. Refer to Installing Option Kits on page 16.
Enable Network Accounting
1Press the Log In/Out button on the Control Panel, enter the Administrator’s Password [1111] and select Enter.
2Press the Machine Status button then select Tools > Accounting > Accounting Enablement > Authentication Mode.
3Select the On button under Network Accounting header.
4Select Save.
5Press the Log In/Out button and select Confirm to logout.
NOTE: Refer to the System Administration Guide for more information.
16 | quick use guide |