Manuals
/
Xerox
/
Computer Equipment
/
Printer
Xerox
DocuPrint 96 Cleaning, Close the printer doors, Guide to Performing Routine Maintenance
Models:
DocuPrint 96
1
50
60
60
Download
60 pages
56.39 Kb
47
48
49
50
51
52
53
54
<
>
Troubleshooting
Error codes
Maintenance
Replacing the dry ink waste container 6. Cleaning
Safety
Xerox Customer Service Center
Operator accessible areas
Page 50
Image 50
Cleaning
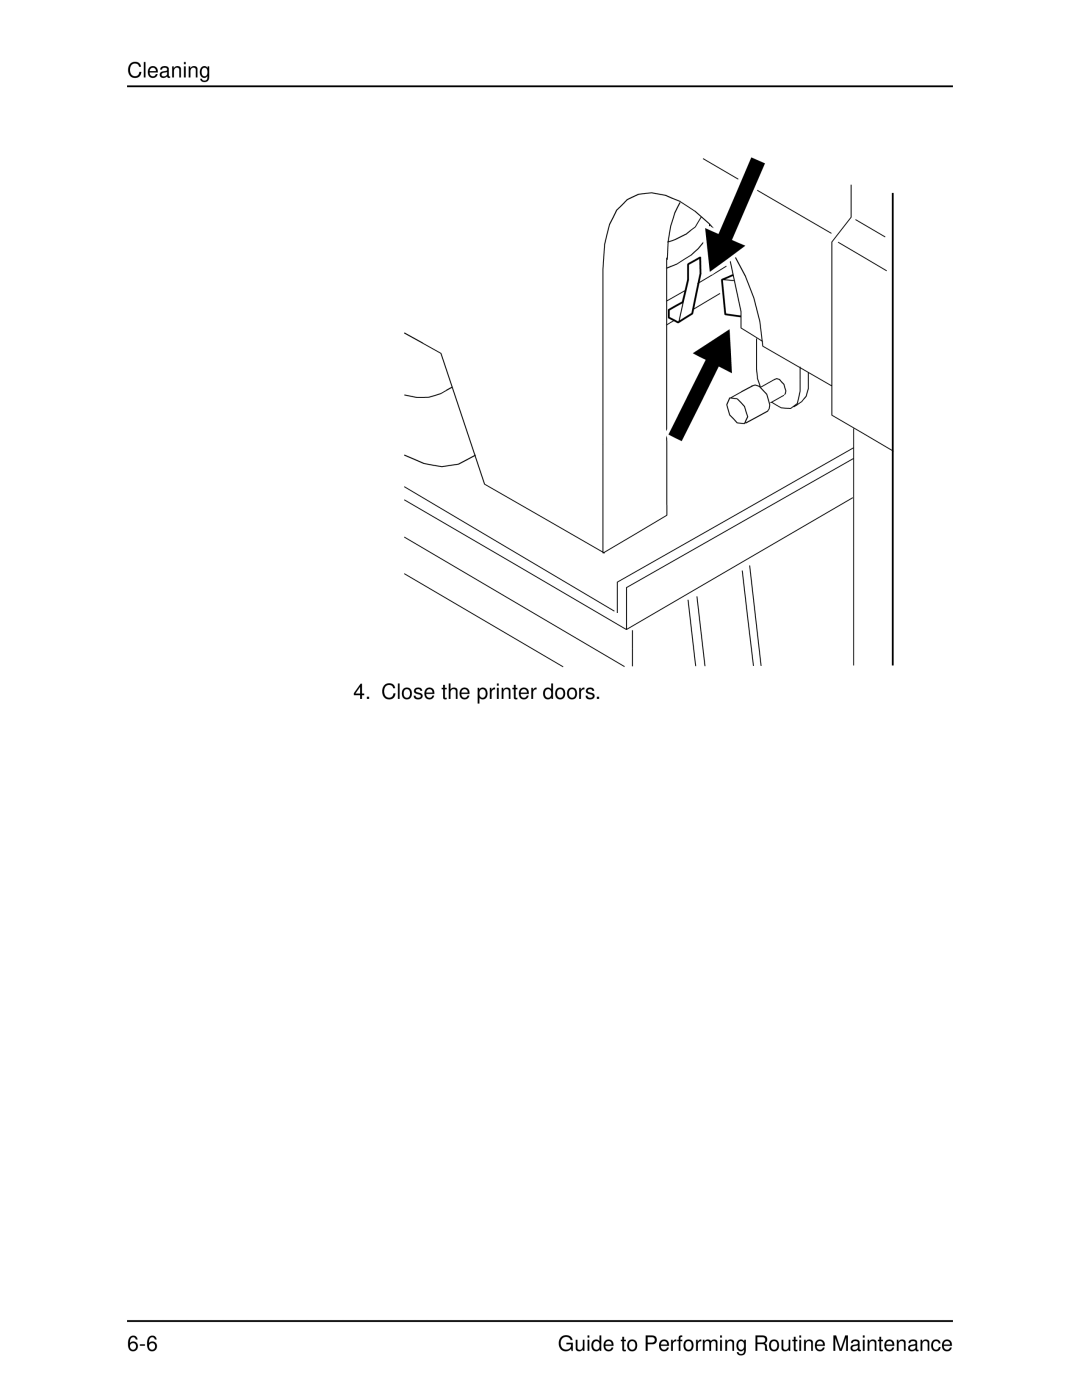
4. Close the printer doors.
6-6
Guide to Performing Routine Maintenance
Page 49
Page 51
Page 50
Image 50
Page 49
Page 51
Contents
721P90060 Version 8.0 October
Guide to Performing Routine Maintenance
Xerox DocuPrint 96/4635/180/2000 Series NPS/IPS
Guide to Performing Routine Maintenance
Introduction
Table of contents
Safety
1. Feeder trays
5. Replacing the dry ink waste container 6. Cleaning
7. Maintenance and support services
LABELS. ONLY XEROX SERVICE REPRESENTATIVES HAVE
Safety
Laser safety
ACCESS TO THESE PANELS
Operation safety U. S
Ozone information U. S. only
Operation safety Europe
Warning markings
Ventilation
Operator accessible areas
Electrical supply
CE mark Europe only
Maintenance
Before cleaning your product
Telecommunications Terminal Equipment Directive
Radio and telecommunications equipment directive Europe only
Certification to 1999/5/EC Radio Equipment and
Guide to Performing Routine Maintenance
For further information
Safety
Europe+44 1707 USA1 800 Canada1 800
Safety
Guide to Performing Routine Maintenance
About this guide
Contents
Introduction
Conventions
Guide to Managing Print Jobs Guide to Performing Routine Maintenance
Warnings alert you to conditions that may affect the safety of people
Guide to Configuring and Managing the System
Guide to Using Page Description Languages Installation Planning Guide
Introduction
Submitting your Jobs from UNIX & DOS Quick Reference Card
Guide to Performing Routine Maintenance
1. Feeder trays
Checking feeder trays
Additional guidelines for loading special stocks
Loading feeder trays
Guidelines for loading paper
Loading trays 1 and
3. Pull the feeder tray out until it stops
Guide to Performing Routine Maintenance
Feeder trays
Feeder trays
Do not load above the MAX line shown on the paper guide
Guide to Performing Routine Maintenance
8. Pull the length guide forward to touch the back of the paper stack
Loading trays 3, 4, 5, and
3. Pull the feeder tray out until it stops
Feeder trays 2. Wait until the Ready to Open indicator lights
Guide to Performing Routine Maintenance
7. Slide both length guides back against the paper
Guide to Performing Routine Maintenance
Feeder trays
Guide to Performing Routine Maintenance
Feeder trays
1-10
Guide to Performing Routine Maintenance
Feeder trays
Checking and unloading purge trays
2. Output trays and bins
Checking and unloading the sample tray
Checking and unloading high-capacity stacker HCS bins
Unloading a stacker bin
Always use both hands to lift the paper stack out of the bin
Bin Unload
Guide to Performing Routine Maintenance
Output trays and bins
3. Fuser agent
4. Put on gloves
Guide to Performing Routine Maintenance
Fuser agent
Guide to Performing Routine Maintenance
Fuser agent
Page
NOTE The fuser agent message disappears after the printer prints between 32 and 40 sheets. Since the sheets must be processed continuously, you may want to run 45 test pages in order to clear the message from the system unless the current print job contains at least 40 pages
Guide to Performing Routine Maintenance
Fuser agent
4. Adding dry ink
2. Place a dropcloth on the floor under the dry ink area
Guide to Performing Routine Maintenance
Adding dry ink
3. Pull the empty dry ink cartridge out until it stops
6. Insert the new cartridge into the printer until it stops
Guide to Performing Routine Maintenance
Adding dry ink Remove the empty cartridge and discard it
Page
5. Replacing the dry ink waste container
Replacing the dry ink waste container
To prevent dry ink spills, do not tip or tilt the waste container
Guide to Performing Routine Maintenance
3. Pull the full waste container out of the printer
NOTE Do not remove the cap from the container
Guide to Performing Routine Maintenance
Replacing the dry ink waste container
6. Cleaning
Cleaning the sensors and the reflective surfaces
Do not use any abrasives or strong solvents on the sensor
To clean the Q850 sensor
Cleaning the Q850 sensor
Cleaning
Guide to Performing Routine Maintenance
4. Lower the area 4 green handle 5. Close the printer doors
Cleaning
Guide to Performing Routine Maintenance
To clean the Q1011 sensor and mirror
Cleaning the Q1011 sensor and mirror
Cleaning
2. Apply a small amount of lens and mirror cleaner to a cleaning pad
4. Close the printer doors
Cleaning
Guide to Performing Routine Maintenance
Cleaning additional sensors
Sensor Q1107
Guide to Performing Routine Maintenance
Q1106 and Q1166
Cleaning
Cleaning the 4mm cartridge tape drive
Sensor Q1164
Page
Xerox Documentation and Software Services
7. Maintenance and support services
Xerox Customer Service Center
Xerox Font Center
Operator training
Xerox Customer Education
Reporting billing meters
Maintenance and support services
Guide to Performing Routine Maintenance
Index
Numerics