Prestige 641 ADSL Internet Access Router
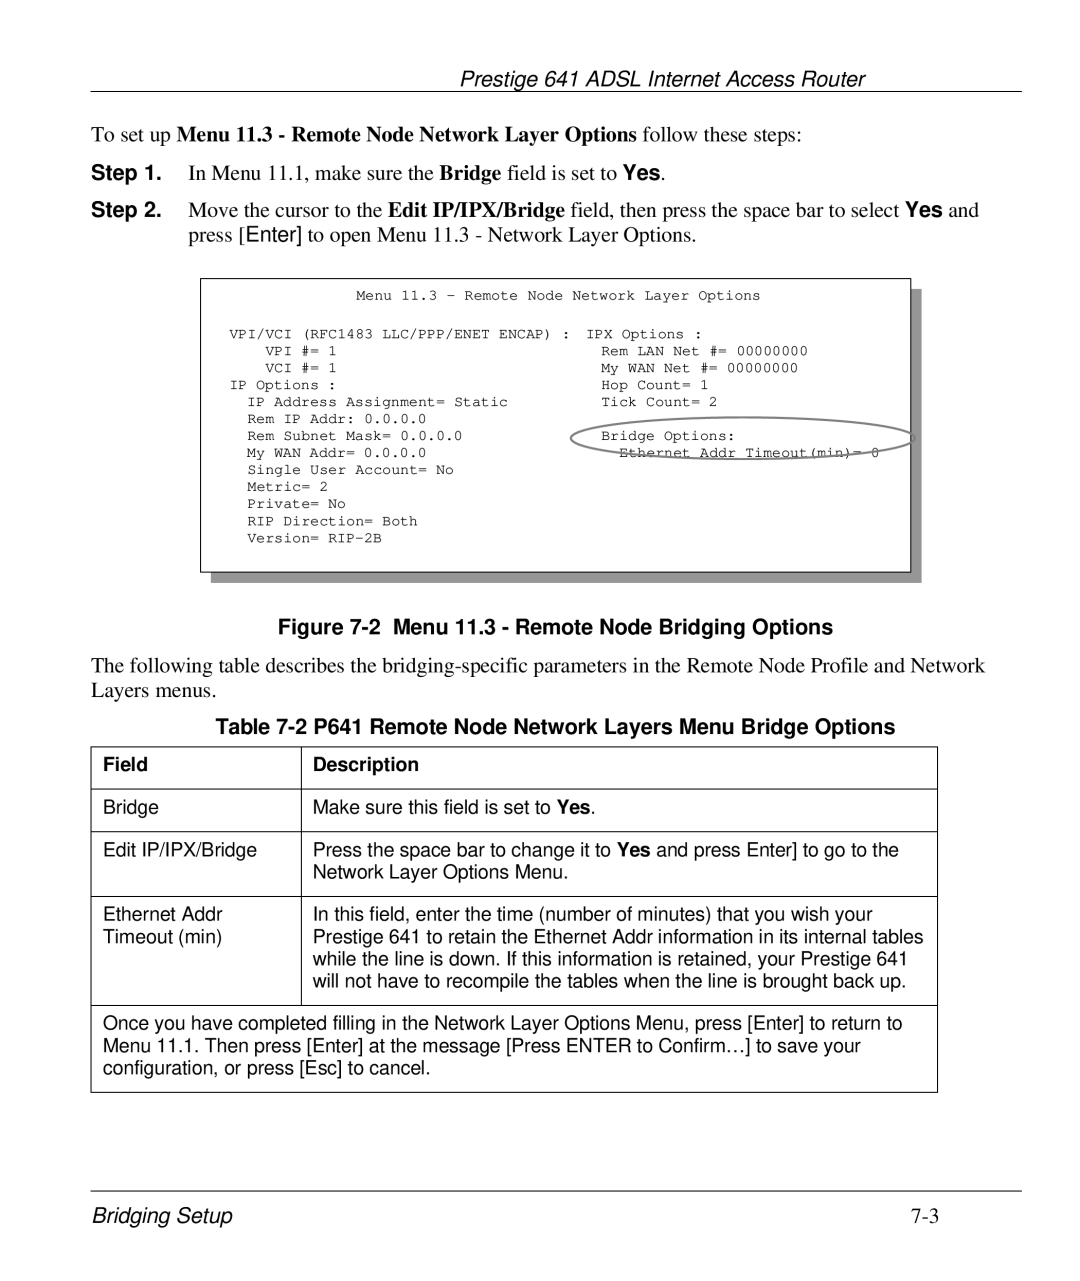
To set up Menu 11.3 - Remote Node Network Layer Options follow these steps:
Step 1. In Menu 11.1, make sure the Bridge field is set to Yes.
Step 2. Move the cursor to the Edit IP/IPX/Bridge field, then press the space bar to select Yes and press [Enter] to open Menu 11.3 - Network Layer Options.
Menu 11.3 - Remote Node Network Layer Options
VPI/VCI (RFC1483 LLC/PPP/ENET ENCAP) : | IPX Options : |
VPI #= 1 | Rem LAN Net #= 00000000 |
VCI #= 1 | My WAN Net #= 00000000 |
IP Options : | Hop Count= 1 |
IP Address Assignment= Static | Tick Count= 2 |
Rem IP Addr: 0.0.0.0 |
|
Rem Subnet Mask= 0.0.0.0 | Bridge Options: |
My WAN Addr= 0.0.0.0 | Ethernet Addr Timeout(min)= 0 |
Single User Account= No |
|
Metric= 2 |
|
Private= No |
|
RIP Direction= Both |
|
Version= |
|
Figure 7-2 Menu 11.3 - Remote Node Bridging Options
The following table describes the
Table 7-2 P641 Remote Node Network Layers Menu Bridge Options
Field | Description |
|
|
Bridge | Make sure this field is set to Yes. |
|
|
Edit IP/IPX/Bridge | Press the space bar to change it to Yes and press Enter] to go to the |
| Network Layer Options Menu. |
|
|
Ethernet Addr | In this field, enter the time (number of minutes) that you wish your |
Timeout (min) | Prestige 641 to retain the Ethernet Addr information in its internal tables |
| while the line is down. If this information is retained, your Prestige 641 |
| will not have to recompile the tables when the line is brought back up. |
|
|
Once you have completed filling in the Network Layer Options Menu, press [Enter] to return to Menu 11.1. Then press [Enter] at the message [Press ENTER to Confirm…] to save your configuration, or press [Esc] to cancel.
Bridging Setup |
