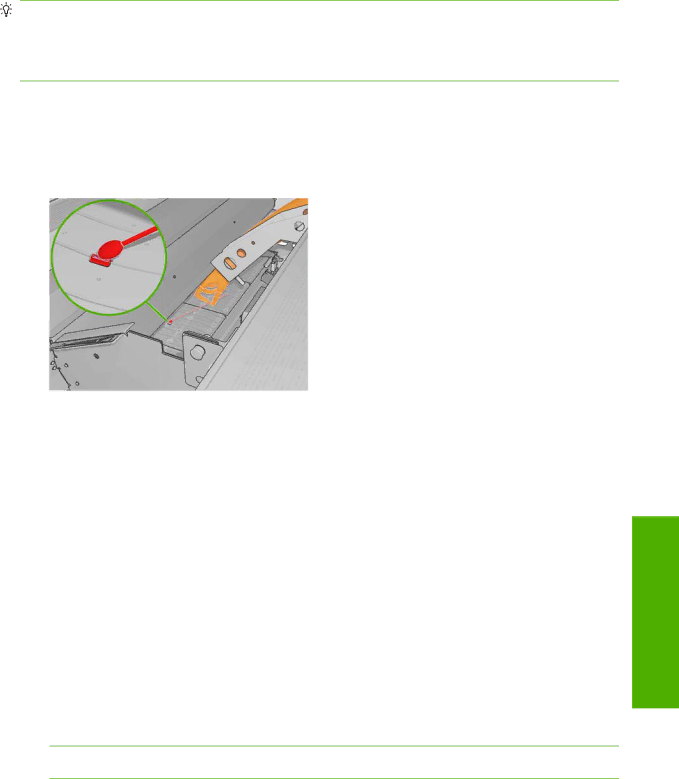
The sensor is located between the second and third group of three pinches, in the middle of the platen.
TIP: You may need a ladder to reach the sensor.
TIP: Cleaning is easily done by reaching over the carriage beam in its low position. If you try to do it by putting your arms below the beam in its high position, you will find it more difficult to access the sensor and to check that it is clean.
1.Unload the substrate.
2.Wipe the sensor with one of the cotton swabs provided in the Cleaning Kit, slightly dampened with isopropyl alcohol, to remove dried ink. If the sensor window is heavily coated with dried ink, you may need to apply some pressure while wiping, helping the cotton to absorb the ink. Continue cleaning with fresh swabs until the cotton stays clean and the sensor window looks clean.
When reflecting ambient light, a clean sensor shows a
3.Wait 3 or 4 minutes before reloading the substrate, so that the alcohol can evaporate completely.
Clean the temperature sensors
An alert is displayed when the temperature sensors need to be cleaned, which may be about every two months, depending on your use of the printer. When you see the alert, follow this procedure to clean the sensors.
1.Go to the front panel and select Clean temperature sensors from the Preventive Maintenance
menu ![]() . Press OK to continue.
. Press OK to continue.
2.Unload the substrate.
3.When the substrate has finished unloading, press an emergency stop button to turn off the mechanical and drying components of the printer. This is advisable for your own safety.
4.Wait until the dryers cool down.
![]() CAUTION: In the following procedure you will be working close to surfaces that are hot during normal printer operation. Check that they are cool before proceeding.
CAUTION: In the following procedure you will be working close to surfaces that are hot during normal printer operation. Check that they are cool before proceeding.
5.Dampen a cotton swab with distilled water. Swabs are provided in the Cleaning Kit.
Hardware maintenance
ENWW | Clean the temperature sensors 19 |