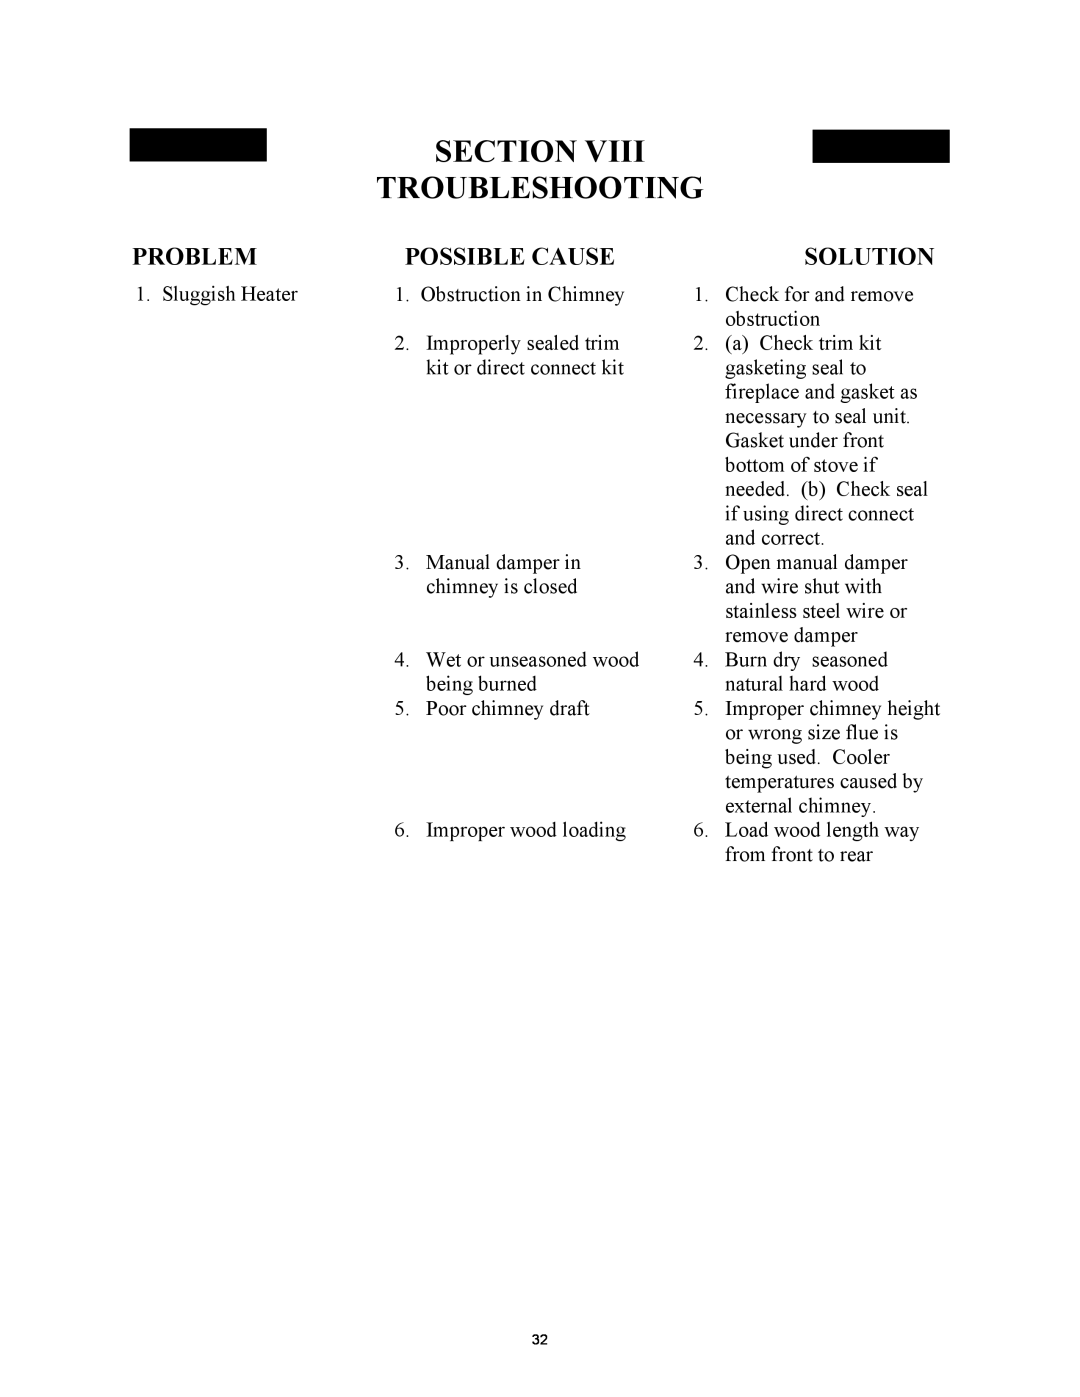
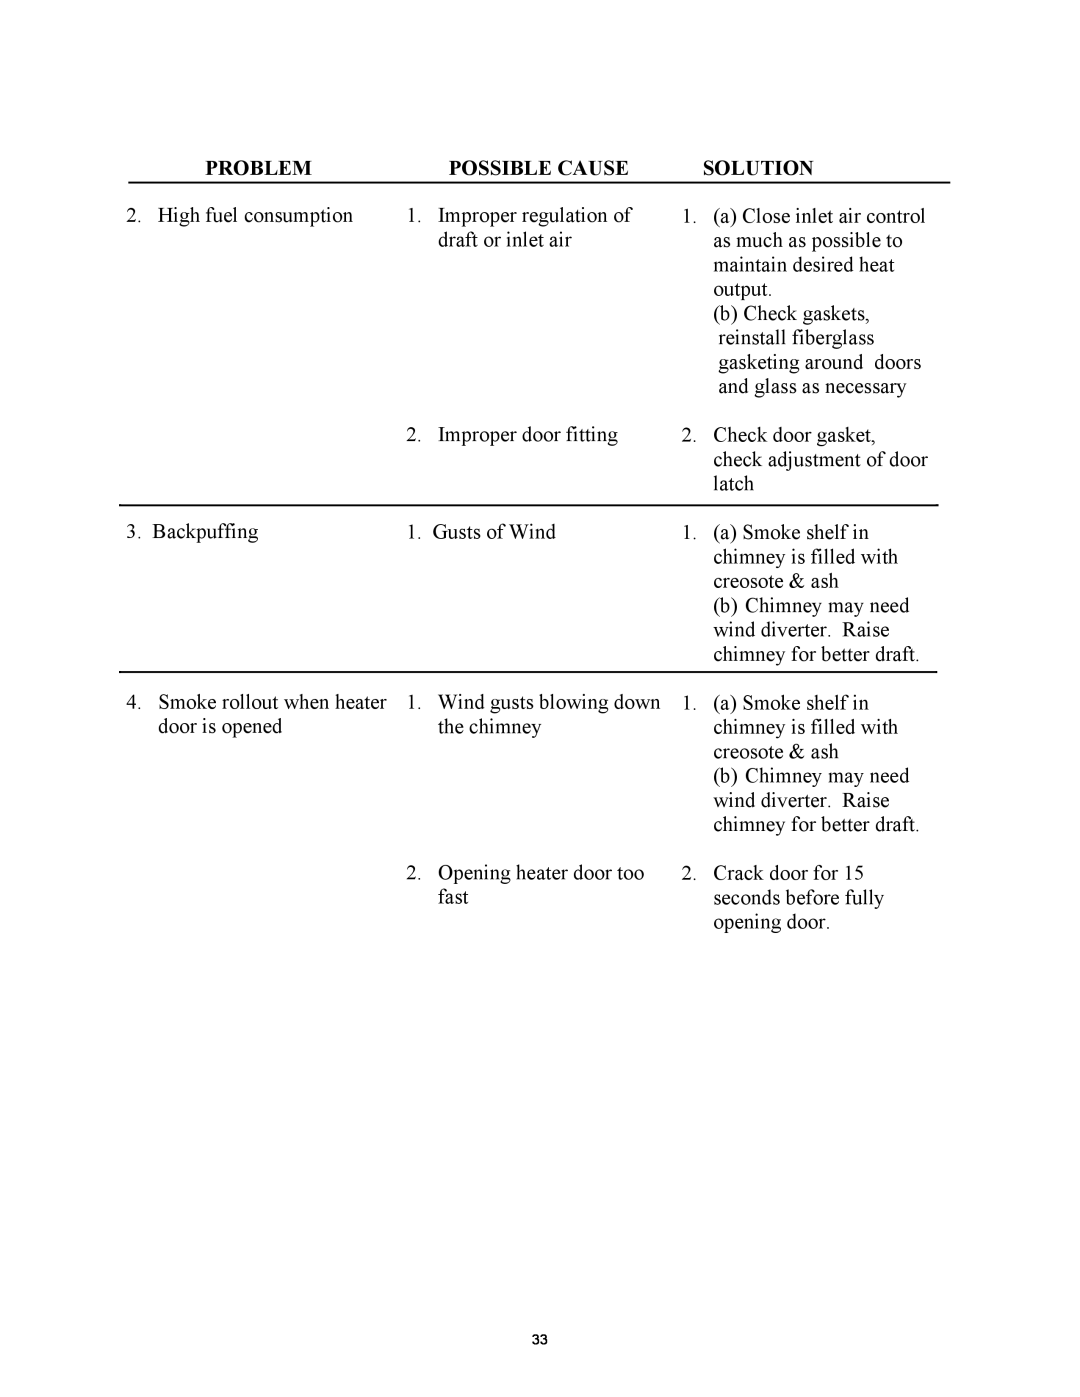
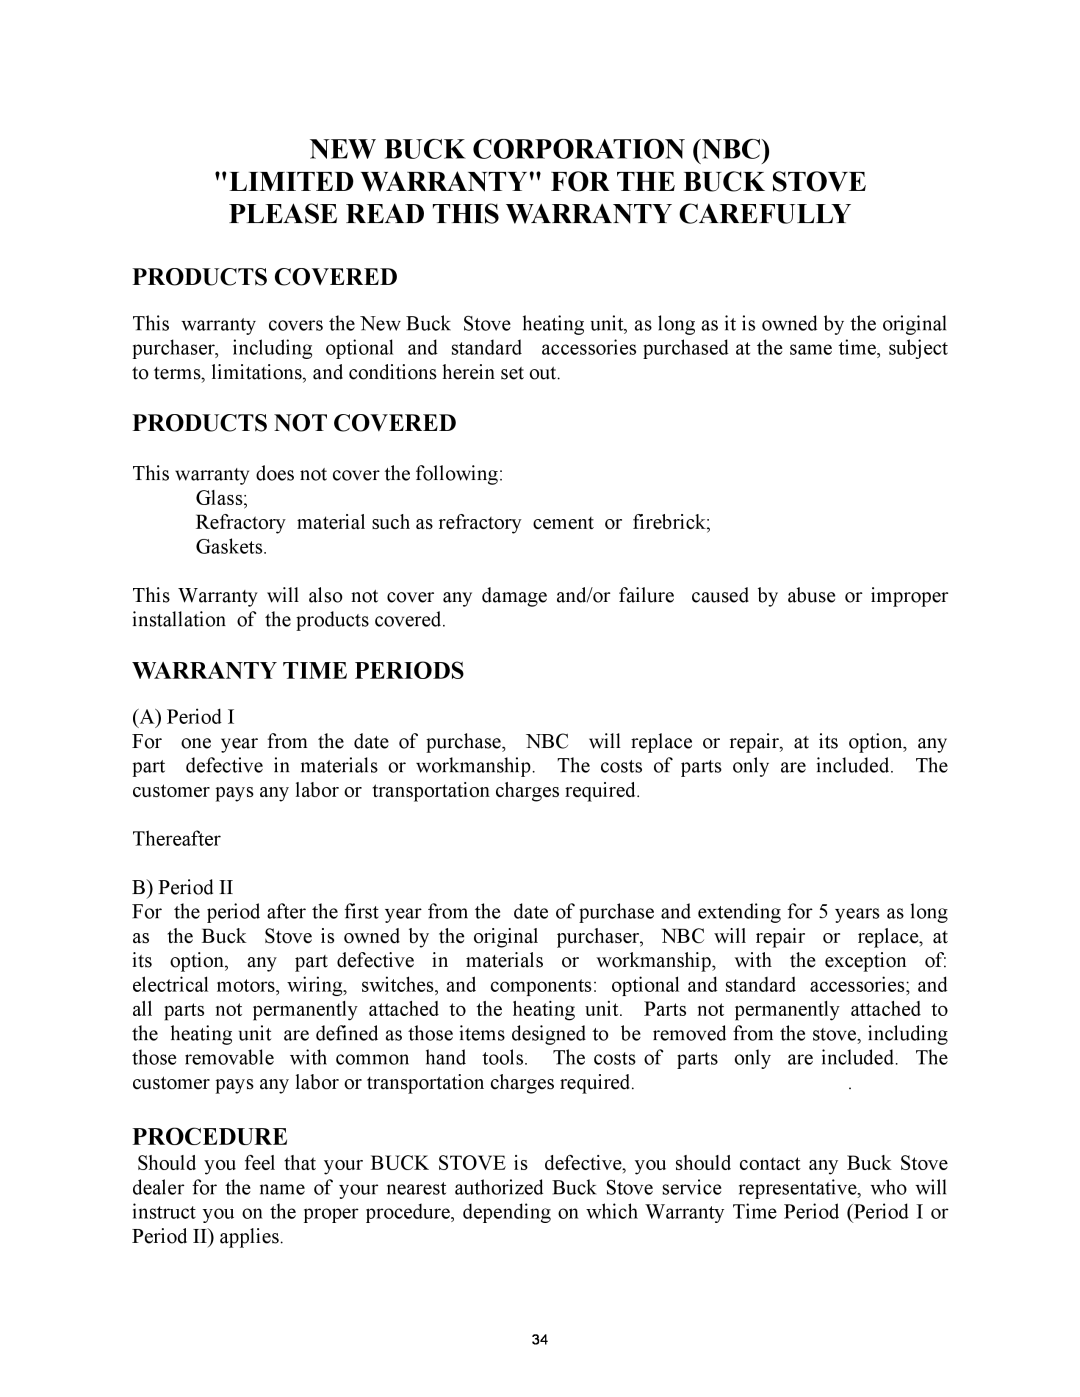
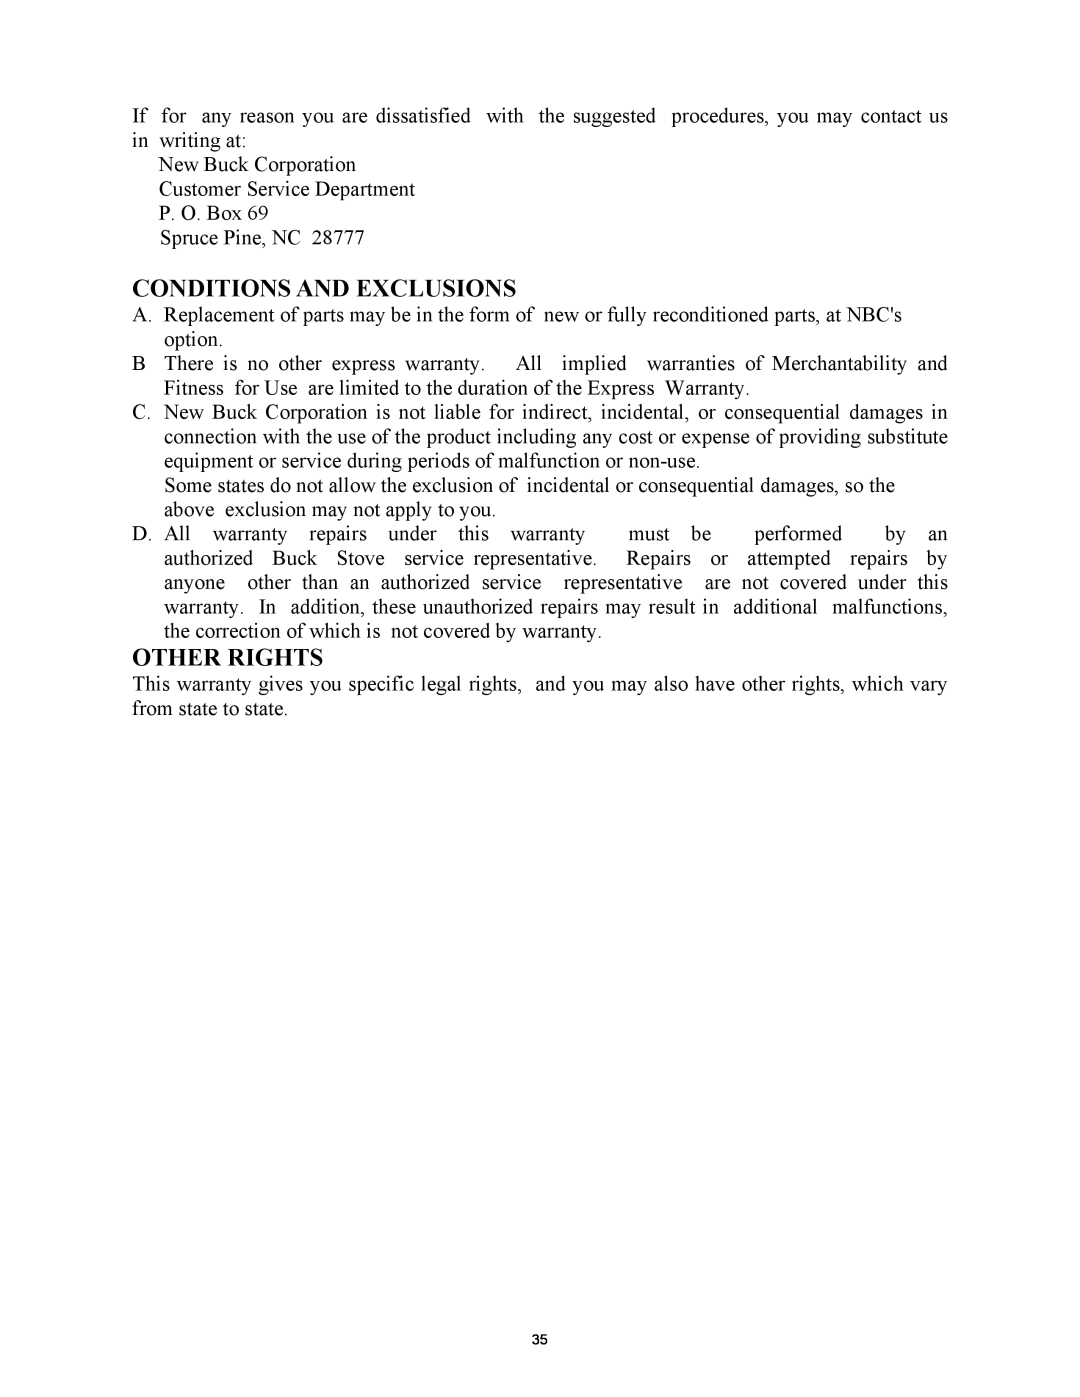
New Buck Corporation 74 Chimney, Tools For Installation, Preparing The Heater For Installation

Page 27
CHIMNEY

CHIMNEY

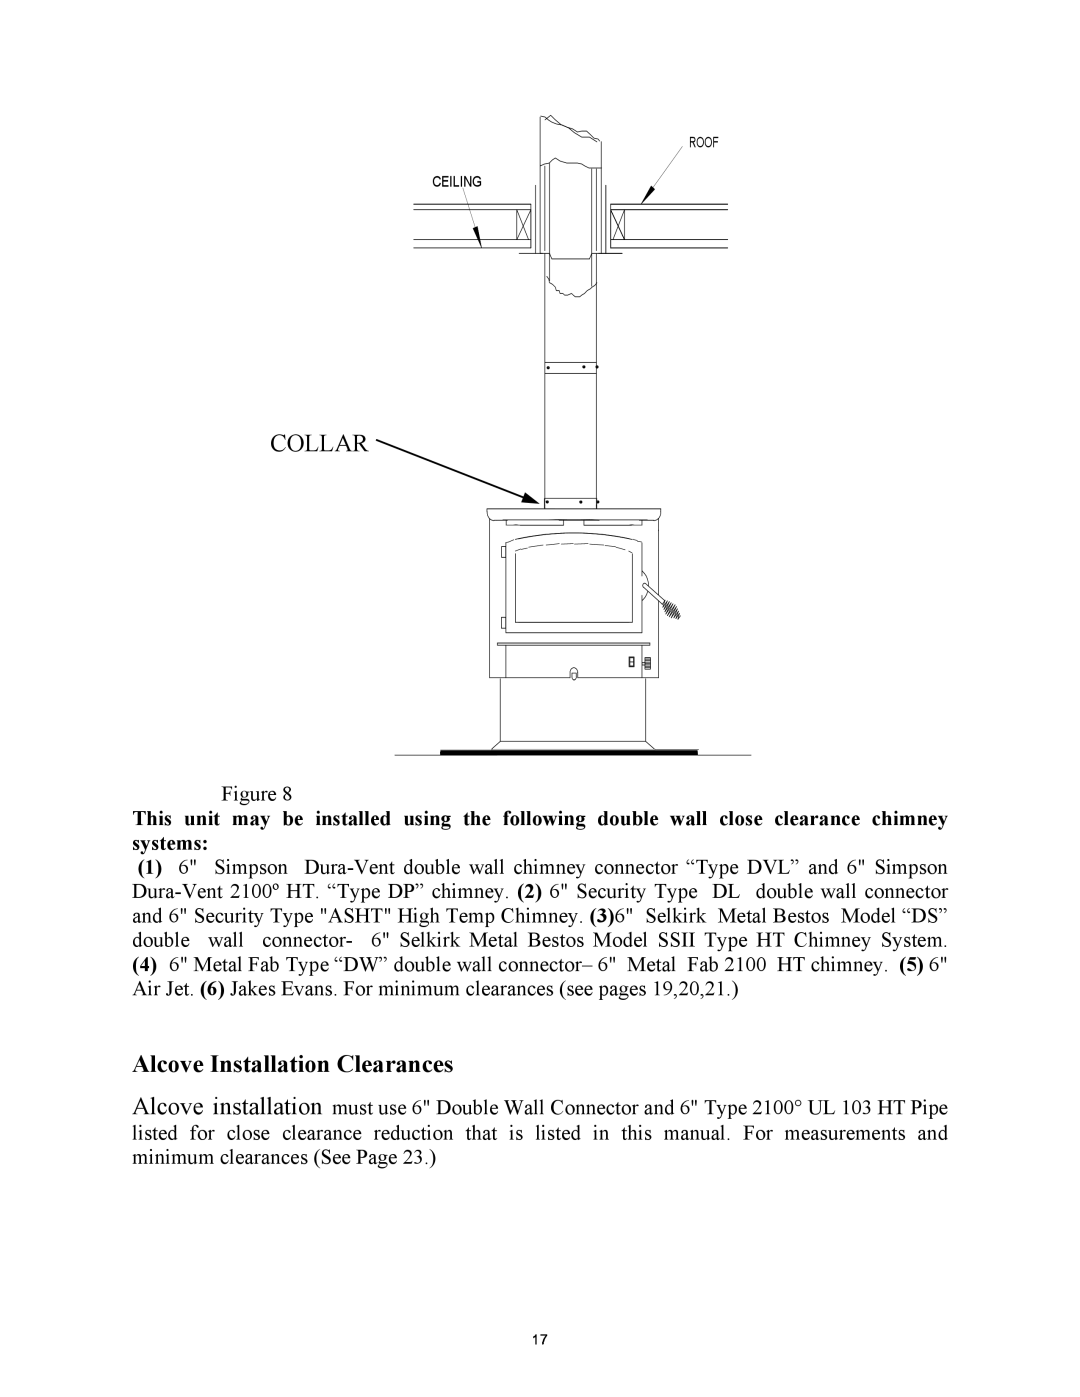
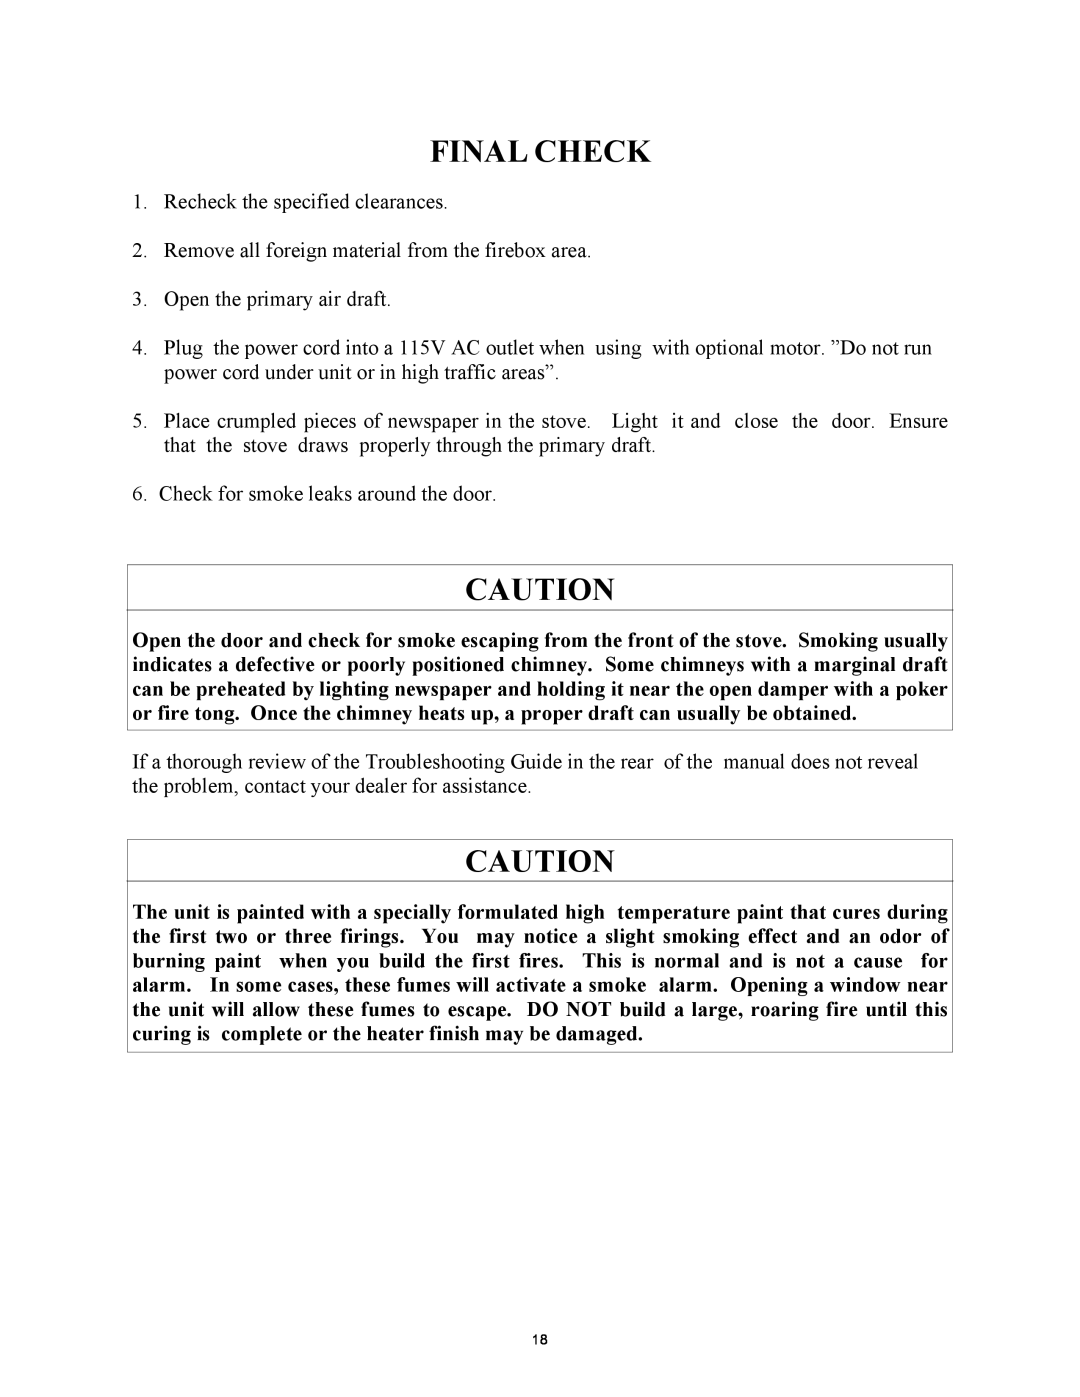
This model is designed for connection to the following, 2100° UL 103 HT chimneys and parts, Simpson Duravent, Security, Selkirk Metal Bestos and Metal Fab. Air Jet,

Jakes Evans pipe. Follow chimney manufactures instructions carefully.

TOOLS FOR INSTALLATION

Drop cloth

3/32" Metal drill bit

5/16" Magnetic socket chuck adapter, 5/16" wrench (box or socket) or adjustable wrench Jigsaw with masonry, metal and wood blades

PREPARING THE HEATER FOR INSTALLATION

1.Inspect the unit for any obvious physical damage.

2.Plug the power cord into a 115V AC outlet to test the motor and fan when using with optional motor. “Do not run power cord under unit or in high traffic areas”.

3.Check the primary air draft control to ensure it operates freely.

4.Remove any items from within the firebox. Spread a drop cloth on the floor behind the heater. Next, tilt the heater so that the back is on the drop cloth.

NOTE: If outside air is required ,or being used the following must be done.

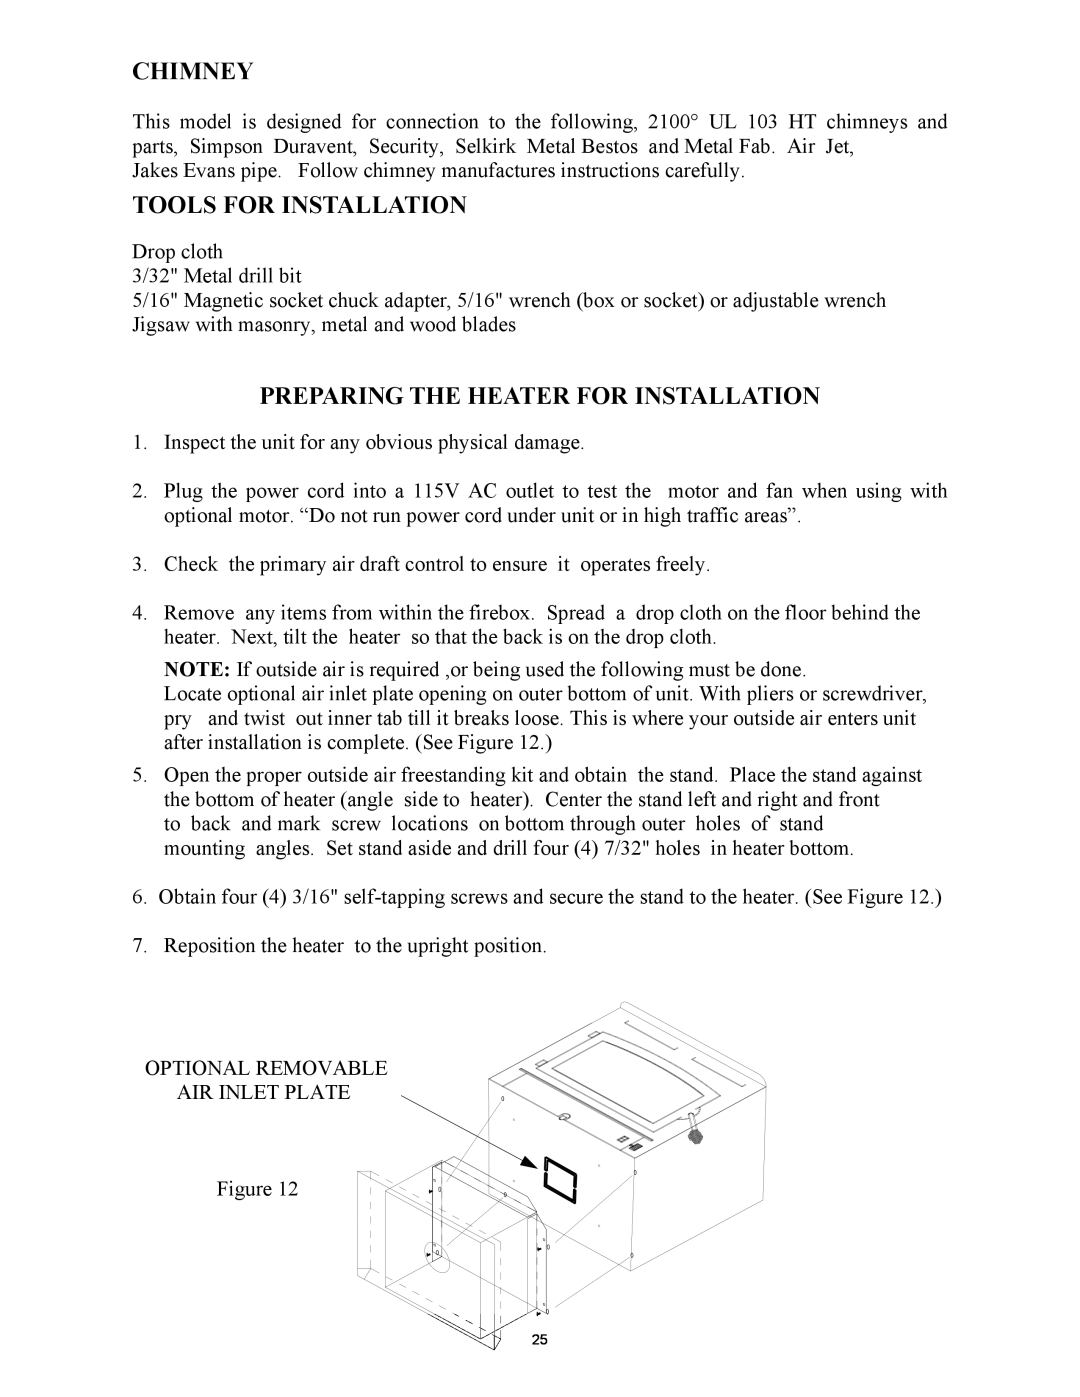
Locate optional air inlet plate opening on outer bottom of unit. With pliers or screwdriver, pry and twist out inner tab till it breaks loose. This is where your outside air enters unit after installation is complete. (See Figure 12.)

5.Open the proper outside air freestanding kit and obtain the stand. Place the stand against the bottom of heater (angle side to heater). Center the stand left and right and front

to back and mark screw locations on bottom through outer holes of stand mounting angles. Set stand aside and drill four (4) 7/32" holes in heater bottom.

6.Obtain four (4) 3/16" self-tapping screws and secure the stand to the heater. (See Figure 12.)

7.Reposition the heater to the upright position.

OPTIONAL REMOVABLE

AIR INLET PLATE

Figure 12

25
Image 27
Contents BUCKSTOVE Page TABLE OF CONTENTS IMPORTANT INSTRUCTIONS INSTALLATION, OPERATION, ANDMAINTENANCE INSTRUCTIONS MODEL BEFORE INSTALLING YOUR NEW BUCK STOVEINTRODUCTION SECTIONSECTION MASONRY INSERT INSTALLATIONMINIMUM CLEARANCE MASONRY INSERT MODELINSTALLATION OPTIONS POSSIBLE TOOLS NEEDED FOR INSTALLATIONINSTALLATION PREPARATION MASONRY INSERT INSTALLATIONOPTION B AIRTIGHT INSU LATED CLEAN OUT REMOVE DAMPEROR WIRE IT OPEN OPTION AMOUNTING THE TRIM PANELS INSTALLATION PROCEDUREPOSITIONING THE HEATER POSITIONINGFINAL CHECK Page SECTION PRE-FABINSERT INSTALLATION SECTION RESIDENTIAL FREESTANDING INSTALLATION PREPARING THE STOVE FOR INSTALLATIONheater to the remainder of the home Floor Protection ChimneyDETERMINING THE CHIMNEY LOCATION B. Wall Exit Into Metal Tee-Box Page D. Ceiling Exit-CloseClearance COLLAR Alcove Installation ClearancesFINAL CHECK CLEARANCES FOR MODEL MINIMUM CLEARANCES TO COMBUSTIBLES RESIDENTIAL / MOBILE HOMECLEARANCES FOR MODEL MINIMUM CLEARANCES TO COMBUSTIBLES CONNECTOR WITHOUT CLOSE CLEARANCE SHIELDSDOUBLE WALL OR SHIELDED SINGLE WALL CLEARANCES FOR MODELInstallation of Close Clearance Shields Optional B H C CLEARANCES FOR MODEL ALCOVE INSTALLATION DOUBLEOR SHIELDED SINGLE WALL CONNECTOR WITH CLOSE CLEARANCE SHIELDSFLOOR PROTECTION SECTION FREESTANDING MOBILE HOME INSTALLATIONTOOLS FOR INSTALLATION PREPARING THE HEATER FOR INSTALLATIONCHIMNEY PREPARING THE LOCATION FOR ROOM HEATER Ceiling Exit Using Close Clearance listed chimney Page 1.Recheck the specified clearances FINAL CHECKSECTION WOOD HEATER SAFETY BUILDING A FIRE SECTION OPERATIONPOSSIBLE CAUSE SECTION TROUBLESHOOTINGPROBLEM SOLUTIONPROBLEM SOLUTIONPOSSIBLE CAUSE PRODUCTS COVERED WARRANTY TIME PERIODSPROCEDURE NEW BUCK CORPORATION NBCOTHER RIGHTS CONDITIONS AND EXCLUSIONS