Plug in Refrigerator
To avoid cabinet damage, do not apply more than 50 inch- pounds (58 cm - kg) of torque to the leveling legs.
![]() WARNING
WARNING
Electrical Shock Hazard
Plug into a grounded 3 prong outlet.
Do not remove ground prong.
Do not use an adapter.
Do not use an extension cord.
Failure to follow these instructions can result in death, fire, or electrical shock.
1.Set control switch at top of cabinet to the OFF position.
2.Plug into a grounded 3 prong outlet.
MoveRefrigerator toFinal Location
![]() WARNING
WARNING
Tip Over Hazard
Refrigerator is top heavy and tips easily when not completely installed.
Keep doors taped closed until refrigerator is completely installed.
Use two or more people to move and install refrigerator.
Failure do so can result in death or serious injury.
IMPORTANT: To prevent floor damage, make sure levelers are raised (not touching floor) and refrigerator is on rollers before moving.
1.Move the refrigerator straight back and evenly into the opening. Be sure that water tubing is not kinked and the power supply cord is on top of the refrigerator next to the cover.
Lower LevelingLegs
NOTE: All four leveling legs must contact the floor to support and stabilize the full weight of refrigerator. Rollers are for moving refrigerator and not for permanent support.
Use socket wrench to turn leg levelers on both sides of refrigerator to the right (clockwise) until refrigerator weight is supported by leveling legs. The rollers should be off the floor.
A B
A. Rear leveling legs
B. Front leveling legs
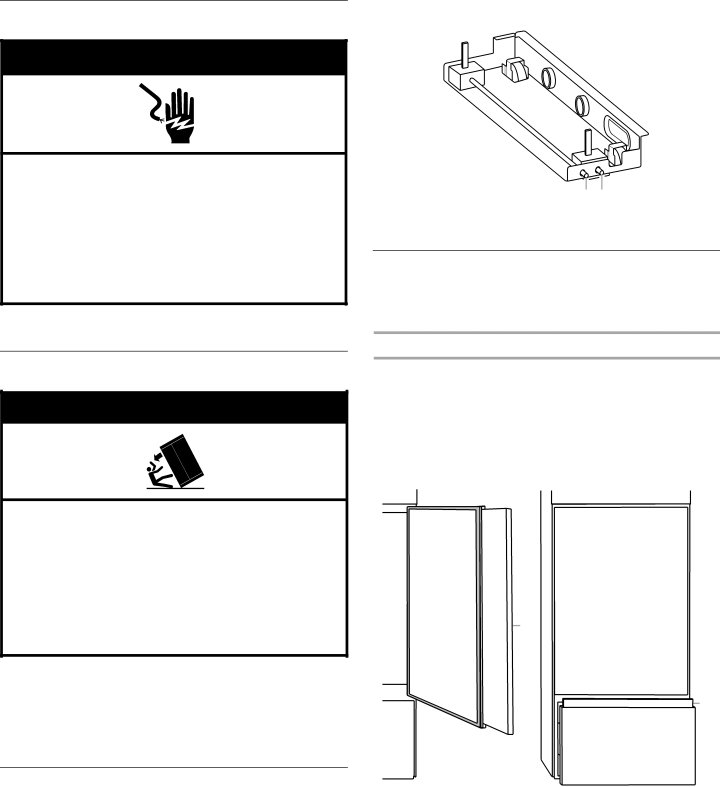
Install ClassicSeries Custom Panels
IMPORTANT: KitchenAid is not responsible for the removal or addition of molding or decorative panels that would prevent the refrigerator from being serviced.
Door and Drawer Panels
1.Remove all tape and door bracing from the refrigerator door and freezer drawer.
2.Remove the screws that attach the handle to the frame.
3.Slide the decorative door panel into the frame.
4.If needed, rout the door and drawer panels or install a filler panel between the door and drawer and the decorative panels. See the “Classic Series Custom Panels” section in “Design Specifications.”
A
B
A. Door panel
B. Drawer panel
5.Replace the door and drawer handles. Be sure that the door and drawer are aligned.
19