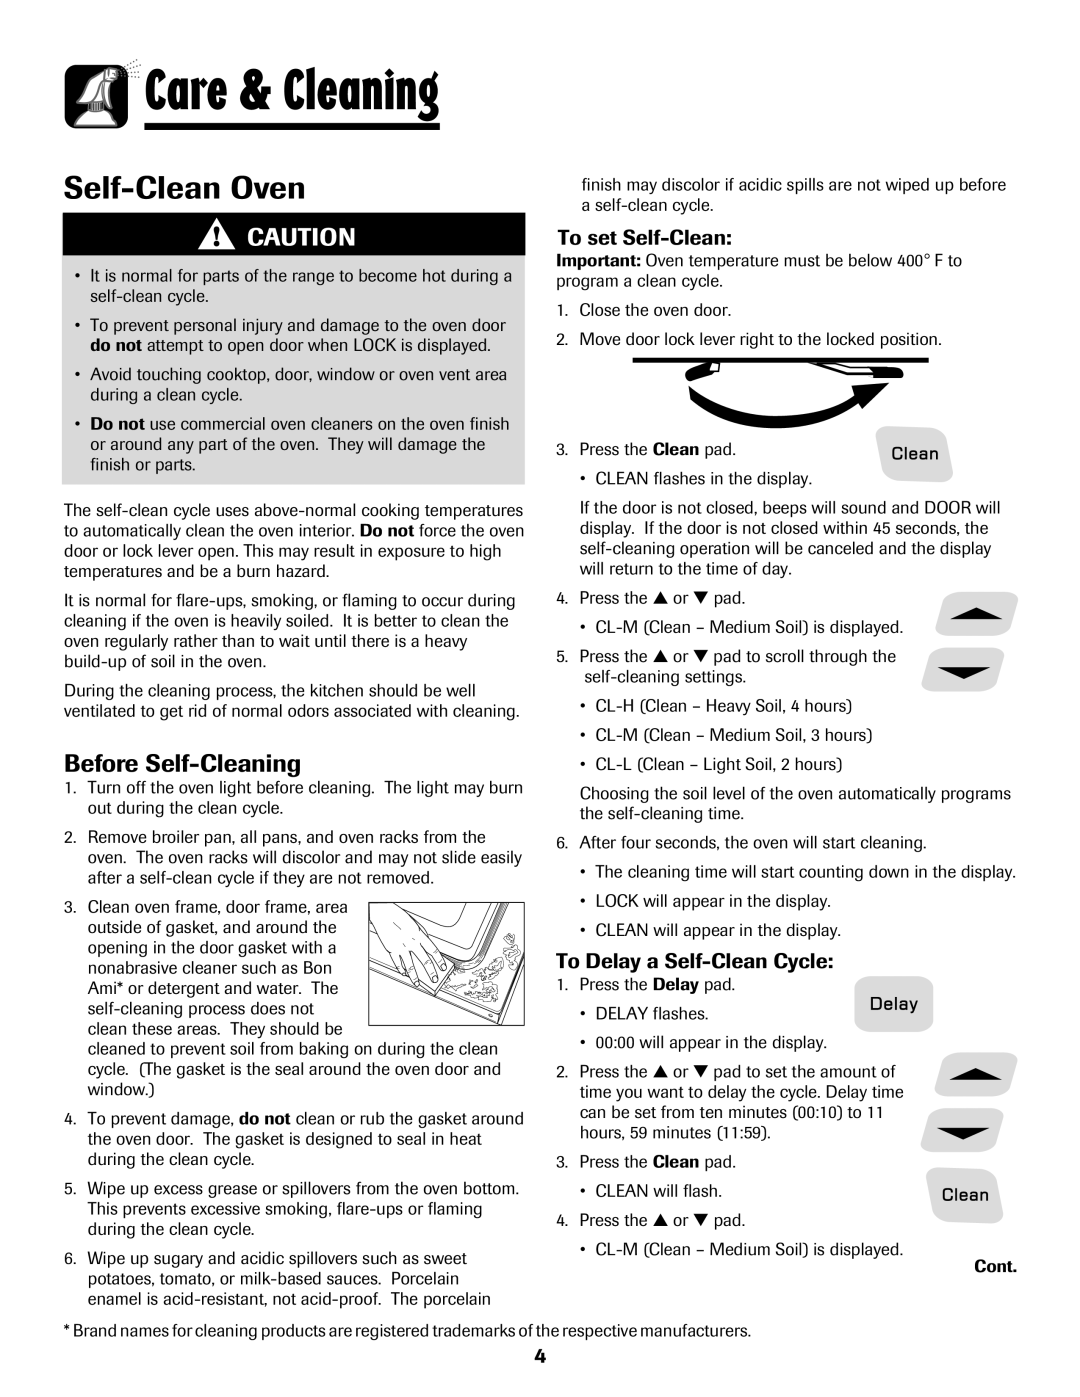
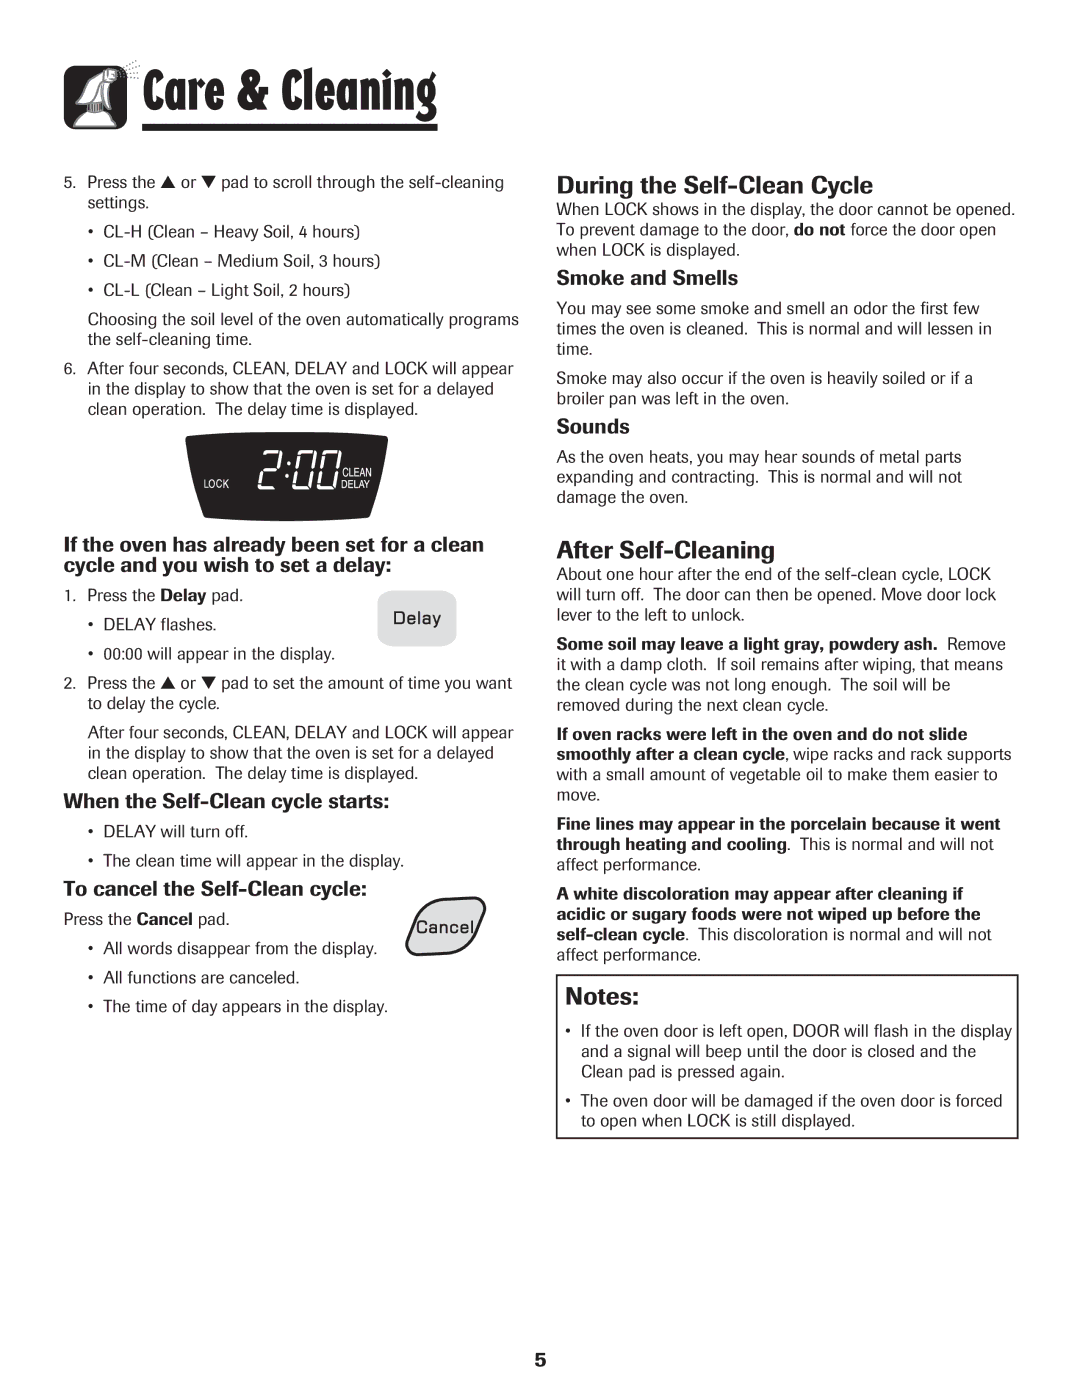
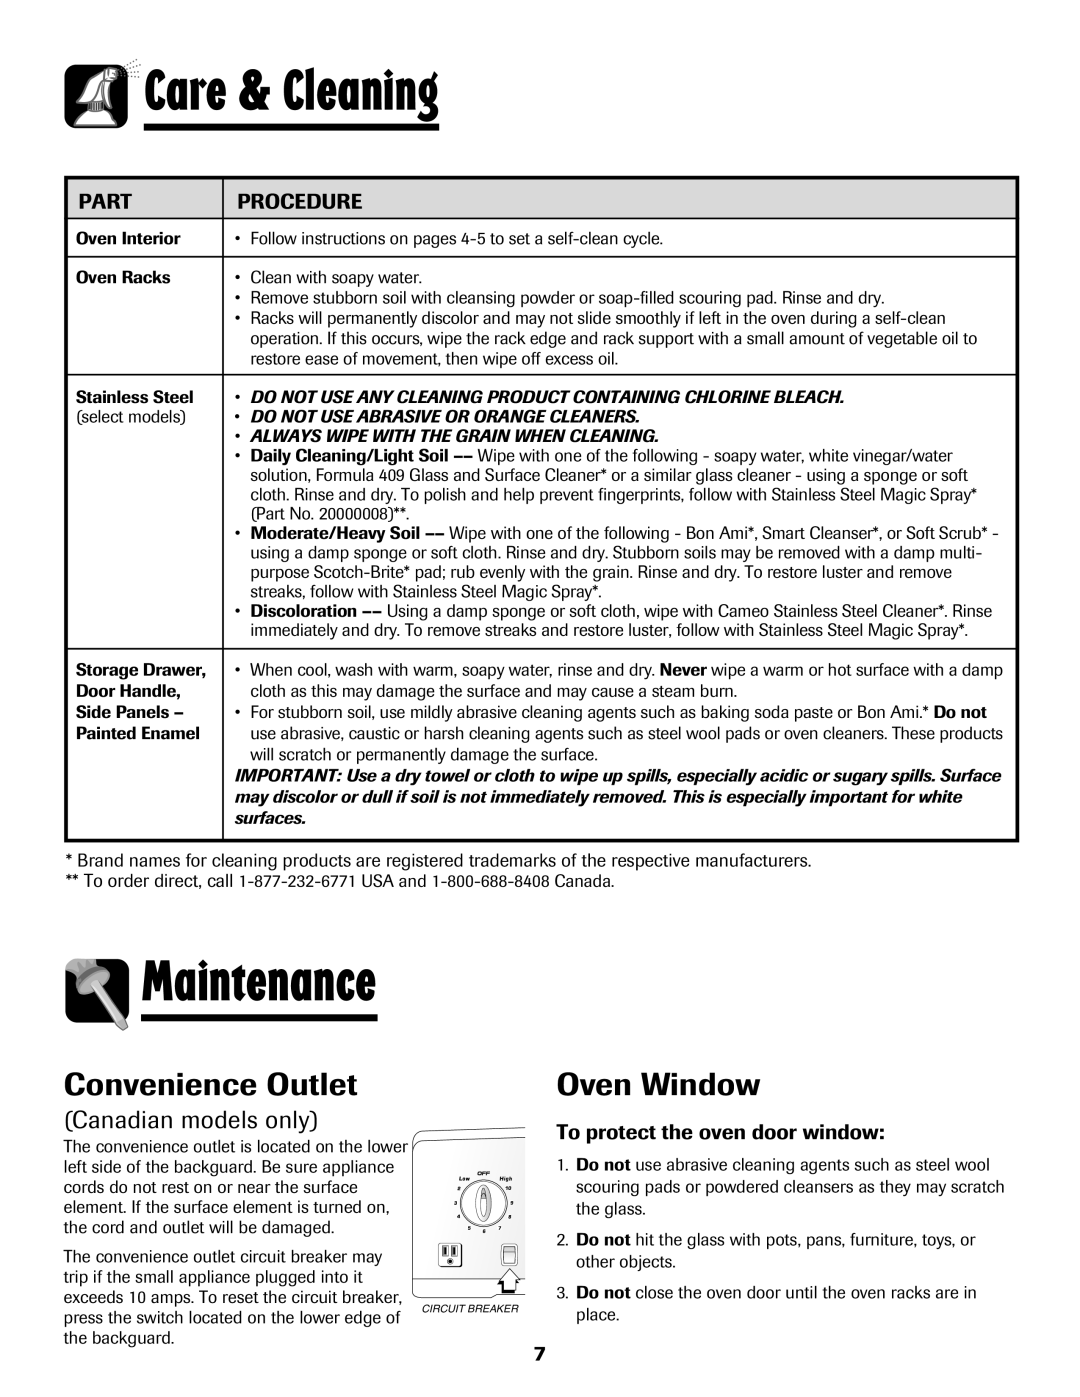
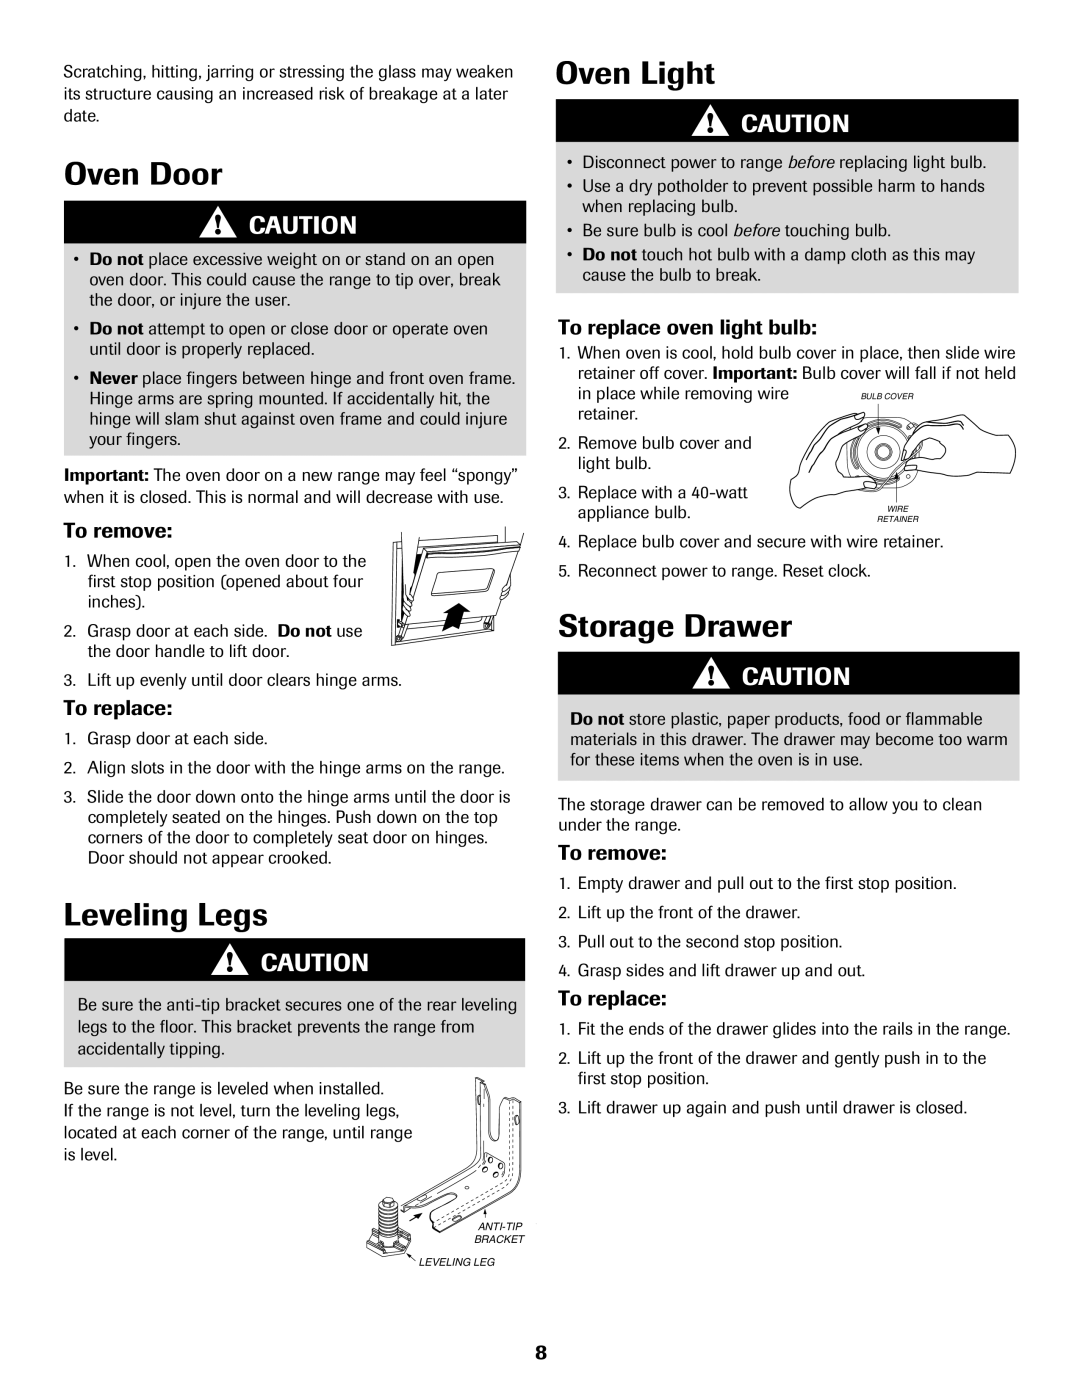
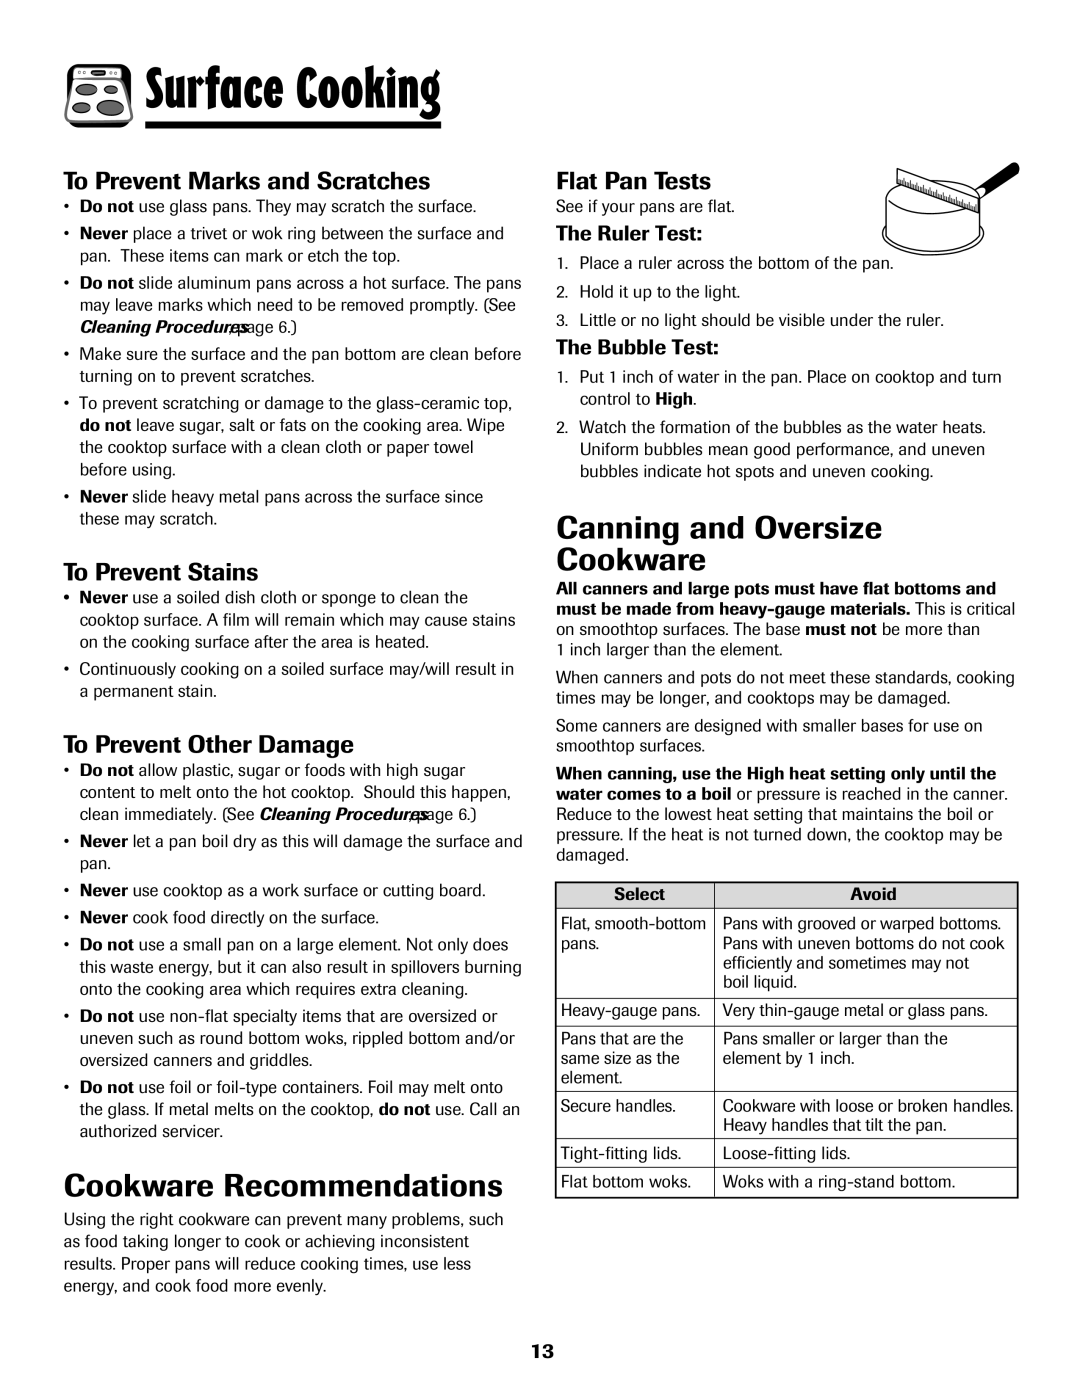
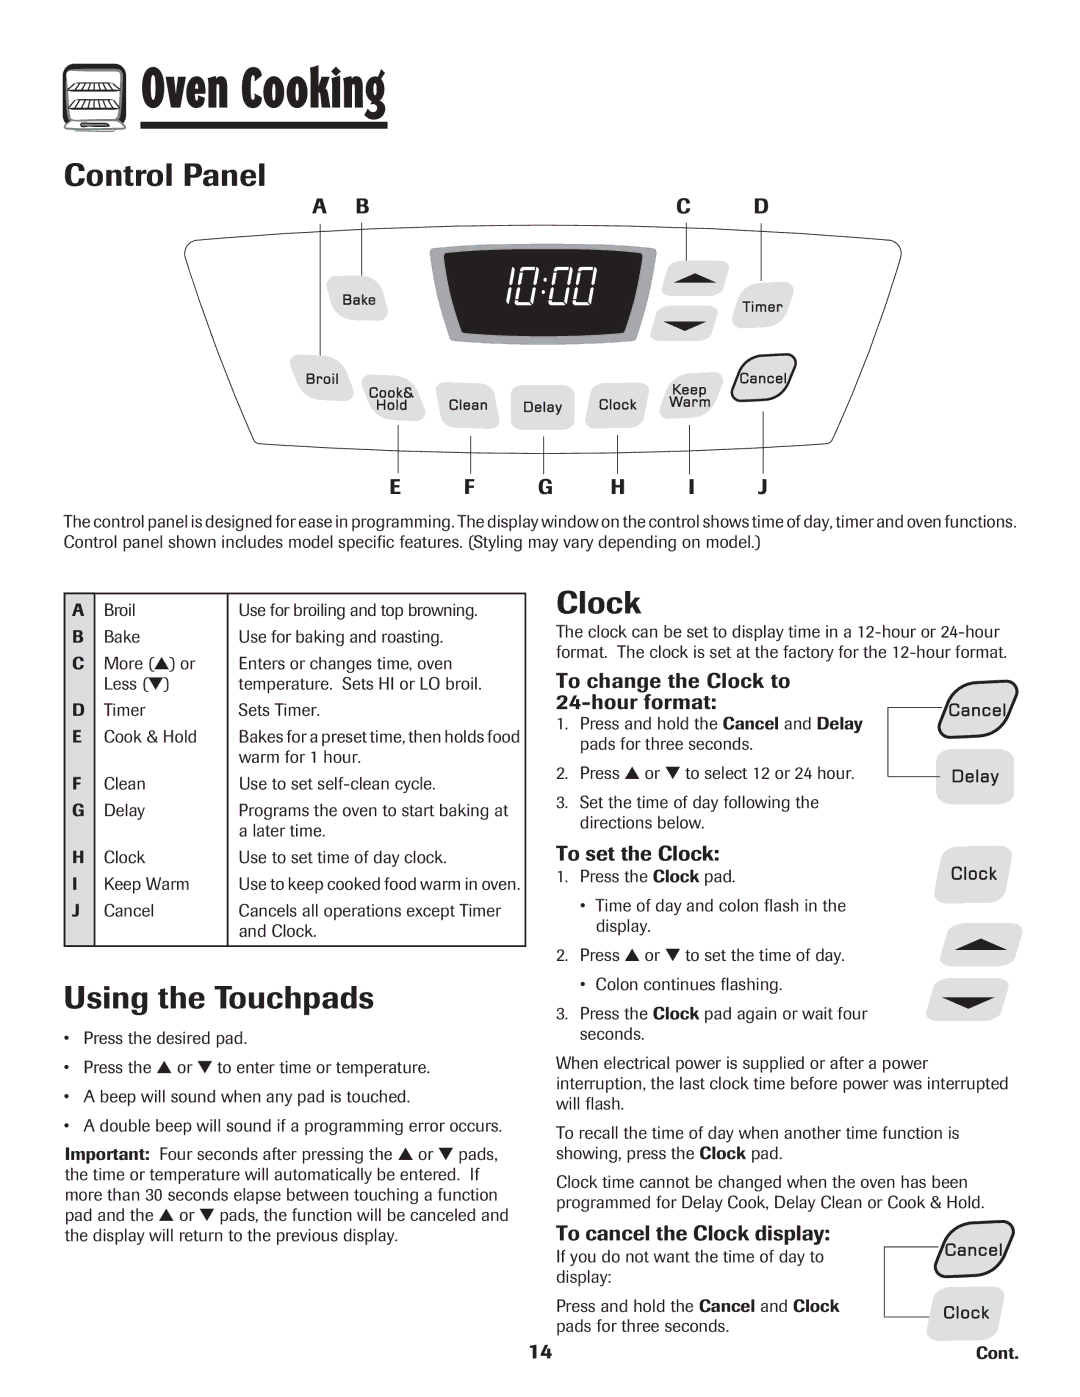
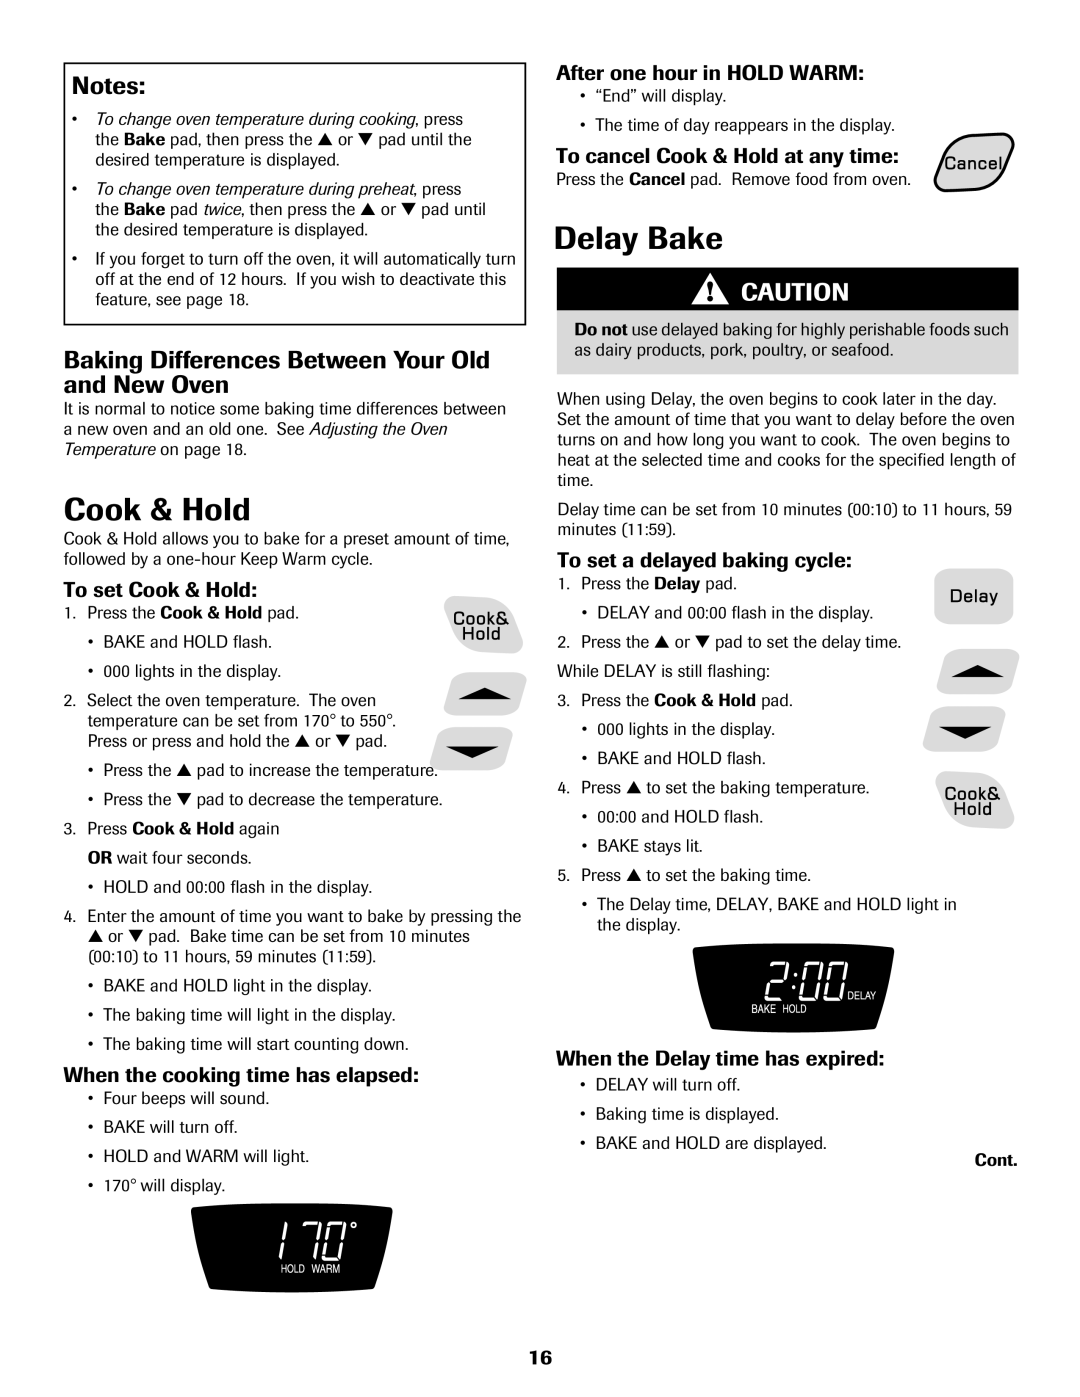
Amana Electric Smoothtop Range Timer, Locking the Control, Fault Codes, Baking

Page 16

Oven Cooking

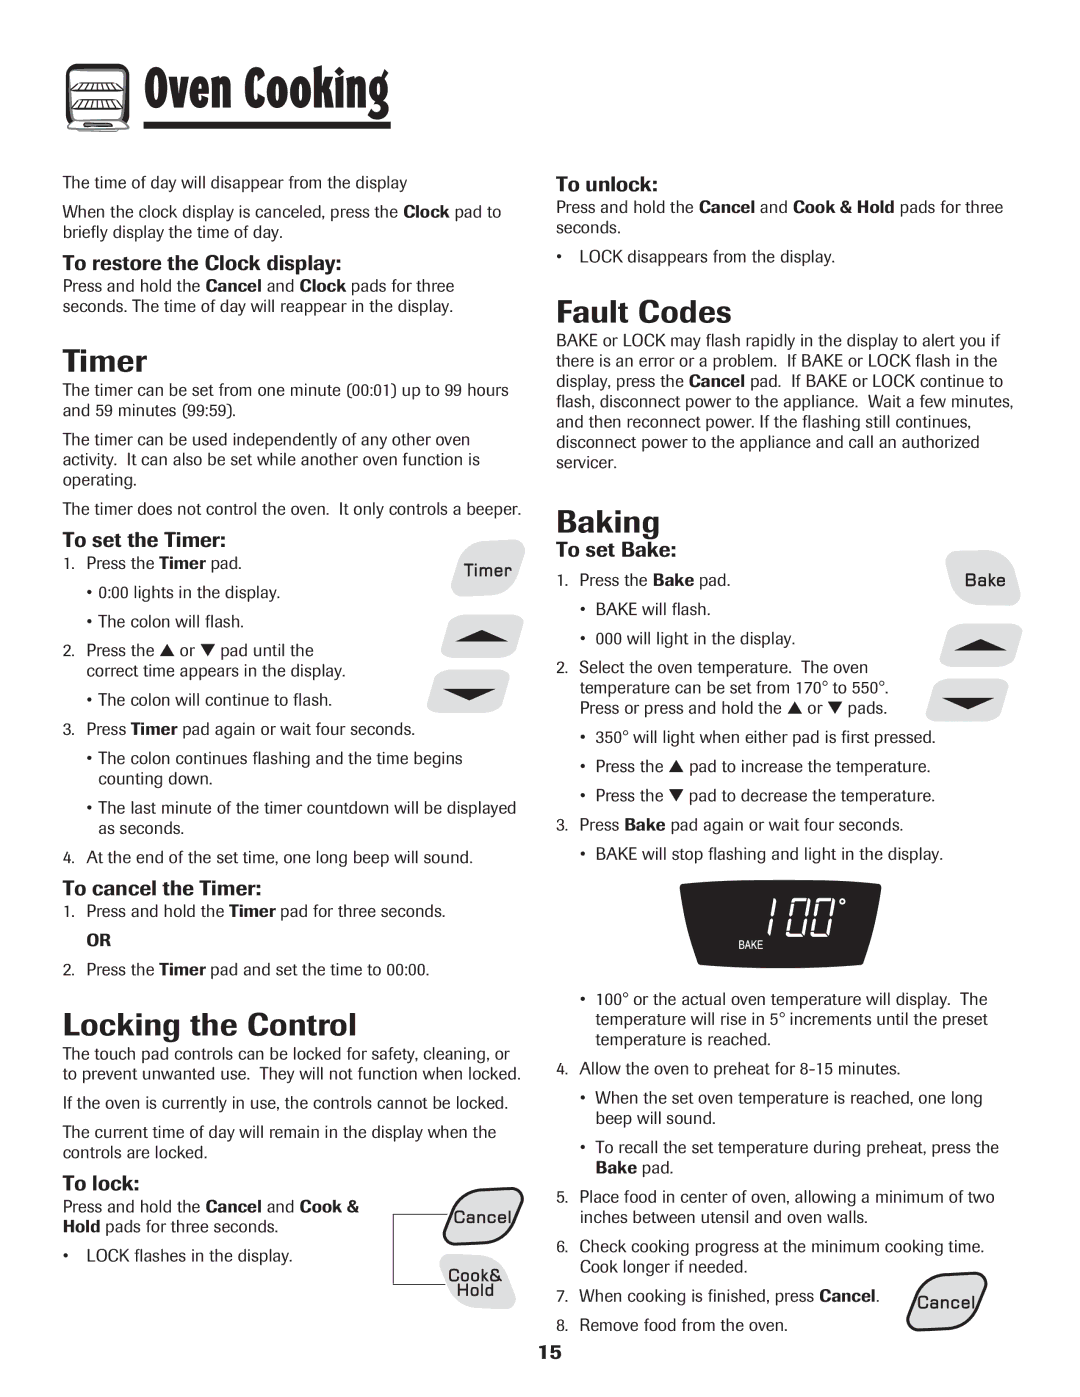
The time of day will disappear from the display

When the clock display is canceled, press the Clock pad to briefly display the time of day.

To restore the Clock display:

Press and hold the Cancel and Clock pads for three seconds. The time of day will reappear in the display.

Timer

The timer can be set from one minute (00:01) up to 99 hours and 59 minutes (99:59).

The timer can be used independently of any other oven activity. It can also be set while another oven function is operating.

The timer does not control the oven. It only controls a beeper.

To set the Timer:

1.Press the Timer pad.

0:00 lights in the display.

The colon will flash.

2.Press the ▲ or ▼ pad until the correct time appears in the display.

• The colon will continue to flash.

3.Press Timer pad again or wait four seconds.

The colon continues flashing and the time begins counting down.

The last minute of the timer countdown will be displayed as seconds.

4.At the end of the set time, one long beep will sound.

To cancel the Timer:

1.Press and hold the Timer pad for three seconds.

OR

2.Press the Timer pad and set the time to 00:00.

Locking the Control

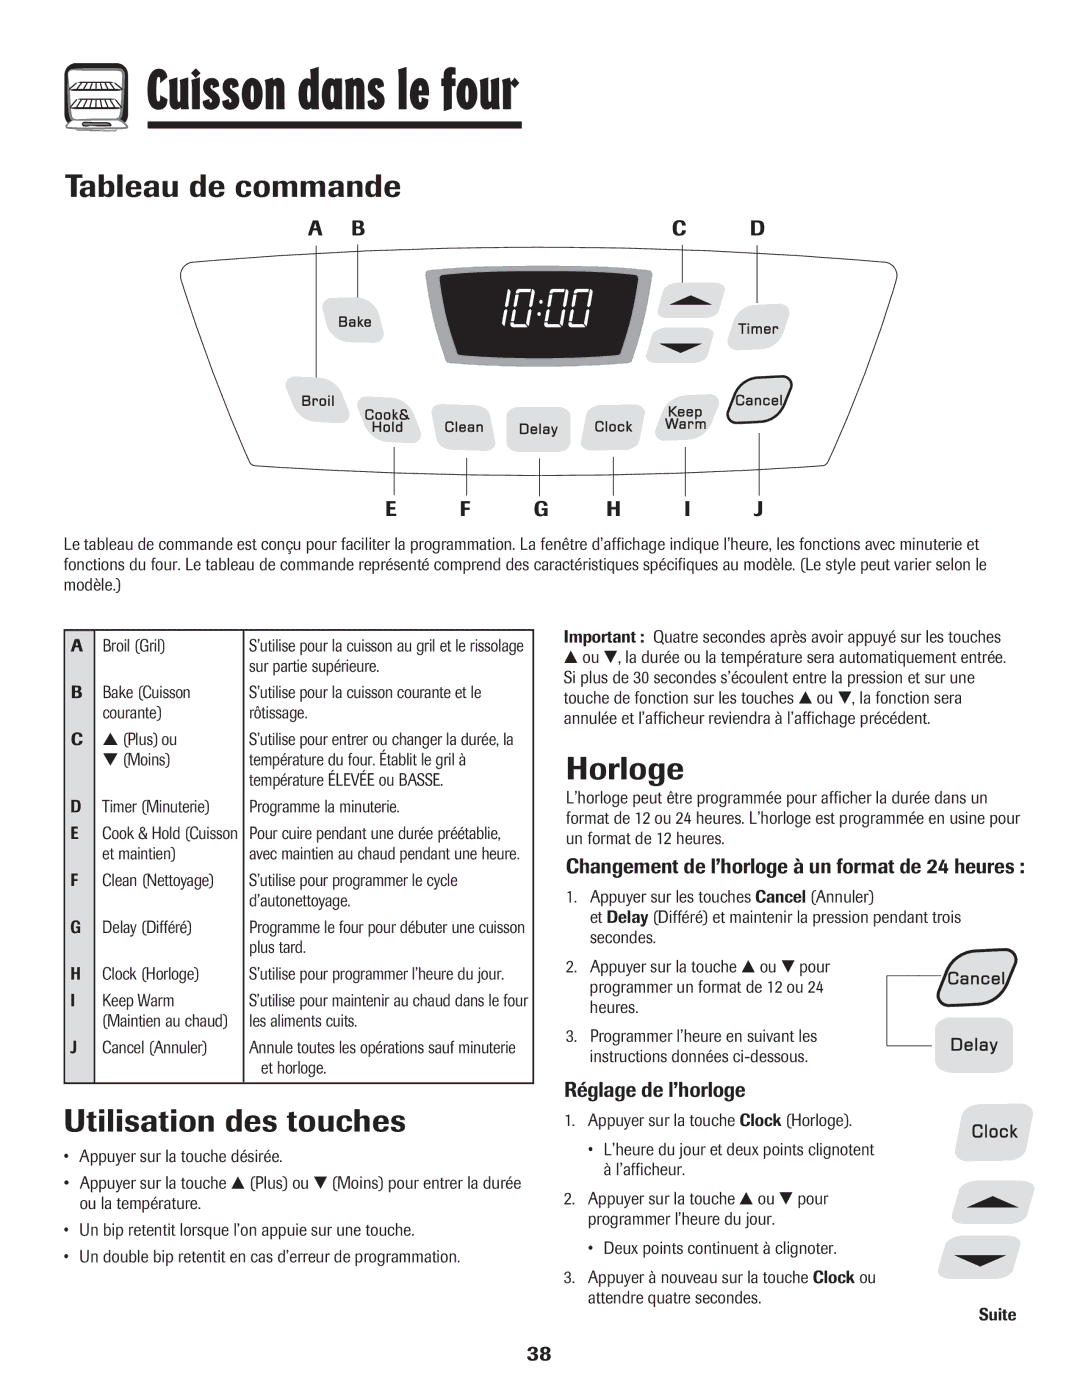
The touch pad controls can be locked for safety, cleaning, or to prevent unwanted use. They will not function when locked.

If the oven is currently in use, the controls cannot be locked.

The current time of day will remain in the display when the controls are locked.

To lock:

Press and hold the Cancel and Cook &

Hold pads for three seconds.

LOCK flashes in the display.

To unlock:

Press and hold the Cancel and Cook & Hold pads for three seconds.

LOCK disappears from the display.

Fault Codes

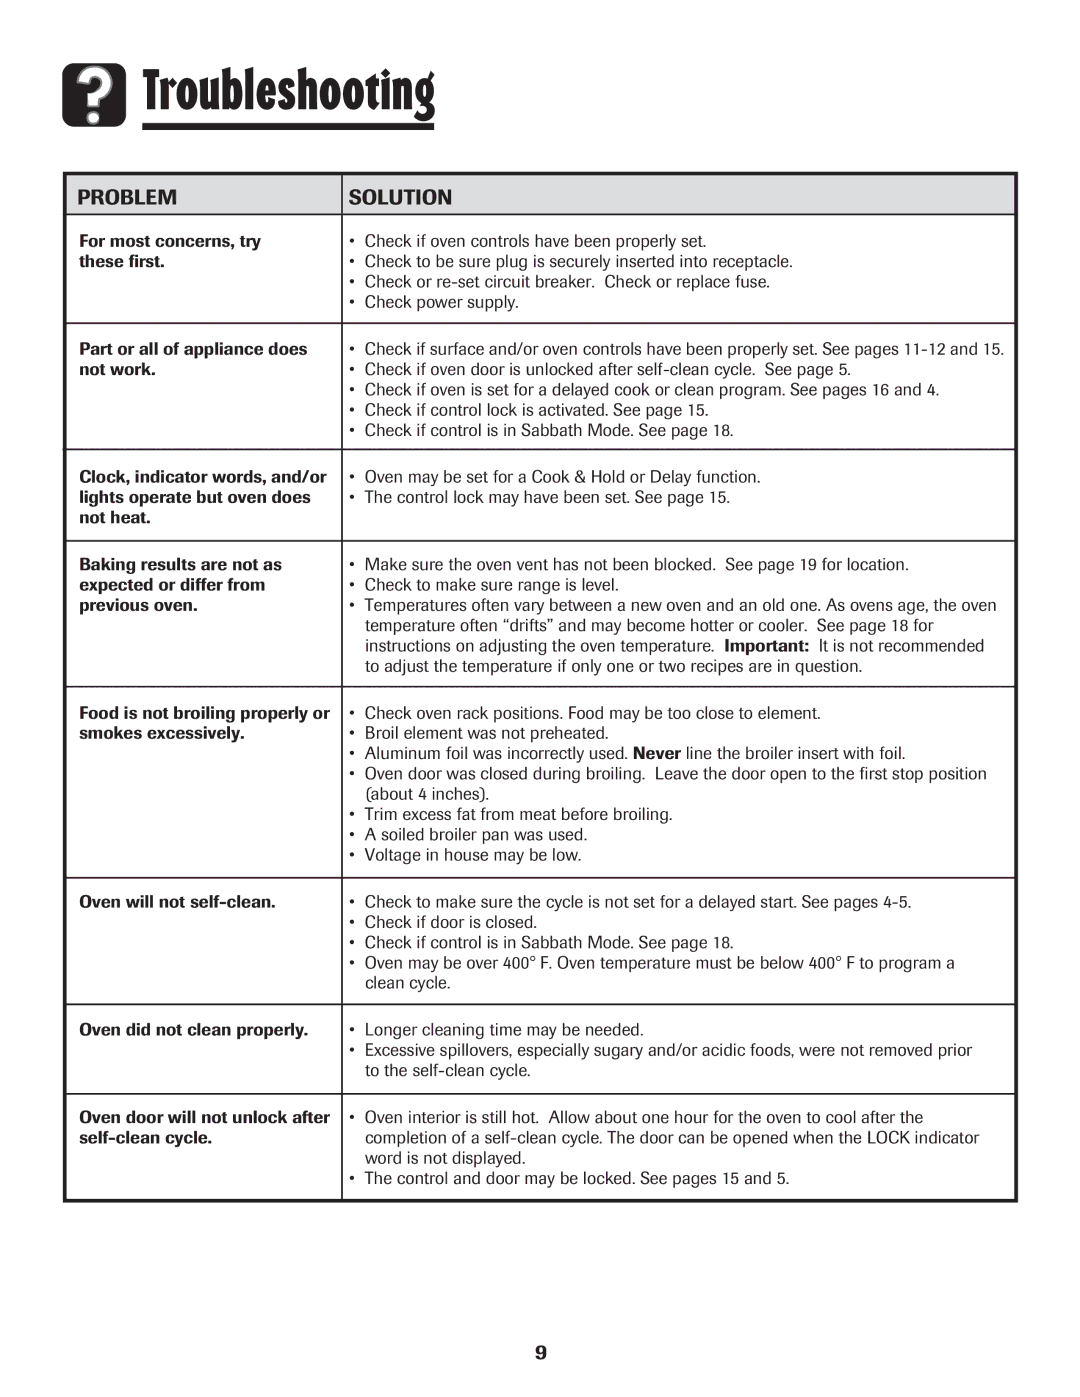
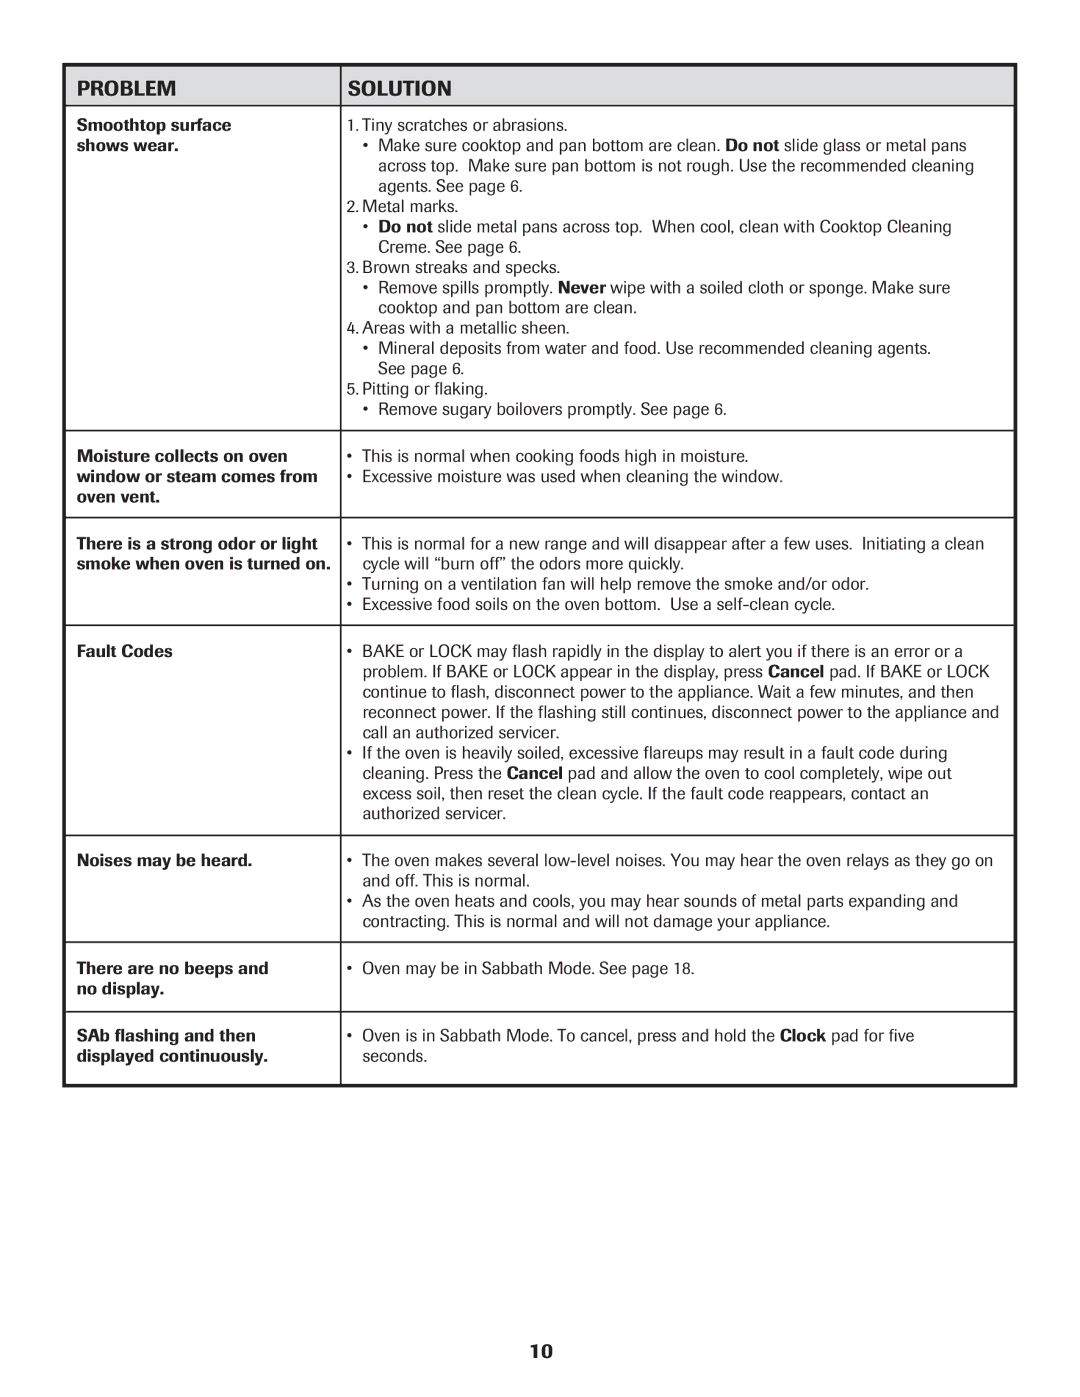
BAKE or LOCK may flash rapidly in the display to alert you if there is an error or a problem. If BAKE or LOCK flash in the display, press the Cancel pad. If BAKE or LOCK continue to flash, disconnect power to the appliance. Wait a few minutes, and then reconnect power. If the flashing still continues, disconnect power to the appliance and call an authorized servicer.

Baking

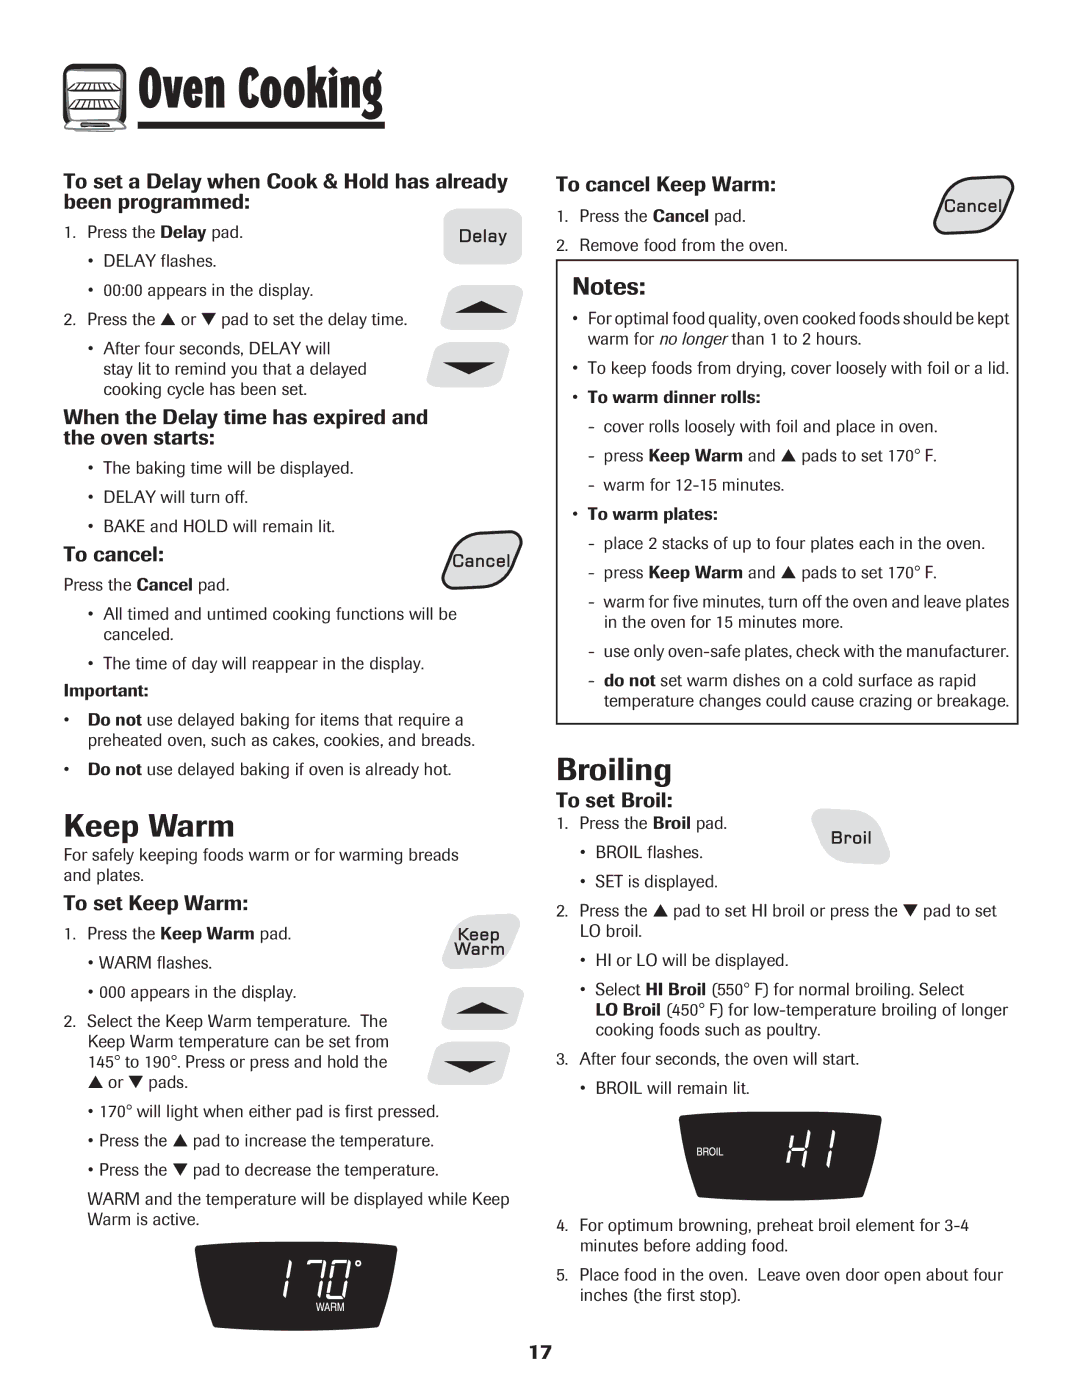
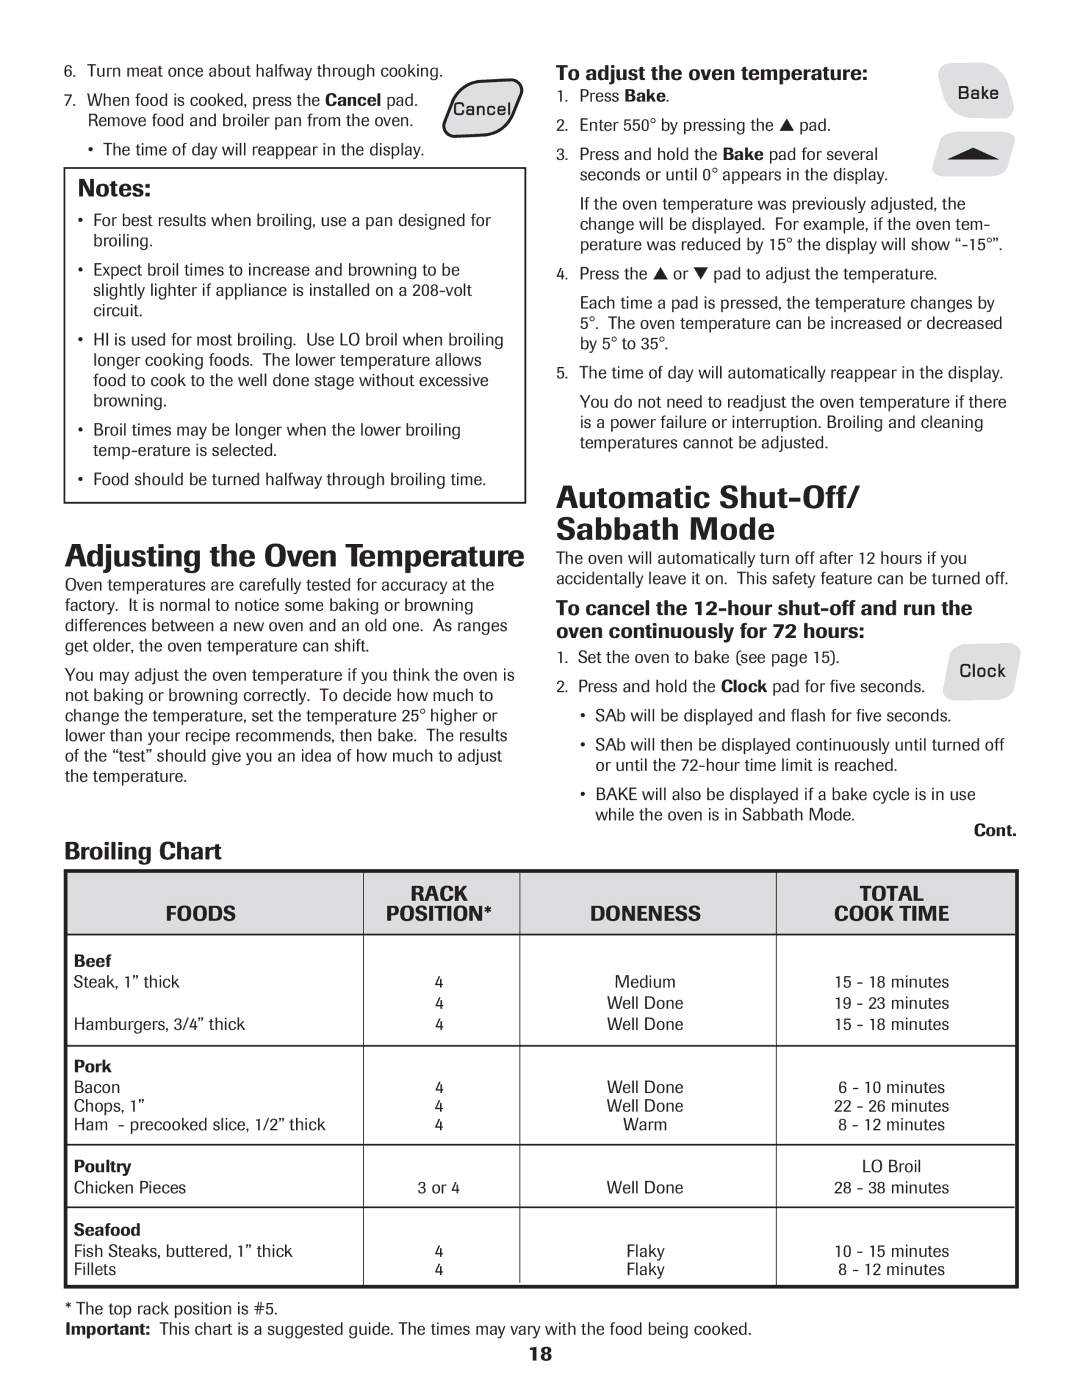
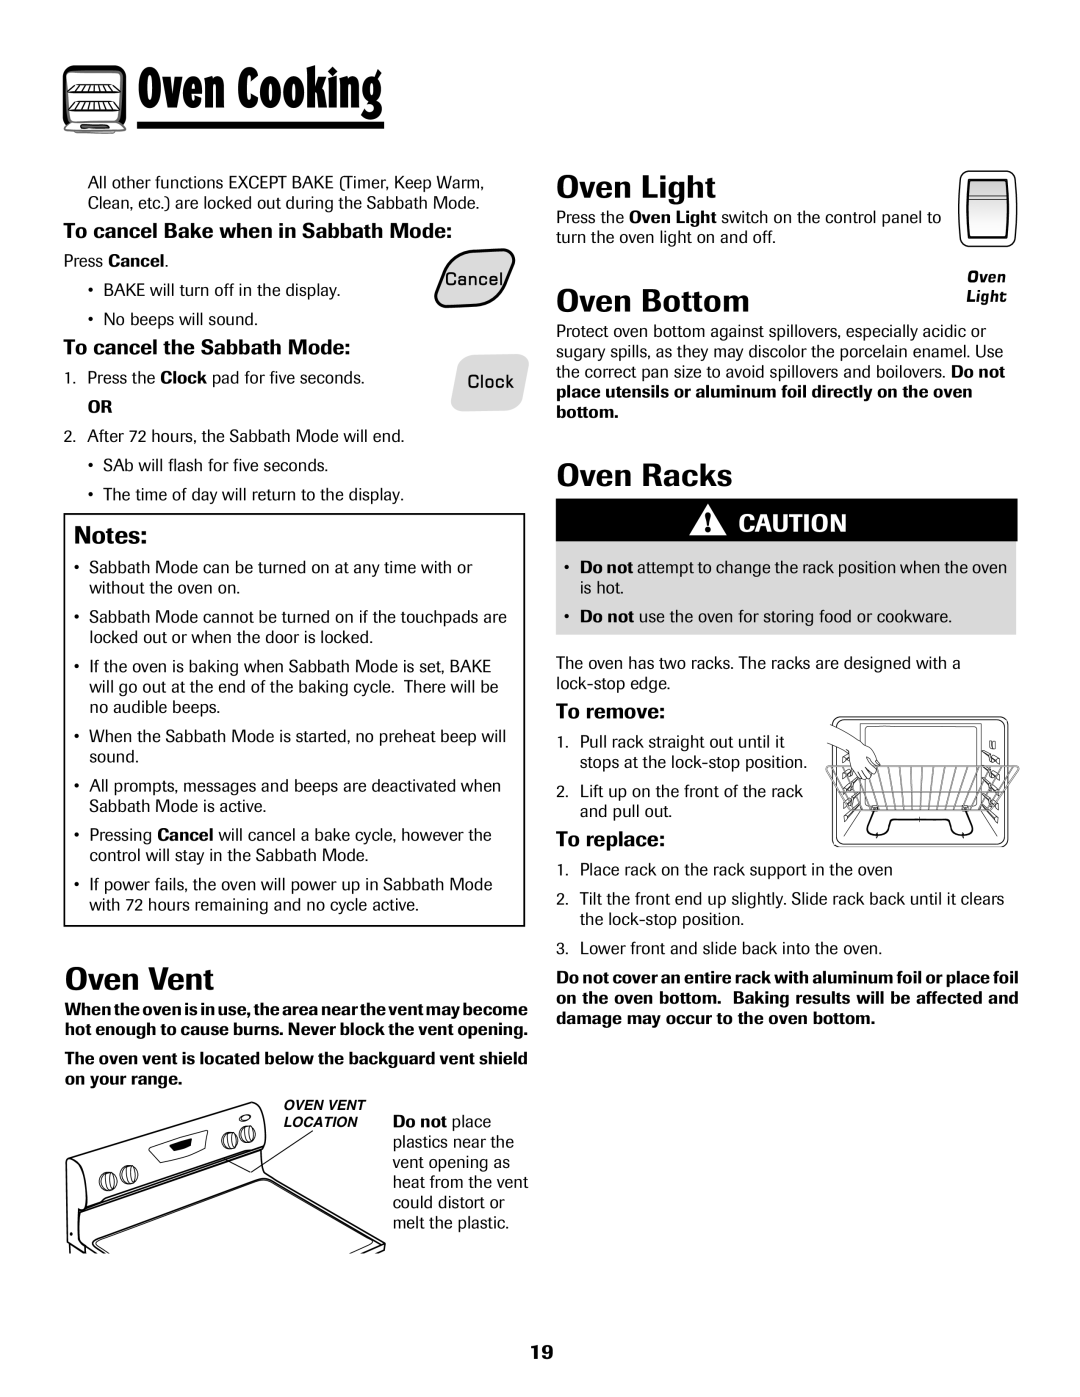
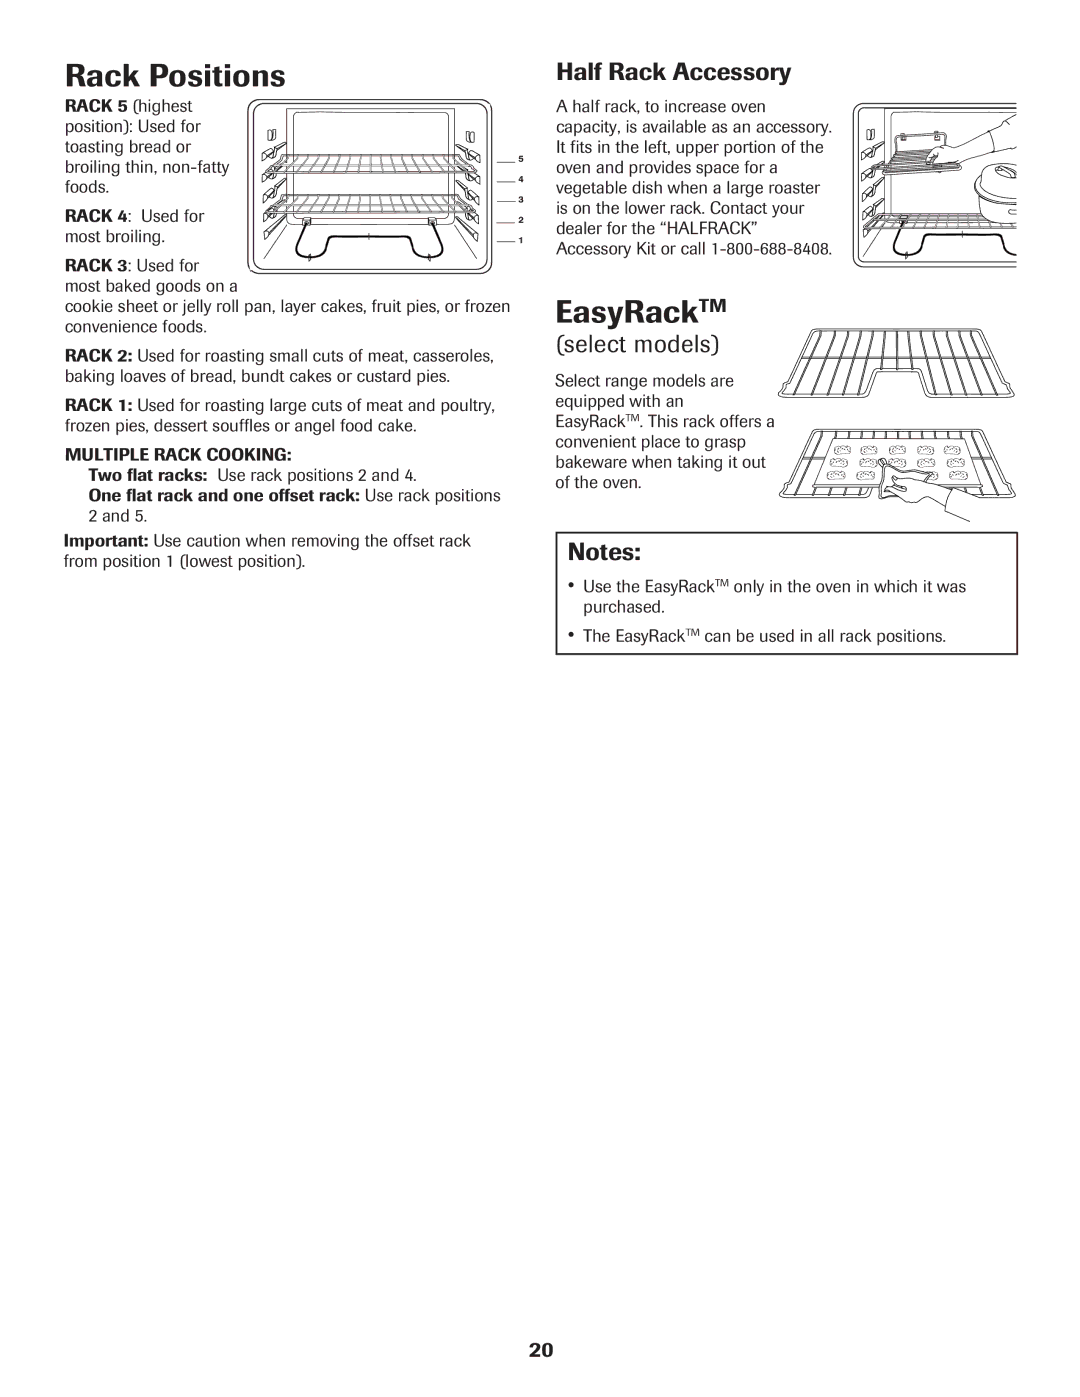
To set Bake:

1. Press the Bake pad.

BAKE will flash.

000 will light in the display.

2.Select the oven temperature. The oven temperature can be set from 170° to 550°.

Press or press and hold the ▲ or ▼ pads.

350° will light when either pad is first pressed.

Press the ▲ pad to increase the temperature.

Press the ▼ pad to decrease the temperature.

3.Press Bake pad again or wait four seconds.

BAKE will stop flashing and light in the display.

100° or the actual oven temperature will display. The temperature will rise in 5° increments until the preset temperature is reached.

4.Allow the oven to preheat for 8-15 minutes.

When the set oven temperature is reached, one long beep will sound.

To recall the set temperature during preheat, press the Bake pad.

5.Place food in center of oven, allowing a minimum of two inches between utensil and oven walls.

6.Check cooking progress at the minimum cooking time. Cook longer if needed.

7. When cooking is finished, press Cancel.

8. Remove food from the oven.

15
Image 16
Contents Important Safety Instructions Troubleshooting Surface Cooking 11-13Electric Five-Element Smoothtop Range Oven Cooking 14-20Child Safety Recognize Safety Symbols, Words, LabelsInstructions To Prevent Fire or Smoke DamageCooking Safety Utensil SafetyAbout Your Appliance CooktopImportant Safety Instructions Care & Cleaning Before Self-CleaningTo set Self-Clean To Delay a Self-Clean CycleDuring the Self-Clean Cycle After Self-CleaningCleaning Procedures Part ProcedureMaintenance Convenience Outlet Oven WindowCanadian models only To protect the oven door windowOven Door Leveling LegsOven Light Storage DrawerTroubleshooting Problem SolutionCall an authorized servicer Authorized servicerNoises may be heard Off. This is normalSuggested Heat Settings Setting the ControlsSurface Cooking Surface ControlsSmoothtop Surface Tips to Protect Smoothtop SurfaceCooking Areas Hot Surface LightCookware Recommendations Canning and Oversize CookwareUsing the Touchpads Oven CookingControl Panel ClockTimer Fault CodesLocking the Control BakingCook & Hold Delay BakeBaking Differences Between Your Old and New Oven Keep Warm BroilingAdjusting the Oven Temperature Automatic Shut-Off Sabbath ModeBroiling Chart To adjust the oven temperatureTo cancel Bake when in Sabbath Mode To cancel the Sabbath ModeOven Vent Oven BottomHalf Rack Accessory Rack PositionsEasyRackTM Select modelsWarranty & Service What is Not Covered By These WarrantiesIf You Need Service Limited One Year Warranty Parts and LaborCuisinière électrique avec cinq brûleurs dessus lisse Pour éviter un incendie ou des dommages par la fumée Les instructions de sécurité importantes et les paragraphesEn cas d’incendie Sécurité pour les enfantsFamiliarisation avec l’appareil Cuisson et sécuritéUstensiles et sécurité Table de cuissonFriteuses Hottes d’extractionNettoyage Avertissement et avis important pour la sécuritéConserver ces instructions pour consultation ultérieure Avant l’autonettoyagePendant le cycle d’autonettoyage Après le cycle d’autonettoyage Méthodes de nettoyageRemarques BruitsTable de Cuisson enVitrocéramique Laisser la table de cuisson refroidir avant de la nettoyerEntretien Porte du fourLampe du four Hublot du fourTiroir de remisage Prise de courant auxiliaireDépose Modèles canadiens seulementProblème Solution Recherche des pannesNettoyage recommandés. Voir La porte du four ne se déverrouillePas après l’autonettoyage Verrouillage sur l’afficheurBoutons de commande Réglage des commandesCuisson sur la surface Suggestions pour le réglageRéglage de la commande Surface à dessus lisseZones de cuisson Centre de réchauffage Voyant de surface chaudeRecommandations sur les ustensiles Conseils de protection de la surface à dessus lisseUstensiles de grande taille et pour les conserves Tableau de commande Cuisson dans le fourUtilisation des touches HorlogeVerrouillage des commandes MinuterieCodes d’anomalie Cuisson couranteCuisson différée Cuisson et maintienDifférences de cuisson entre l’ancien four et le nouveau Maintien au chaud Cuisson au gril Tableau de cuisson au grilProgrammation de la cuisson au gril Position Degré DE Temps DE Cuisson AlimentsMode sabbat Arrêt automatiqueAjustement de la température Du fourÉvent du four Éclairage du fourSole du four Grilles du fourGarantie et service après-vente Ne sont pas couverts par ces garantiesSi vous avez besoin d’aide Garantie limitée d’un an pièces et main-d’œuvreEstufa eléctrica con cinco quemadores Cubierta lisa Fecha de Compra Para evitar un incendio o daño causado por el humoCanadá En caso de incendio Seguridad para los niñosInstrucciones generales Seguridad al cocinarSeguridad sobre el uso de utensilios CubiertaOllas freidoras Campanas de ventilaciónAviso y advertencia importante sobre seguridad Conserve estas instrucciones para referencia futuraAntes de la autolimpieza Proceso de autolimpieza no limpiaDurante el ciclo de autolimpieza Procedimientos de limpieza Después del ciclo de autolimpiezaNotas SonidosVidrio CerámicoDeje que la cubierta se enfríe antes de limpiarla Limpie con un paño seco y limpioMantenimiento Puerta del hornoVentana del horno Luz del hornoGaveta de almacenamiento Tomacorriente para electrodomésticos pequeñosModelos Canadienses solamente El disyuntor del tomacorriente paraProblema Solución Localización y solución de averíasCódigos de Errores Marcas de metalCrema para Limpieza de Cubiertas. Ver pág Manchas y estrías marronesCocinando en la estufa Controles superioresAjustes de calor sugeridos Programación de los controlesCubiertas lisas Elementos superioresArea calentadora Luz indicadora de superficie calienteConsejos para proteger la cubierta lisa Recomendaciones sobre los utensiliosUtensilios para preparar conservas y de tamaños grandes Suaves Arqueados. Los utensilios con fondosLíquido UtensilioCocinando en el horno Panel de controlUso de las teclas ‘Clock’ Reloj‘Timer’ Temporizador Códigos de ErroresBloqueo de los Controles ‘Bake’ Horneado ‘Cook & Hold’ Cocción yMantener caliente ‘Delay Bake’ Horneado Diferido Para cancelarPara programar un ciclo de horneado diferido Cuando el tiempo diferido ha expiradoPara cancelar ‘Keep Warm’ Ajuste de la temperatura del horno‘Keep Warm’ Mantener caliente Para programar ‘Keep Warm’Para cancelar ‘Bake’ cuando el Modo Sabático está activo Para cancelar el Modo SabáticoCierre Automático Modo Sabático Horas‘Broiling’ Asar a la parrilla Tabla de asar a la parrillaPara programar ‘Broil’ Termino DE Tiempo Total DE AlimentosRespiradero del horno Panel inferior del hornoParrillas del horno Posiciones de la parrillaNotas Garantía y Servicio Garantía limitada de un año Piezas y mano de obraResidentes canadienses Lo que no cubren estas garantías