Installation and Setup
Receiving And Handling
After the machine has been uncrated, examine the case sealer for damage that might have occurred during transit. If damage is evident, file a damage claim immediately with the transportation company and notify your 3M Representative.
Machine Setup
![]() WARNING
WARNING
•To reduce the risk associated with mechanical and electrical hazards:
−Read, understand, and follow all safety and operating instructions before operating or servicing the case sealer.
The following instructions are presented in the order recommended for setting up and installing the case sealer, as well as for learning the operating functions and adjustments. Following them
REQUIREDTOOLS
A 17 mm and 21 mm
mmhex socket wrench are provided with the machine.
The following
•3 mm hex wrench
•4 mm hex wrench
•5 mm hex wrench
•6 mm hex wrench
•7 mm combination wrench
•8 mm combination wrench
•10 mm combination wrench
•13 mm combination wrench
•17 mm combination wrench
•#2 Phillips screwdriver
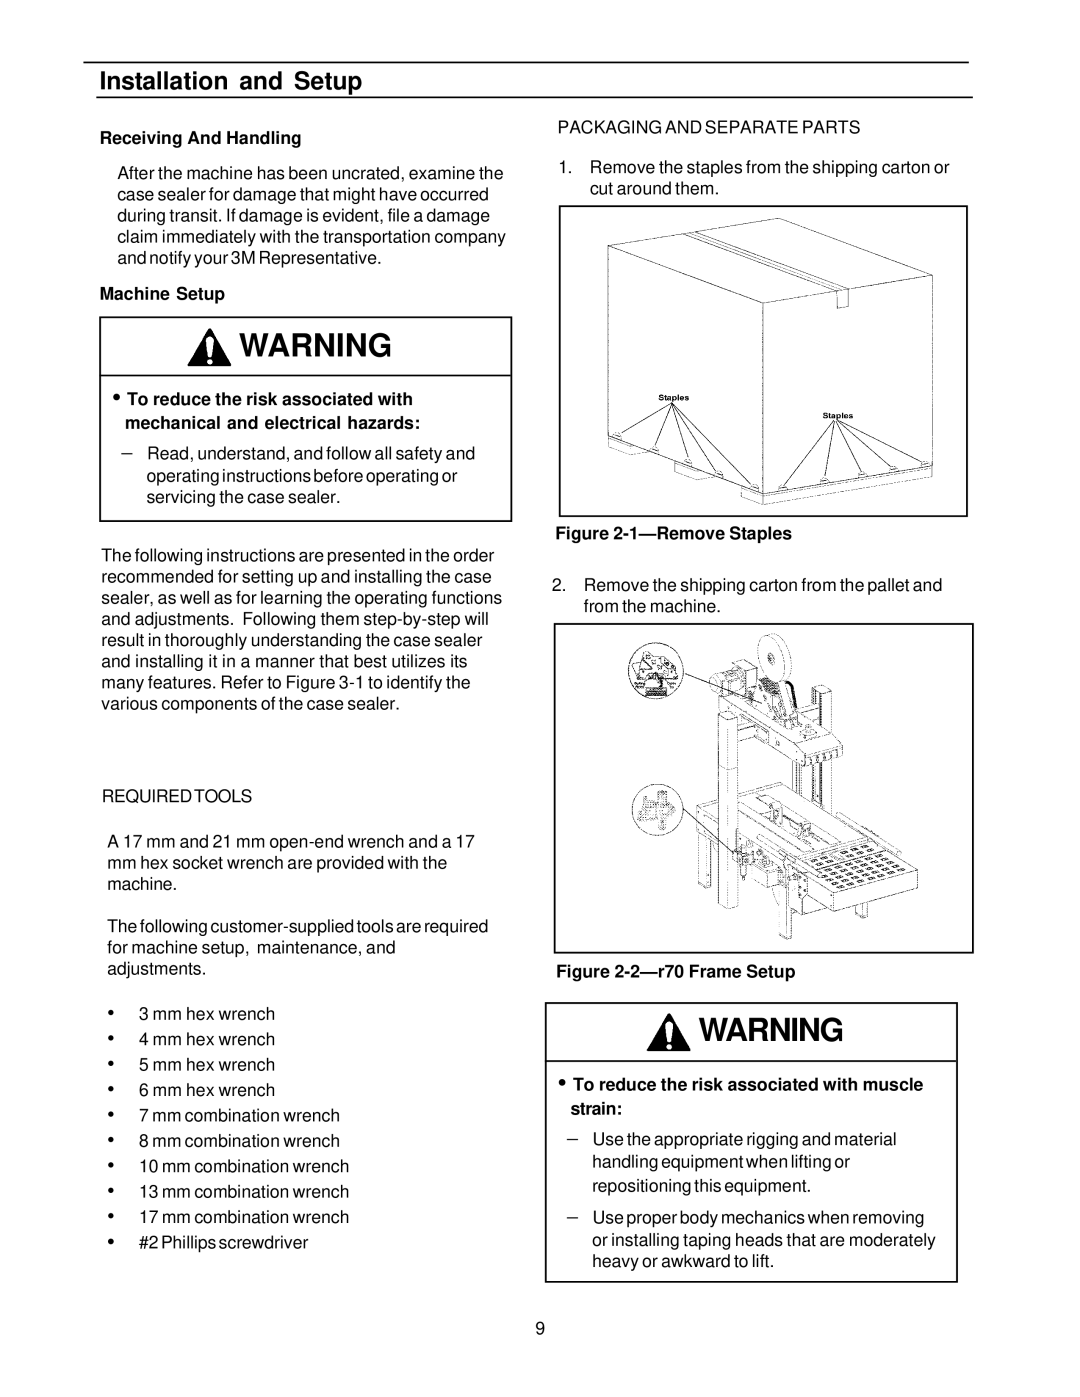
PACKAGING AND SEPARATE PARTS
1.Remove the staples from the shipping carton or cut around them.
Figure 2-1—Remove Staples
2.Remove the shipping carton from the pallet and from the machine.
Figure 2-2—r70 Frame Setup
![]() WARNING
WARNING
•To reduce the risk associated with muscle strain:
−Use the appropriate rigging and material handling equipment when lifting or repositioning this equipment.
−Use proper body mechanics when removing or installing taping heads that are moderately heavy or awkward to lift.
9