Adjustments (Continued)
WARNING
•To reduce the risk associated with mechanical and electrical hazards:
−Allow only properly trained and qualified personnel to operate and service this equipment.
−Turn electrical and air supply off and disconnect before performing any adjustments, maintenance, or servicing the machine or taping heads.
Centering Rail Timing Adjustment
The centering rails position and hold the box in the center of the infeed conveyor until it contacts the drive belts. A flow control valve located at the front of the machine determines the amount of time that these guides are in contact with the box. This valve is preset at the factory. However, changes to the plant air supply and adjustments to the case sealer pneumatic system for your specific application may alter perfor- mance of the centering rails.
The centering rails should close against the box until the drive belts engage and then release the box. Indications of improper operation include the rails moving away from the box before the drive belts pull the box through the machine (short box applications) and the rails moving inward after the box passes through the centering rails.
To adjust the Centering Rail timing, do the following:
1.Turn off the air supply and unplug the power cord.
2.Remove Entrance conveyor (if installed).
3.Remove Infeed Frame Cover Plate.
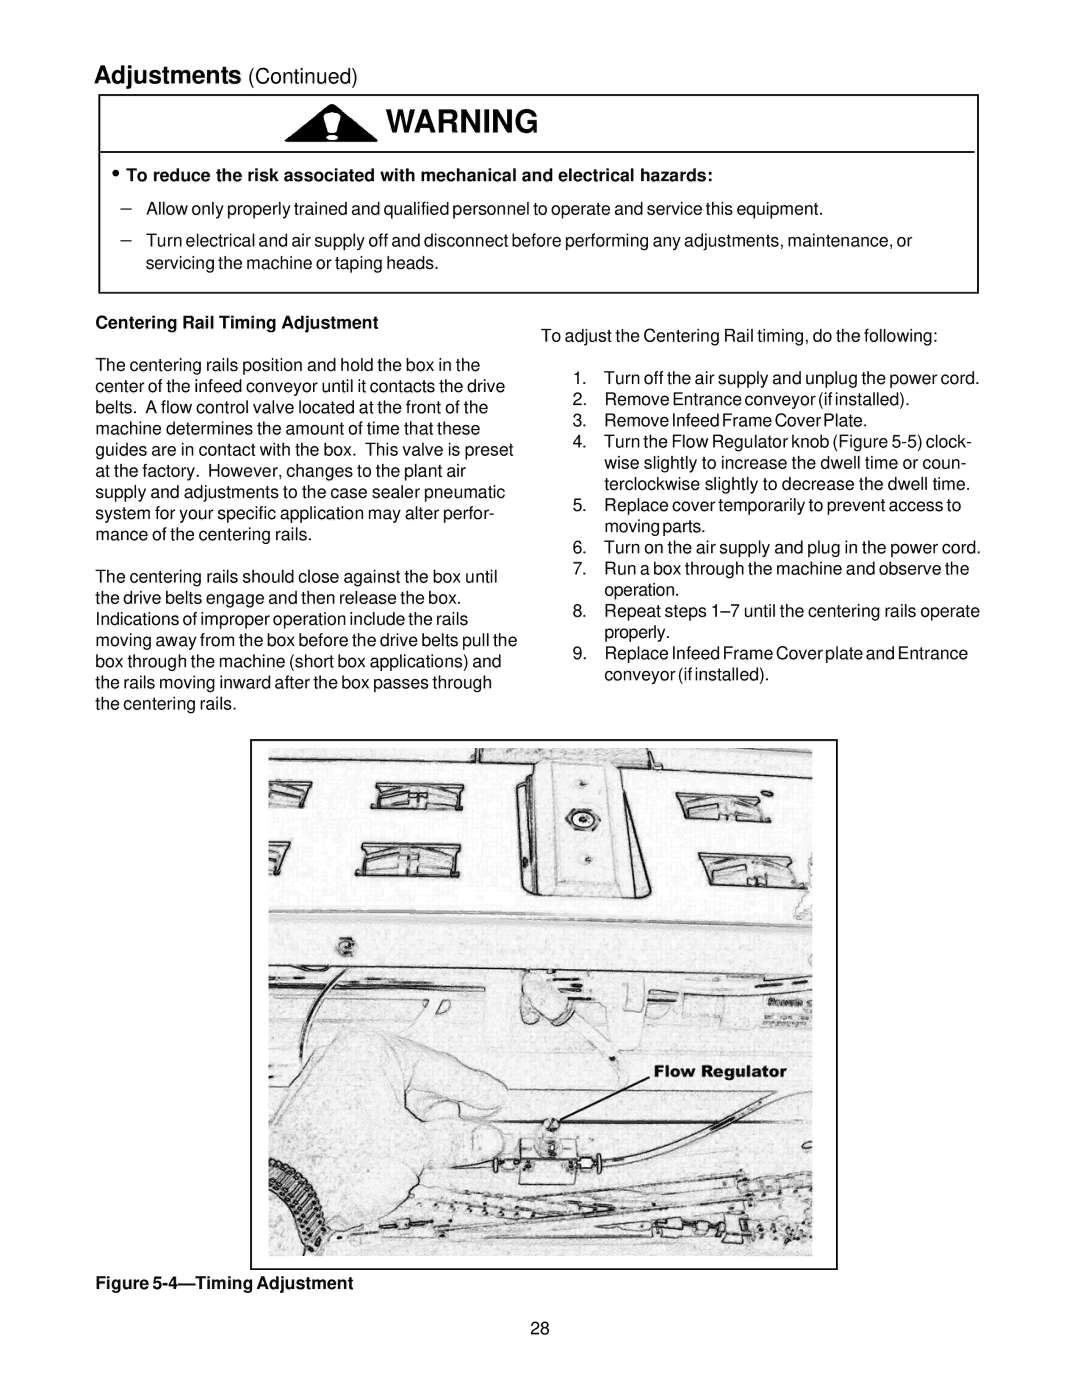
4.Turn the Flow Regulator knob (Figure
5.Replace cover temporarily to prevent access to moving parts.
6.Turn on the air supply and plug in the power cord.
7.Run a box through the machine and observe the operation.
8.Repeat steps
9.Replace Infeed Frame Cover plate and Entrance conveyor (if installed).
Figure 5-4—Timing Adjustment
28