Maintenance (Continued)
![]() WARNING
WARNING
•To reduce the risk associated with mechanical and electrical hazards:
−Turn electrical and air supply off and disconnect before performing any adjustments, maintenance, or servicing the machine or taping heads.
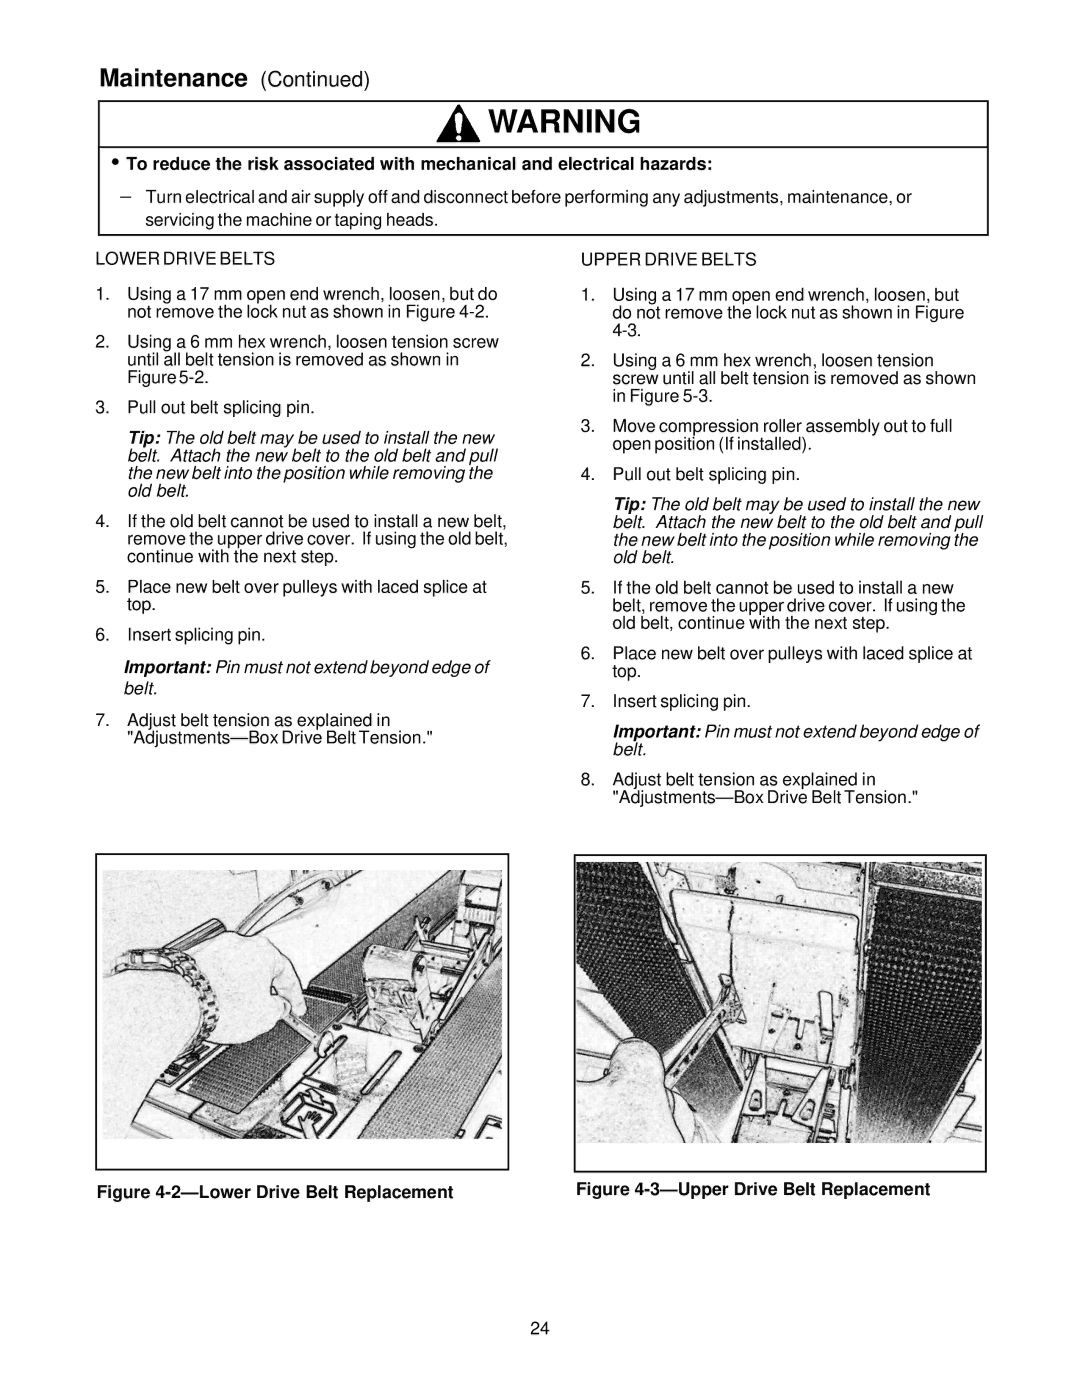
LOWER DRIVE BELTS
1.Using a 17 mm open end wrench, loosen, but do not remove the lock nut as shown in Figure
2.Using a 6 mm hex wrench, loosen tension screw until all belt tension is removed as shown in Figure
3.Pull out belt splicing pin.
Tip: The old belt may be used to install the new belt. Attach the new belt to the old belt and pull the new belt into the position while removing the old belt.
4.If the old belt cannot be used to install a new belt, remove the upper drive cover. If using the old belt, continue with the next step.
5.Place new belt over pulleys with laced splice at top.
6.Insert splicing pin.
Important: Pin must not extend beyond edge of belt.
7.Adjust belt tension as explained in
UPPER DRIVE BELTS
1.Using a 17 mm open end wrench, loosen, but do not remove the lock nut as shown in Figure
2.Using a 6 mm hex wrench, loosen tension screw until all belt tension is removed as shown in Figure
3.Move compression roller assembly out to full open position (If installed).
4.Pull out belt splicing pin.
Tip: The old belt may be used to install the new belt. Attach the new belt to the old belt and pull the new belt into the position while removing the old belt.
5.If the old belt cannot be used to install a new belt, remove the upper drive cover. If using the old belt, continue with the next step.
6.Place new belt over pulleys with laced splice at top.
7.Insert splicing pin.
Important: Pin must not extend beyond edge of belt.
8.Adjust belt tension as explained in
Figure | Figure |
24