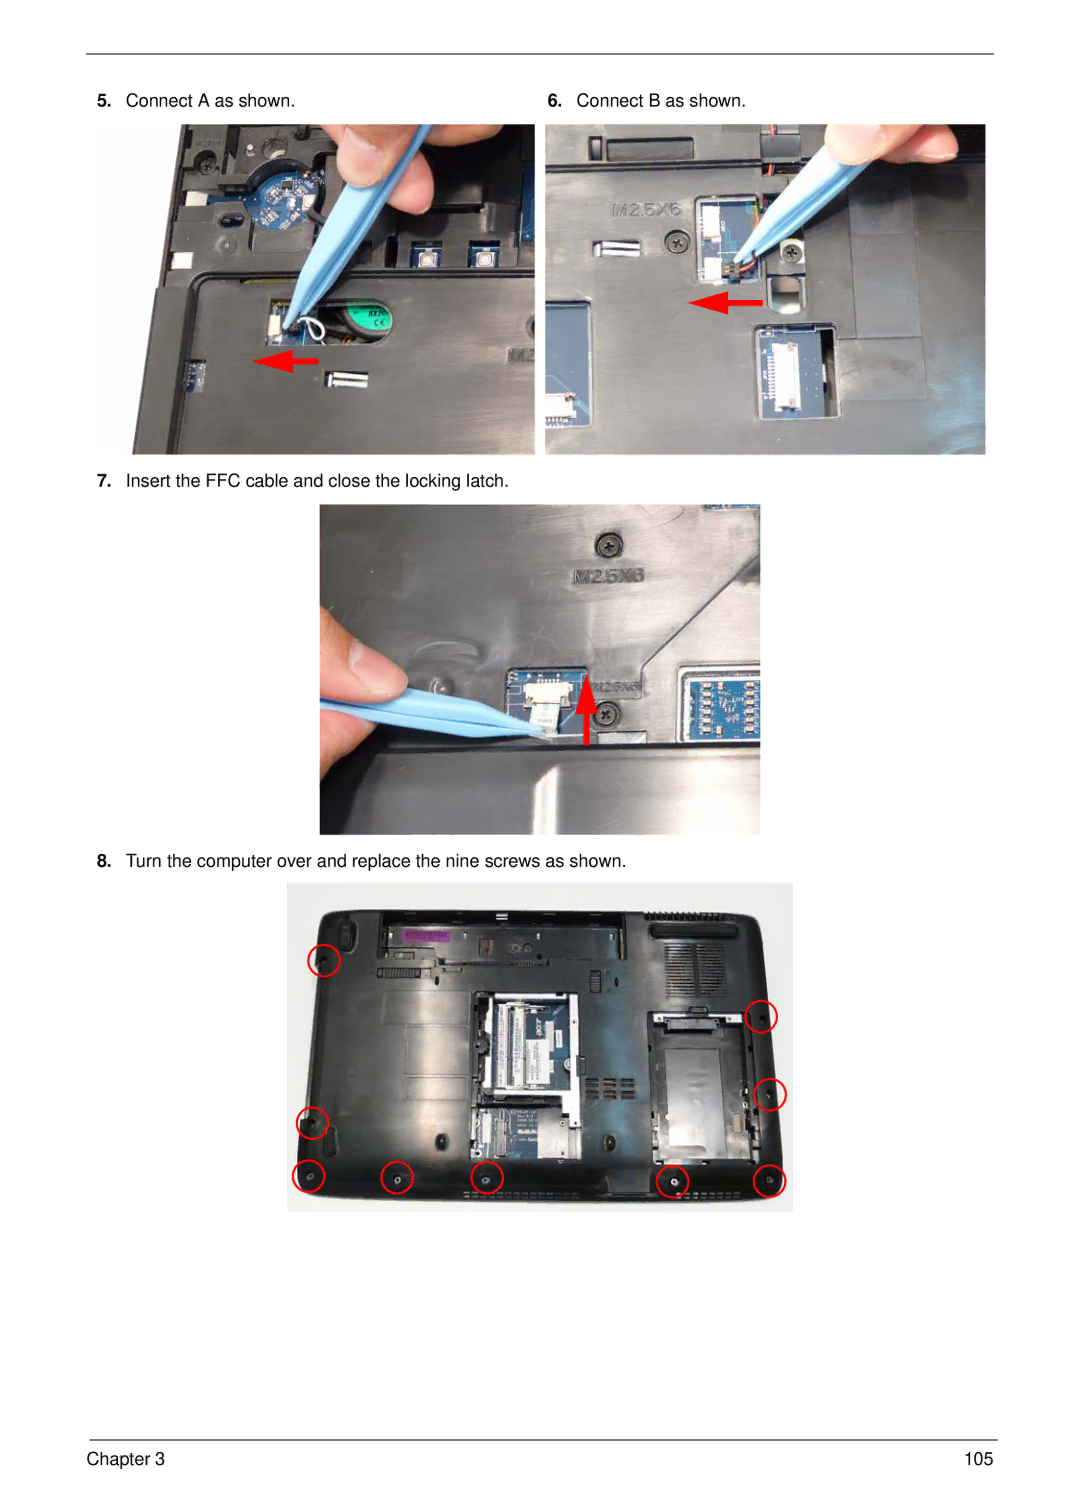
5. Connect A as shown. | 6. Connect B as shown. |
7.Insert the FFC cable and close the locking latch.
8.Turn the computer over and replace the nine screws as shown.
Chapter 3 | 105 |
5. Connect A as shown. | 6. Connect B as shown. |
7.Insert the FFC cable and close the locking latch.
8.Turn the computer over and replace the nine screws as shown.
Chapter 3 | 105 |