Manuals
/
Airlink101
/
Photography
/
Security Camera
Airlink101
AIC250W
user manual
Using IPView Pro
Models:
AIC250W
1
55
84
84
Download
84 pages
23.68 Kb
52
53
54
55
56
57
58
59
Install
Management Wireless
Configuring Wireless Settings
Tools Reset
Using the Setup Wizard
Tools Backup
Advanced Setting
Tools Firmware Upgrade
Using IPView Pro
Ad-Hoc Mode
Page 55
Image 55
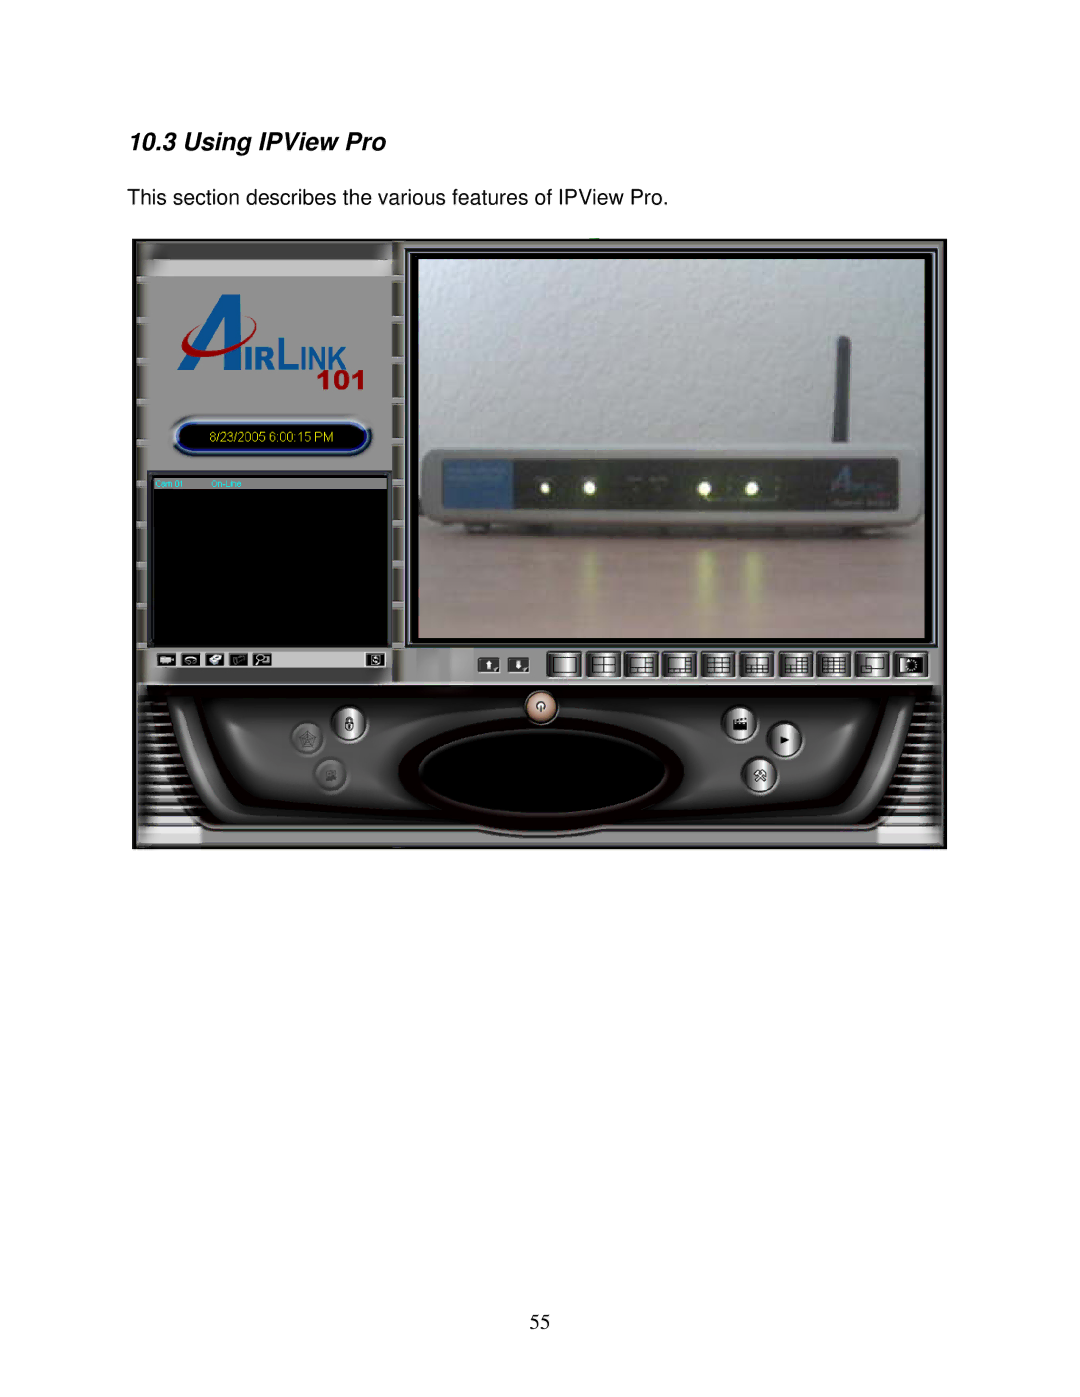
10.3 Using IPView Pro
This section describes the various features of IPView Pro.
55
Page 54
Page 56
Page 55
Image 55
Page 54
Page 56
Contents
Ver B
Table of Contents
Page
Introduction
Package Contents
Getting Started
Click on Install Wizard
Installing the Setup Wizard
Page
Gathering Information
Network ID Ssid Channel Number Wireless Encryption Settings
Go to Start All Programs AirLink101 IP Camera Setup Wizard
Using the Setup Wizard
Page
Page
Page
Page
WEP
Click Next
Viewing Images
IP Camera is ready for use now
Infrastructure Mode
Configuring Wireless Settings
Click on Configuration and then Wireless
Page
Page
Ad-Hoc Mode
Click Save
Web Configuration Utility
Management System
Management Video
Management Wireless
Management User
Management Network
LED Control
Configuration System
Configuration Video
Configuration Wireless
Encryption
Wireless Interface
WEP Encryption
Preamble Select long or short preamble
Advanced Setting
IP Address Mode
Configuration Network
Configuration User
Configuration Date & Time
Configuration Upload
Configuration E-mail
Tools E-mail Test
Tools FTP Server Test
Tools Factory Reset
Tools Reset
Tools Firmware Upgrade
Config.bin
Tools Backup
Help About
Example
Viewing Videos from External Networks
Click on Configuration then Network
Ex. http//172.16.1.181
Click on Install IPView Pro
Installing IPView Pro
IPView Pro
Page
Starting IPView Pro
Click on the System Configuration button
Adding Camera using the Search Method
Page
Page
Page
Adding Camera using the Input IP Method
Page
Using IPView Pro
Status Mode Window
Page
View Window and View Mode Buttons
Control Panel
Page
Camera Configuration
System Configuration
Web Configuration
At the Record Button, select Motion Record
Motion Configuration-1
Motion Options
Motion Configuration-2
Tools
Update Firmware
Mail Configuration
Proxy Server
MB 1000 MB
Recording Configuration
At the Record Button, select Schedule Record
Schedule-Recording Configuration
Week Mode
Others
Log List
Account
About
Xplug Control
Installing Xplug Control
Enabling ActiveX
Page
Video should appear now
Sending Images via Web Browser
Appendix
Page
Page
Page
Page
Mailsupport@airlink101.com
Technical Support
Top
Page
Image
Contents