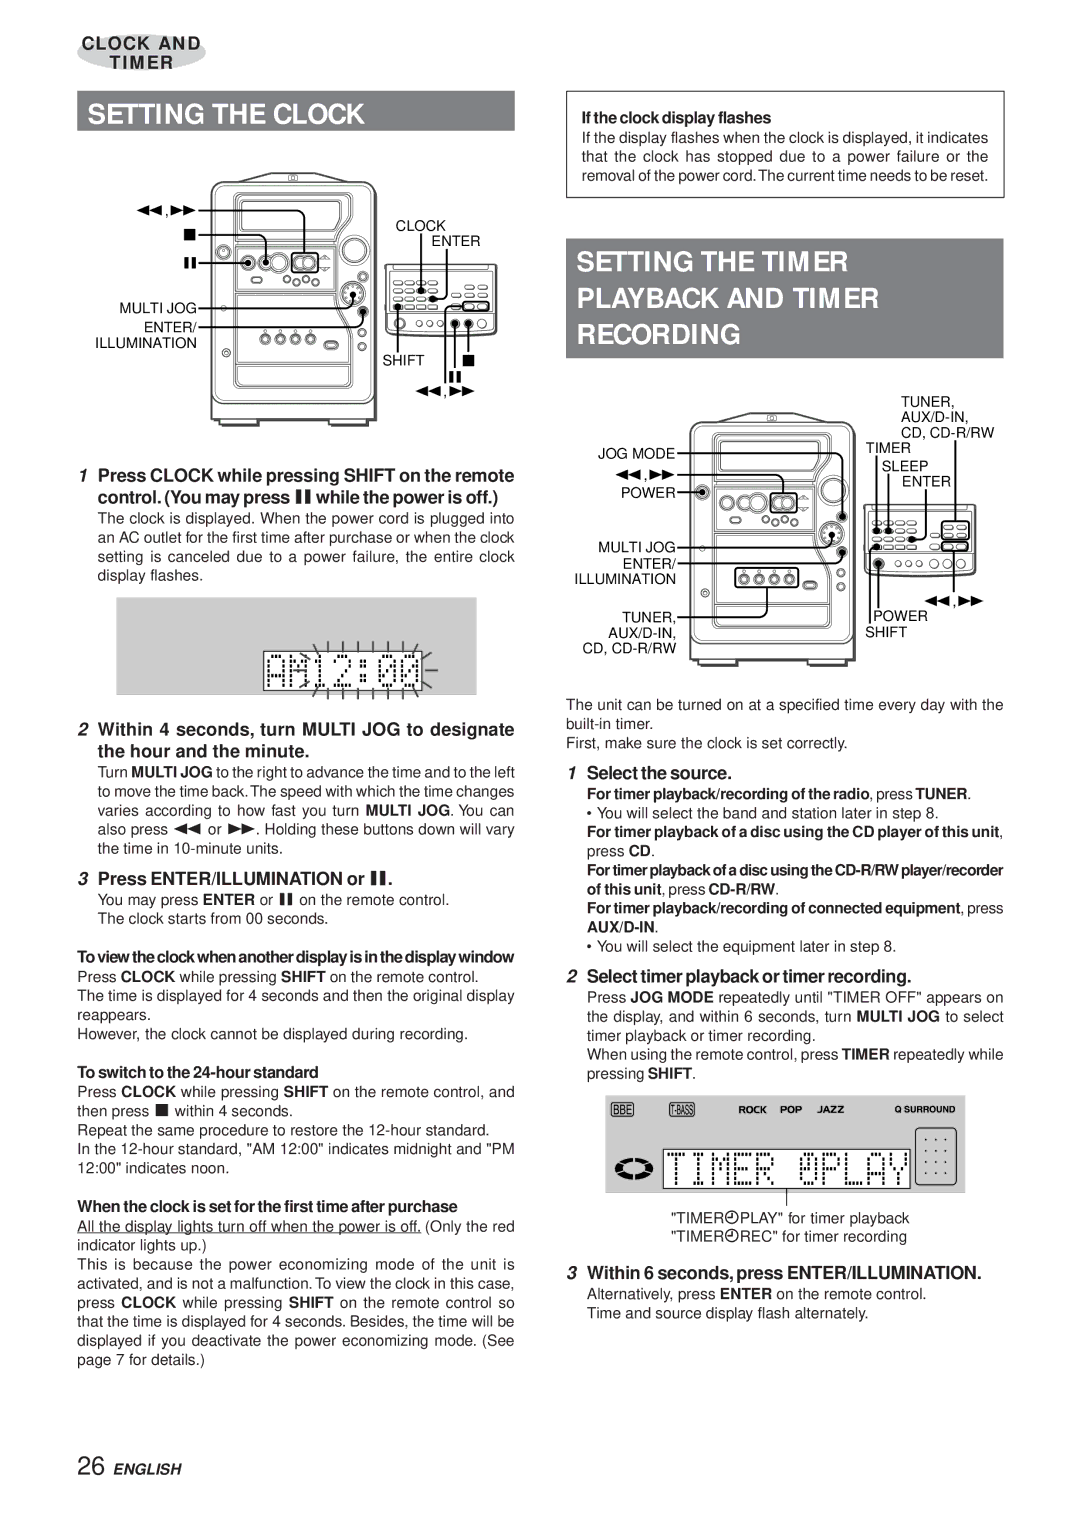
XR-MR5 specifications
The Aiwa XR-MR5 is a notable addition to the realm of portable audio devices, well-regarded for its fusion of classic design with modern features. This compact cassette player and recorder captures the essence of nostalgia while integrating contemporary technologies, making it a unique offering for audiophiles and casual listeners alike.One of the standout features of the XR-MR5 is its robust sound quality. Aiwa has a legacy of crafting products that deliver exceptional audio performance, and the XR-MR5 is no exception. It employs advanced speaker technology, ensuring clear and crisp sound reproduction, whether you're playing cassettes or listening to FM radio. The dynamic range is impressive, offering a rich depth that resonates well with all genres of music.
The device showcases a variety of playback options, including cassette tapes, FM/AM radio, and auxiliary connectivity. This versatility allows users to enjoy music from different sources, breathing new life into their vintage cassette collection while also accommodating modern devices. The auxiliary input makes it easy to connect smartphones or digital music players, bridging the gap between past and present.
In terms of design, the Aiwa XR-MR5 boasts a compact size that enhances its portability, making it an ideal companion for travel or outdoor activities. Its build quality reflects durability while maintaining an aesthetically pleasing appearance. The user interface is intuitive, featuring easy-to-navigate buttons and a clear display, allowing for seamless operation.
Another significant highlight of the XR-MR5 is its battery life. This device is designed for maximum efficiency, providing hours of uninterrupted playback on a single charge. This long-lasting battery makes it an excellent choice for individuals who enjoy listening to music on the go.
The cassette recording feature is particularly appealing for those who appreciate analog recording methods. Users can effortlessly create mixtapes or preserve their favorite songs with high-quality recordings. Additionally, the unit is equipped with a built-in microphone, enhancing its functionality for voice recording purposes.
To summarize, the Aiwa XR-MR5 is a remarkable blend of classic and contemporary. With its impressive audio performance, versatile playback options, and portable design, it caters to a wide range of users. Whether you're revisiting the era of cassette tapes or looking for a reliable portable recording device, the XR-MR5 stands out as a solid choice that celebrates the rich history of audio technology while embracing modern conveniences.

