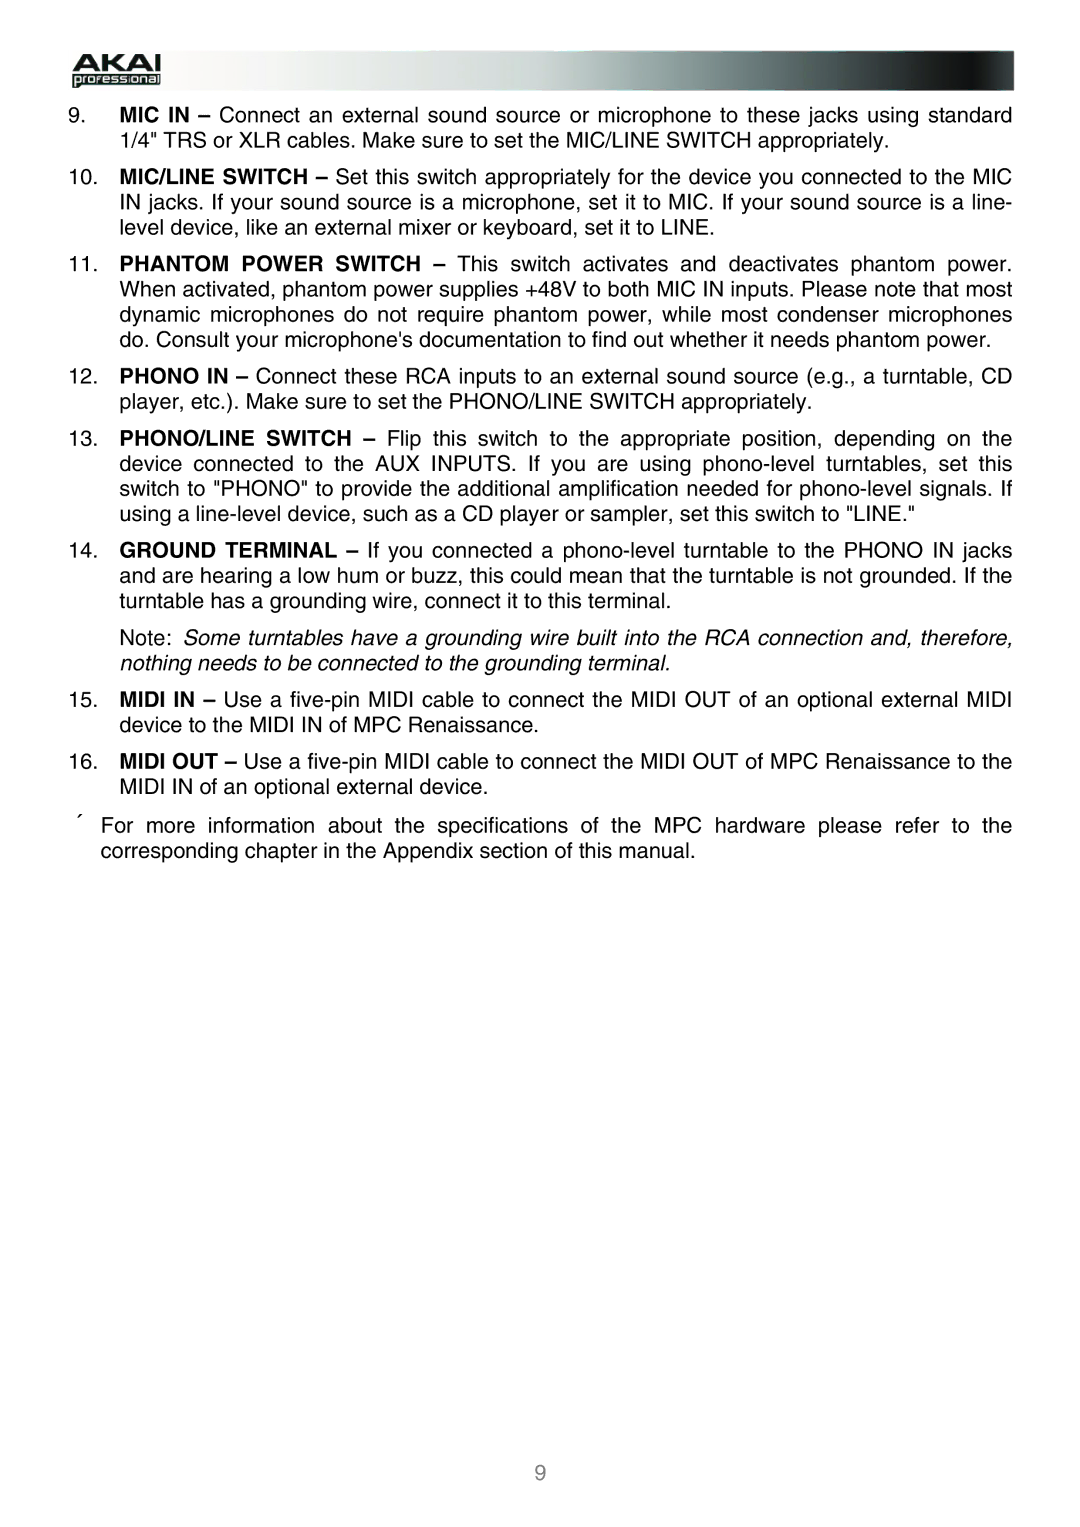
MPC specifications
The Akai MPC, or Music Production Center, has become a legendary piece of equipment in the realms of music production and performance. Originally conceived in the late 1980s, the MPC has evolved through various models, maintaining a core philosophy of combining sampling, sequencing, and beat-making capabilities. Its versatility has made it a staple for musicians across genres, from hip-hop to electronic music.One of the defining features of the Akai MPC is its drum pad interface. The pads are highly responsive and velocity-sensitive, allowing for expressive drum programming and live performance. The tactile feedback of the pads has earned the MPC a reputation for being intuitive and user-friendly. Artists can create intricate rhythms and beats simply by tapping the pads, making it a favorite for both studio work and live shows.
The MPC utilizes a powerful sampling engine that enables users to capture sounds and manipulate them in real-time. This includes features like time-stretching, pitch-shifting, and layering, which allow for creative sound design. The ability to import and export audio files enhances its utility, making the MPC a versatile tool for music production.
Another key technology in the MPC lineup is its sequencer. The sequencer is capable of handling complex arrangements, providing artists with a flexible platform to construct their compositions. The ability to record and sequence MIDI makes it easy to integrate external instruments, allowing musicians to expand their sonic palette.
Modern iterations of the MPC, such as the MPC Live and MPC X, incorporate advanced technologies including touchscreens, built-in effects, and standalone functionality. This means that users can create music without the need for a computer, making it a portable solution for on-the-go production. The inclusion of Wi-Fi connectivity and MIDI over USB further enhances its compatibility with other devices and software.
The Akai MPC also features robust storage options, including SD card support, enabling artists to save and organize their projects with ease. This is essential for producers who work with large sample libraries or engage in extensive live performances.
In summary, the Akai MPC stands out due to its combination of intuitive drum pads, powerful sampling and sequencing capabilities, standalone functionality, and modern connectivity options. Its impact on music production is undeniable, shaping the way artists create and perform music in contemporary settings. As technology continues to advance, the MPC is likely to remain at the forefront of the music production landscape, inspiring new generations of musicians.
