54
Sharing and Securing USB Hard Disks on Your Network
If you connect a USB hard disk to your AirPort Extreme Base Station or Time Capsule, computers connected to the
If you’re using a Time Capsule, you don’t need to connect a hard disk to it. Every Time Capsule includes an internal AirPort disk.
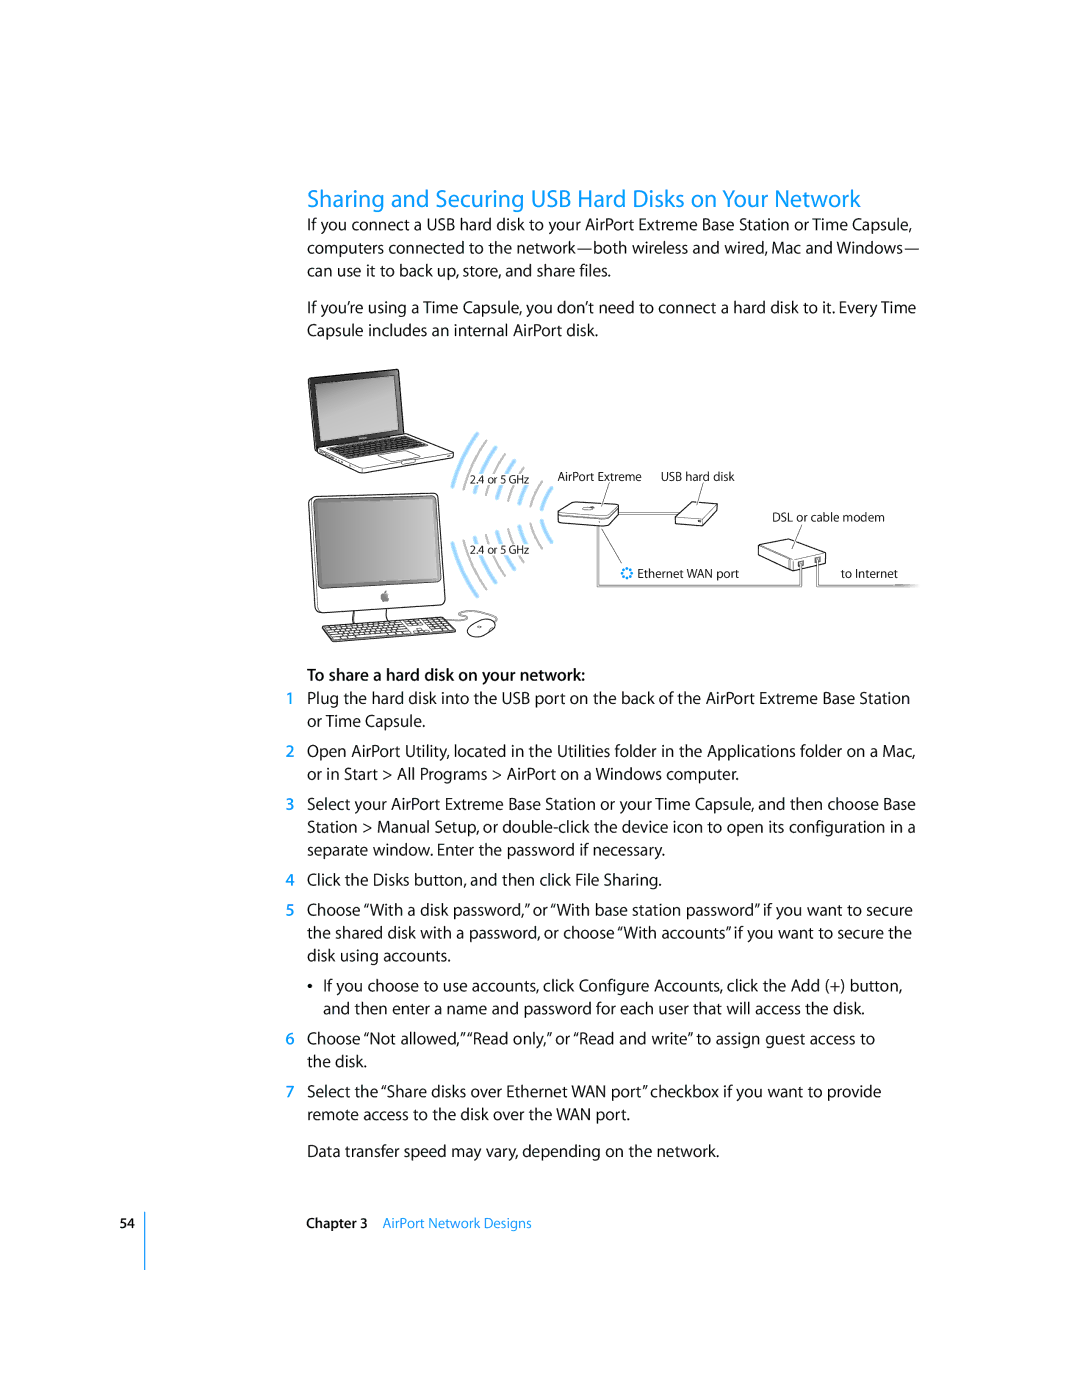
2.4 or 5 GHz | AirPort Extreme USB hard disk |
| DSL or cable modem |
2.4 or 5 GHz |
|
< Ethernet WAN port | to Internet |
To share a hard disk on your network:
1Plug the hard disk into the USB port on the back of the AirPort Extreme Base Station or Time Capsule.
2Open AirPort Utility, located in the Utilities folder in the Applications folder on a Mac, or in Start > All Programs > AirPort on a Windows computer.
3Select your AirPort Extreme Base Station or your Time Capsule, and then choose Base Station > Manual Setup, or
4Click the Disks button, and then click File Sharing.
5Choose “With a disk password,” or “With base station password” if you want to secure the shared disk with a password, or choose “With accounts” if you want to secure the disk using accounts.
ÂIf you choose to use accounts, click Configure Accounts, click the Add (+) button, and then enter a name and password for each user that will access the disk.
6Choose “Not allowed,”“Read only,” or “Read and write” to assign guest access to the disk.
7Select the “Share disks over Ethernet WAN port” checkbox if you want to provide remote access to the disk over the WAN port.
Data transfer speed may vary, depending on the network.