Appendix A
Using the Auto Report Dialog Box
This dialog box enables you to start and stop generating reports automatically.
To access the Auto Report dialog box:
1.Select File > Auto Report. The Auto Report dialog box opens.
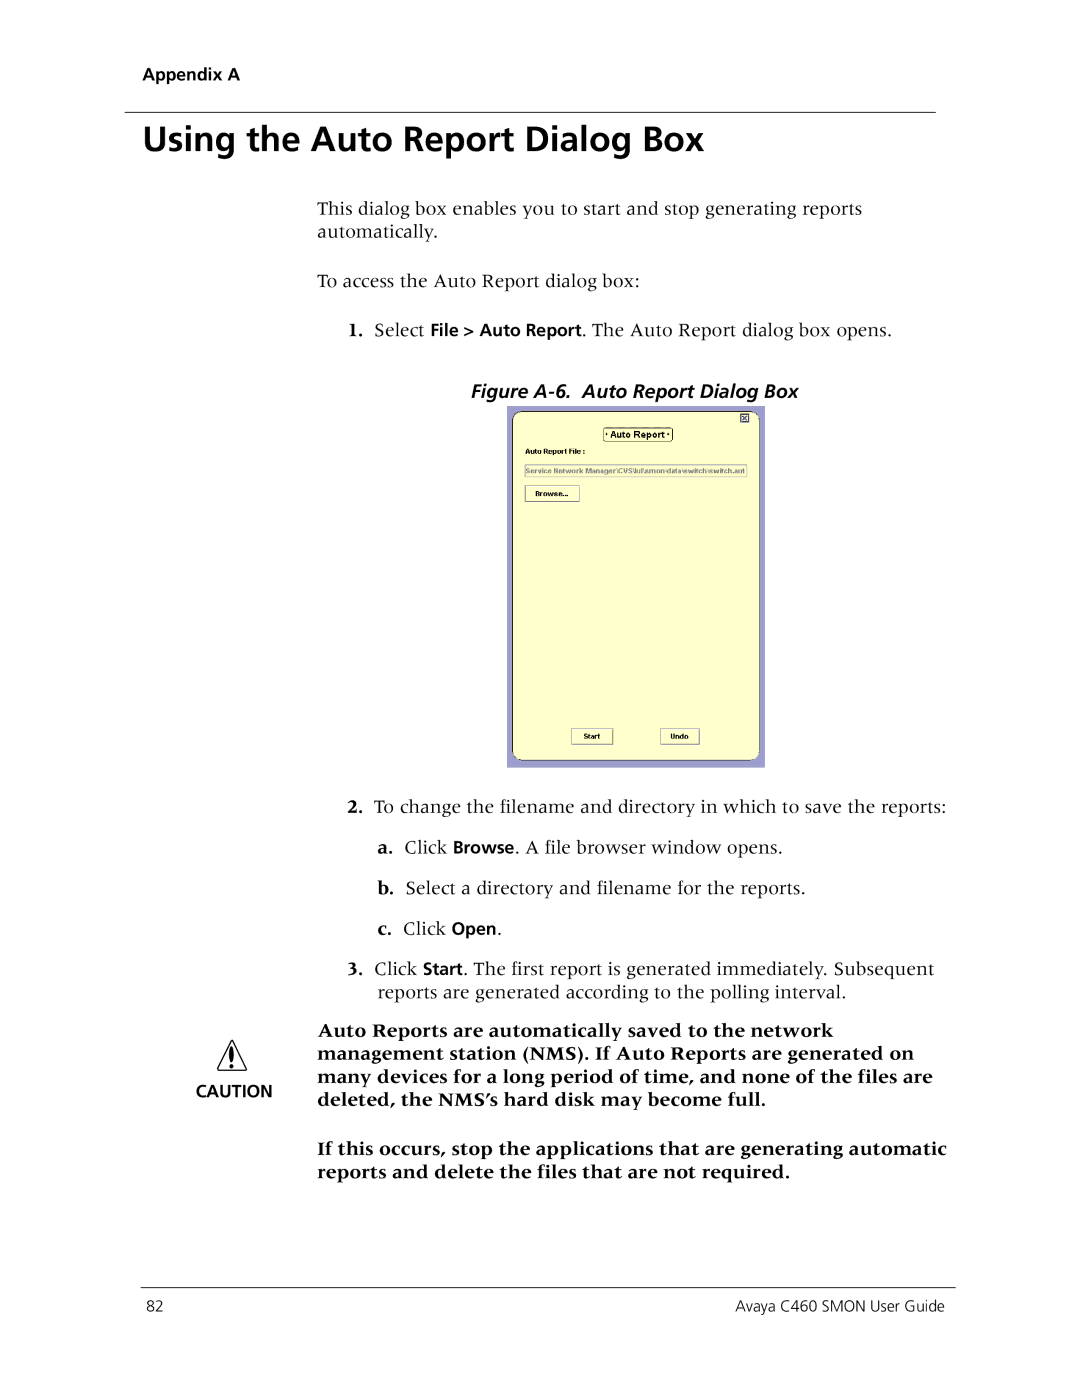
Figure A-6. Auto Report Dialog Box
2. To change the filename and directory in which to save the reports:
a. Click Browse. A file browser window opens. b. Select a directory and filename for the reports. c. Click Open.
3. Click Start. The first report is generated immediately. Subsequent reports are generated according to the polling interval.
Auto Reports are automatically saved to the network management station (NMS). If Auto Reports are generated on many devices for a long period of time, and none of the files are
CAUTION | deleted, the NMS’s hard disk may become full. |
| |
| If this occurs, stop the applications that are generating automatic |
| reports and delete the files that are not required. |
82 | Avaya C460 SMON User Guide |