Setting the White Balance
You can use the preset modes to reproduce colors more accurately, or set a custom white balance to obtain the optimal setting.
AUTO | Settings are automatically set by the camcorder. |
DAYLIGHT | For recording outdoors on a bright day. |
SHADE | For recording in shaded places. |
CLOUDY | For recording on a cloudy day. |
TUNGSTEN | For recording under tungsten and tungsten type |
| fluorescent lighting. |
FLUORESECENT | For recording under warm white, cool white or warm white type |
| |
FLUORESCENT H | For recording under daylight or daylight type |
| fluorescent lighting. |
SET | Use the custom white balance setting to make white subjects |
| appear white under colored lighting. |
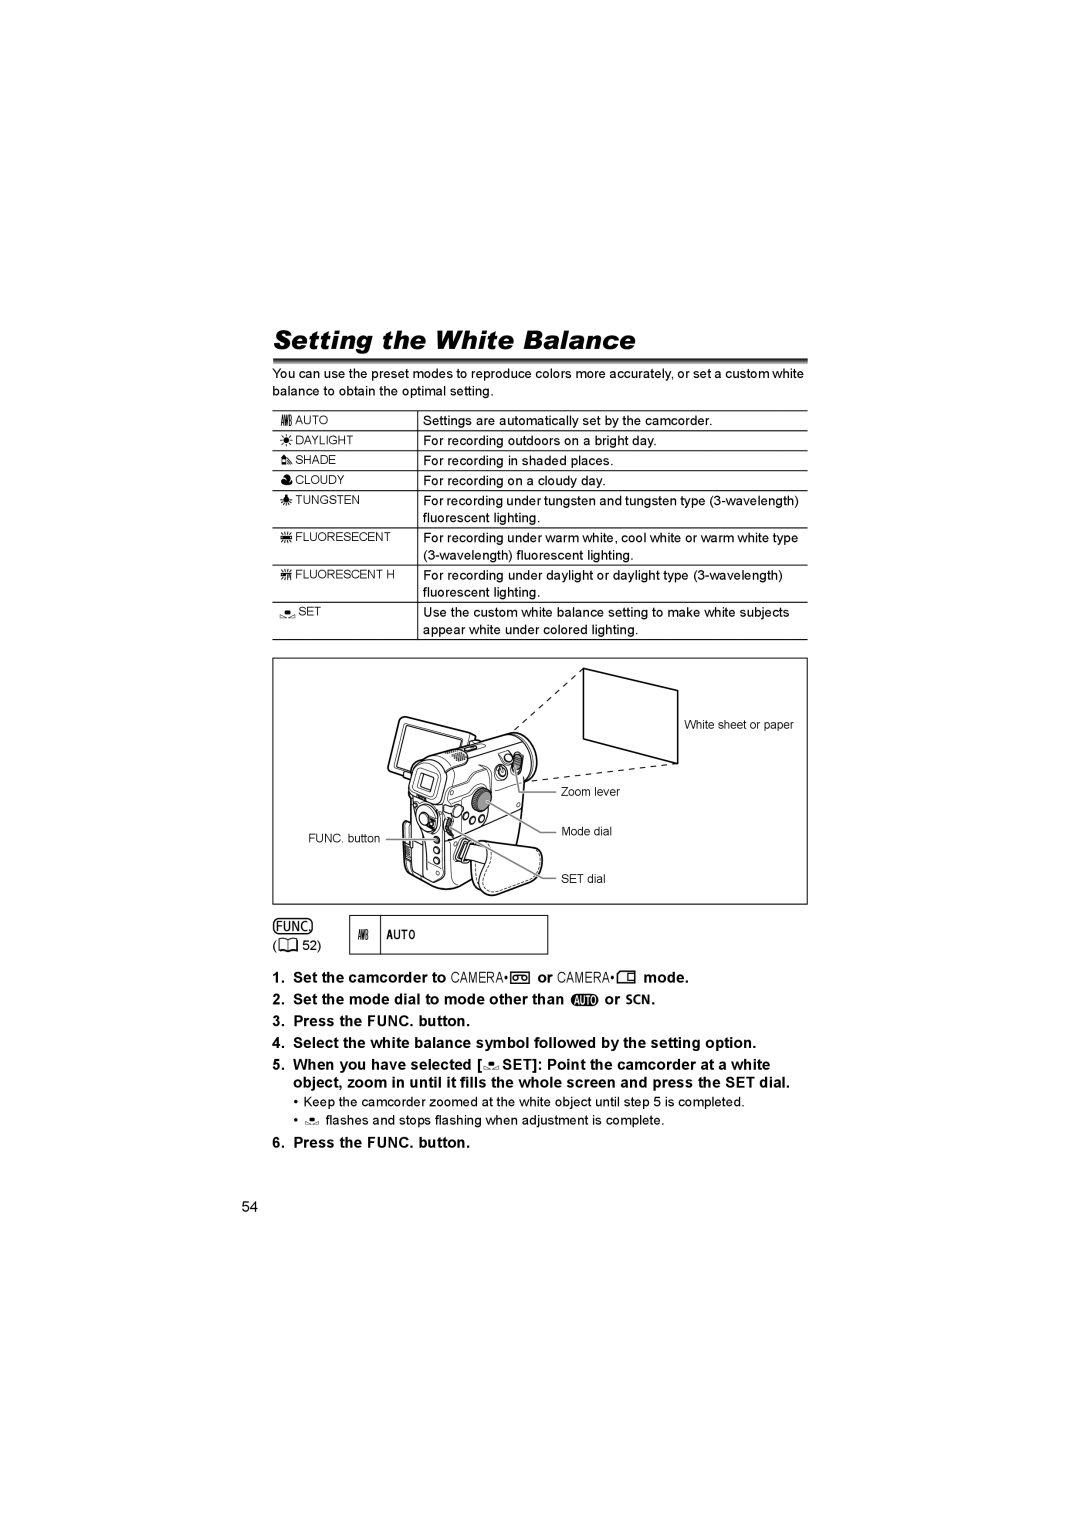
White sheet or paper
| Zoom lever |
FUNC. button | Mode dial |
| |
| SET dial |
( ![]() 52)
52)
AUTO
1.Set the camcorder to CAMERA•![]() or CAMERA•
or CAMERA•![]() mode.
mode.
2.Set the mode dial to mode other than ![]() or
or ![]()
![]() .
.
3.Press the FUNC. button.
4.Select the white balance symbol followed by the setting option.
5.When you have selected [![]() SET]: Point the camcorder at a white object, zoom in until it fills the whole screen and press the SET dial.
SET]: Point the camcorder at a white object, zoom in until it fills the whole screen and press the SET dial.
•Keep the camcorder zoomed at the white object until step 5 is completed.
•![]() flashes and stops flashing when adjustment is complete.
flashes and stops flashing when adjustment is complete.
6.Press the FUNC. button.
54