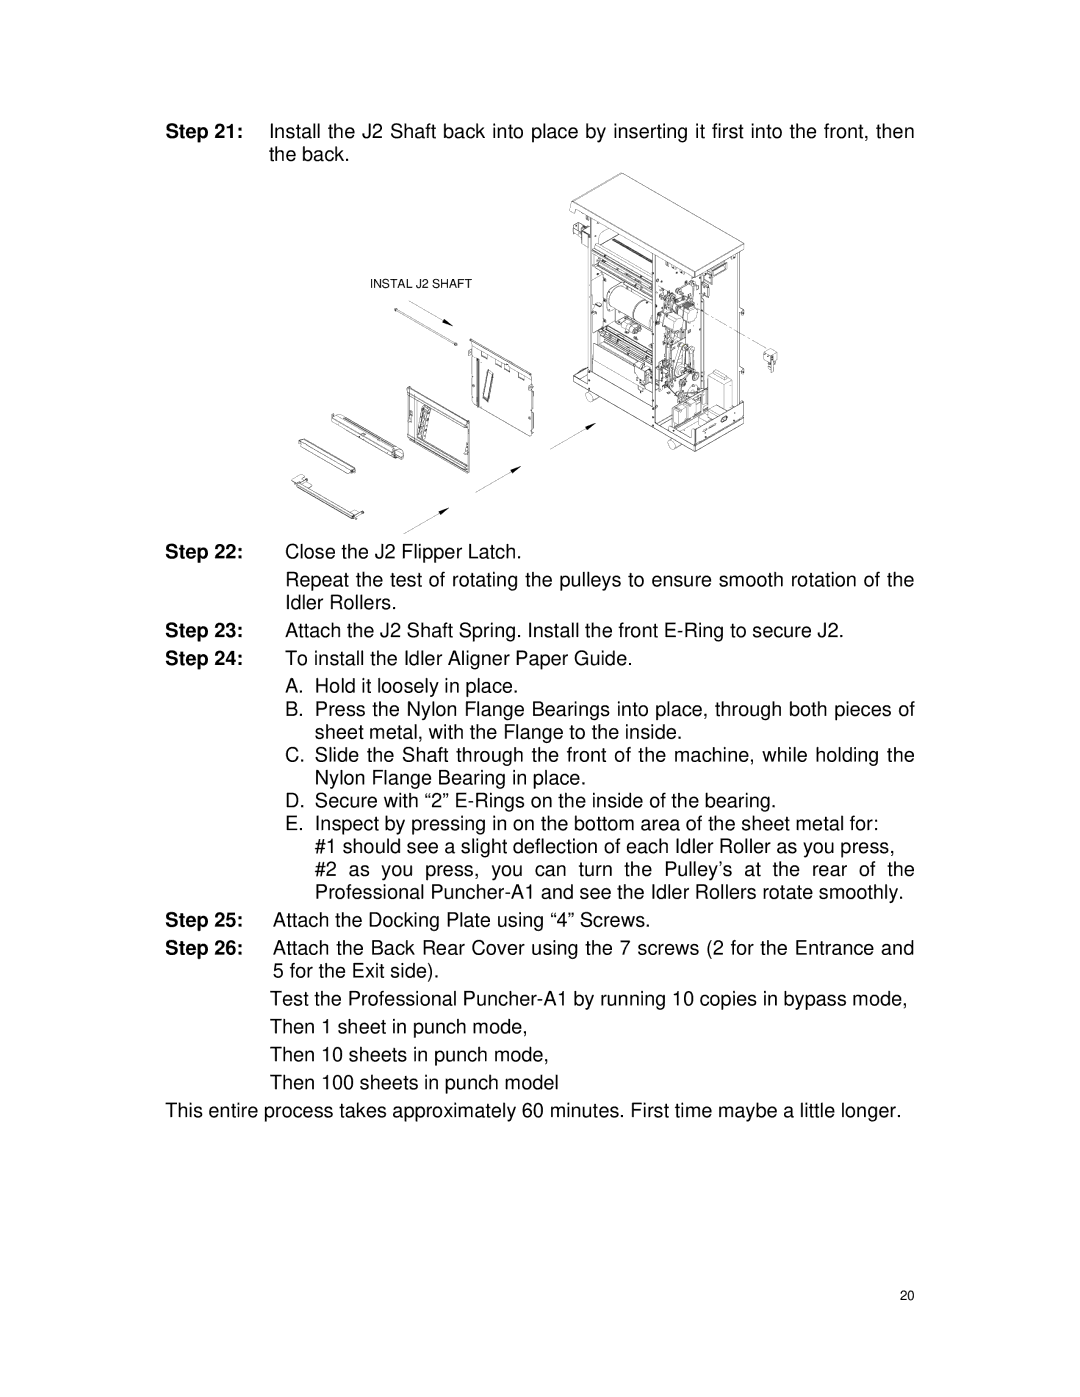
Step 21: Install the J2 Shaft back into place by inserting it first into the front, then the back.
INSTAL J2 SHAFT
Step 22: Close the J2 Flipper Latch.
Repeat the test of rotating the pulleys to ensure smooth rotation of the Idler Rollers.
Step 23: Attach the J2 Shaft Spring. Install the front
Step 24: To install the Idler Aligner Paper Guide.
A.Hold it loosely in place.
B.Press the Nylon Flange Bearings into place, through both pieces of sheet metal, with the Flange to the inside.
C.Slide the Shaft through the front of the machine, while holding the Nylon Flange Bearing in place.
D.Secure with “2”
E.Inspect by pressing in on the bottom area of the sheet metal for: #1 should see a slight deflection of each Idler Roller as you press, #2 as you press, you can turn the Pulley’s at the rear of the Professional
Step 25: Attach the Docking Plate using “4” Screws.
Step 26: Attach the Back Rear Cover using the 7 screws (2 for the Entrance and 5 for the Exit side).
Test the Professional
Then 10 sheets in punch mode, Then 100 sheets in punch model
This entire process takes approximately 60 minutes. First time maybe a little longer.
20