Chapter 3 Installing and Connecting the ASA
Rack Mounting the Chassis
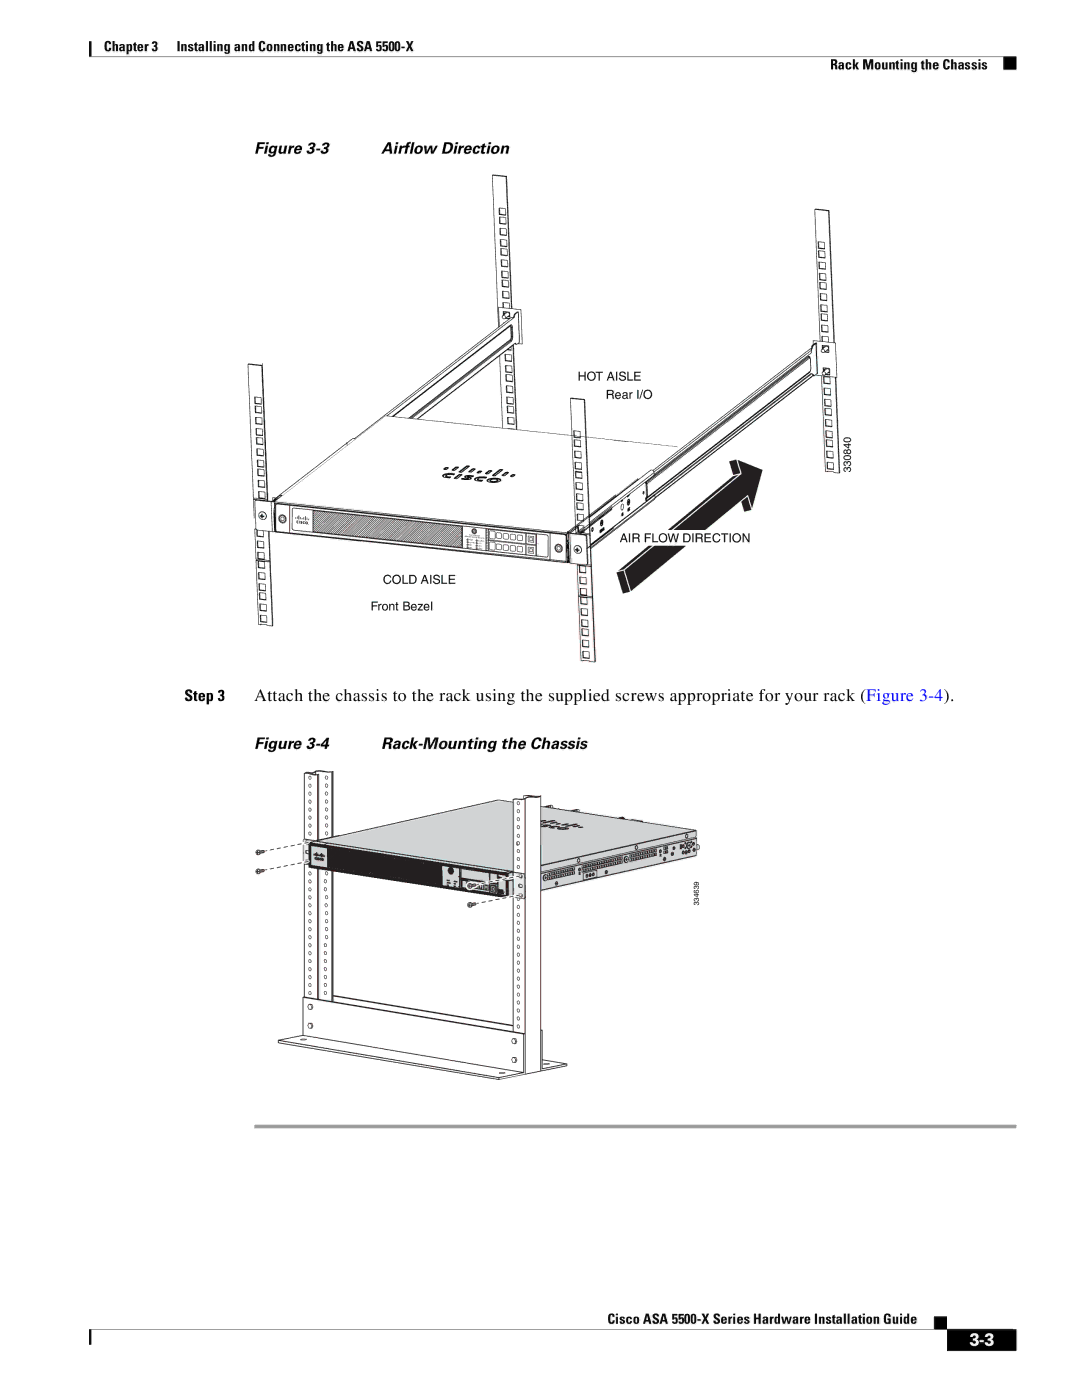
Figure 3-3 Airflow Direction
HOT AISLE
Rear I/O
![]()
![]()
![]() 330840
330840
Cisco ASA 5545 | |
Adapative Security Appliance | |
BOOT | ALARM |
ACTIVE | VPN |
PS1 | HD1 |
PS0 | HD0 |
1
0
![]()
![]()
![]()
![]()
![]()
![]()
![]()
![]()
![]() AIR FLOW DIRECTION
AIR FLOW DIRECTION
COLD AISLE
Front Bezel
Step 3 Attach the chassis to the rack using the supplied screws appropriate for your rack (Figure
Figure 3-4 Rack-Mounting the Chassis
334639