Cisco Systems ASA5525IPSK9, ASA5515K9, kygjygcjgf Installing the SSD in the ASA 5512/5515/5525-X

Models: ASA5555IPSK9 kygjygcjgf ASA5512AW1YPR ASA5525IPSK9 ASA5515K9

1 80
Download 80 pages 31.89 Kb
Page 77
Image 77

Chapter 4 Maintenance and Upgrade Procedures for the ASA 5500-X

Installing and Removing the Solid State Drive for the ASA CX SSP
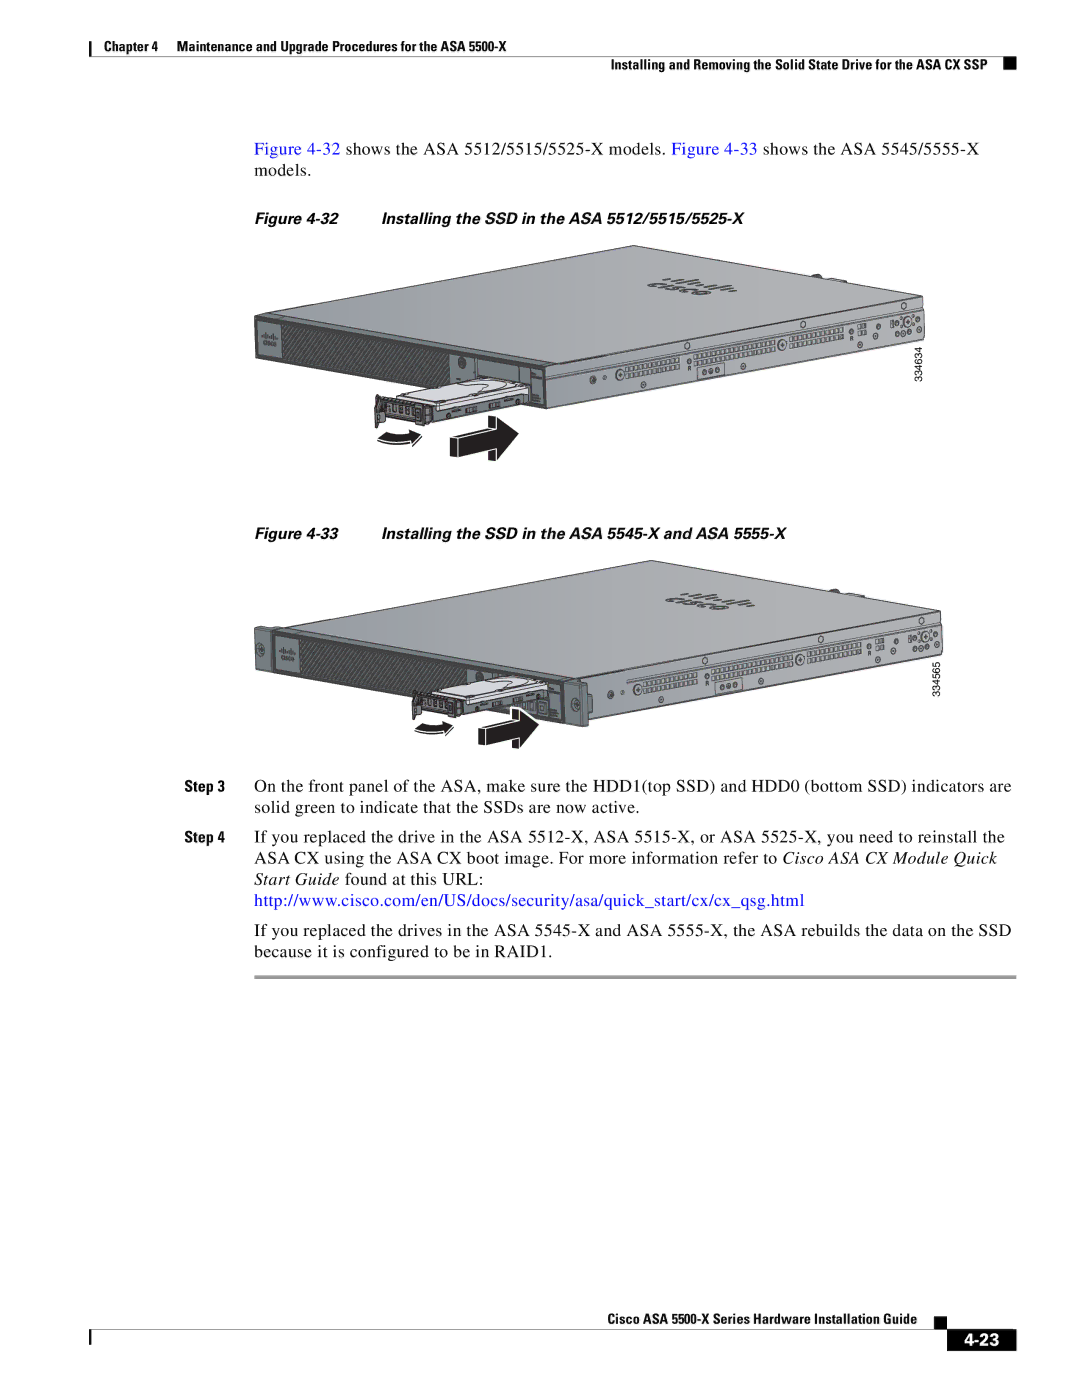
Figure 4-32shows the ASA 5512/5515/5525-X models. Figure 4-33shows the ASA 5545/5555-X models.

Figure 4-32 Installing the SSD in the ASA 5512/5515/5525-X

334634

Figure 4-33 Installing the SSD in the ASA 5545-X and ASA 5555-X

334565

Step 3 On the front panel of the ASA, make sure the HDD1(top SSD) and HDD0 (bottom SSD) indicators are solid green to indicate that the SSDs are now active.

Step 4 If you replaced the drive in the ASA 5512-X, ASA 5515-X, or ASA 5525-X, you need to reinstall the ASA CX using the ASA CX boot image. For more information refer to Cisco ASA CX Module Quick Start Guide found at this URL: http://www.cisco.com/en/US/docs/security/asa/quick_start/cx/cx_qsg.html

If you replaced the drives in the ASA 5545-X and ASA 5555-X, the ASA rebuilds the data on the SSD because it is configured to be in RAID1.

Cisco ASA 5500-X Series Hardware Installation Guide

4-23

Page 77
Image 77
Cisco Systems ASA5525IPSK9, ASA5515K9, kygjygcjgf, ASA5512AW1YPR, ASA5555IPSK9 Installing the SSD in the ASA 5512/5515/5525-X