Chapter 2 Installing the Cisco Nexus 3000 Series Switches
Installing the Switch
Se n d d o c u m e n t c o m m e n t s t o n ex u s 3 k - d o c f e e d b a ck @ c i sc o . c o m
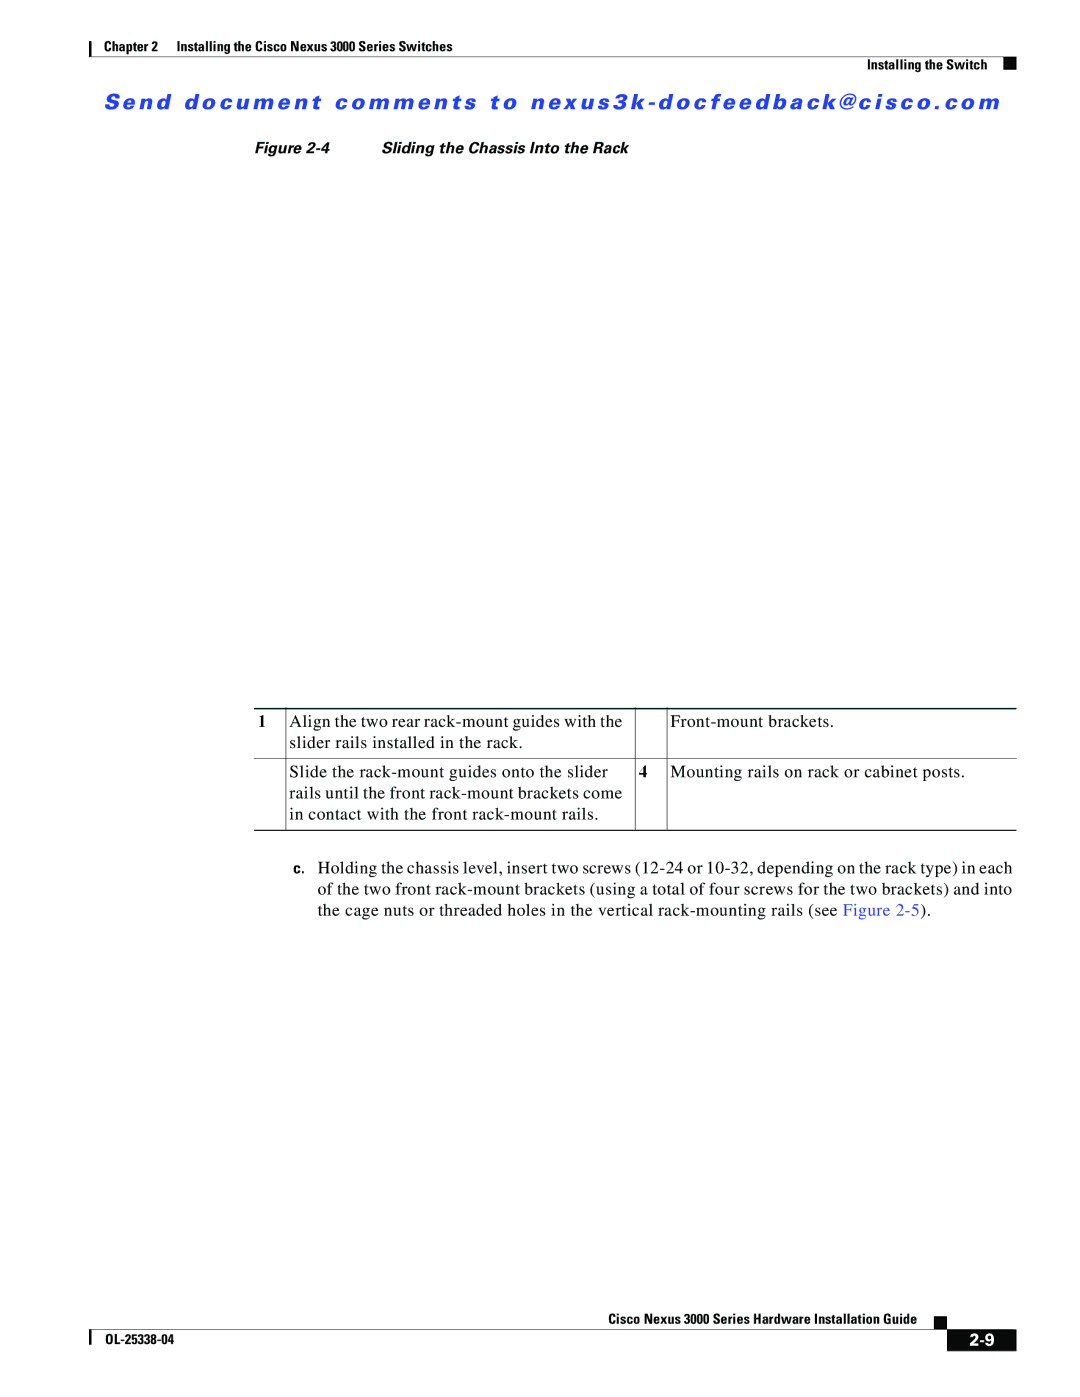
Figure 2-4 Sliding the Chassis Into the Rack
| Align the two rear |
| |
| slider rails installed in the rack. | 3 |
|
|
|
|
|
2 | Slide the |
| Mounting rails on rack or cabinet posts. |
rails until the front |
|
| |
|
|
| |
| in contact with the front | 4 |
|
|
|
|
|
| c. Holding the chassis level, insert two screws (12 | ||
| of the two front | ||
1 | the cage nuts or threaded holes in the vertical | ||
Cisco Nexus 3000 Series Hardware Installation Guide
|
| ||
|
|
