3
Editing the Dynamic DNS Setup
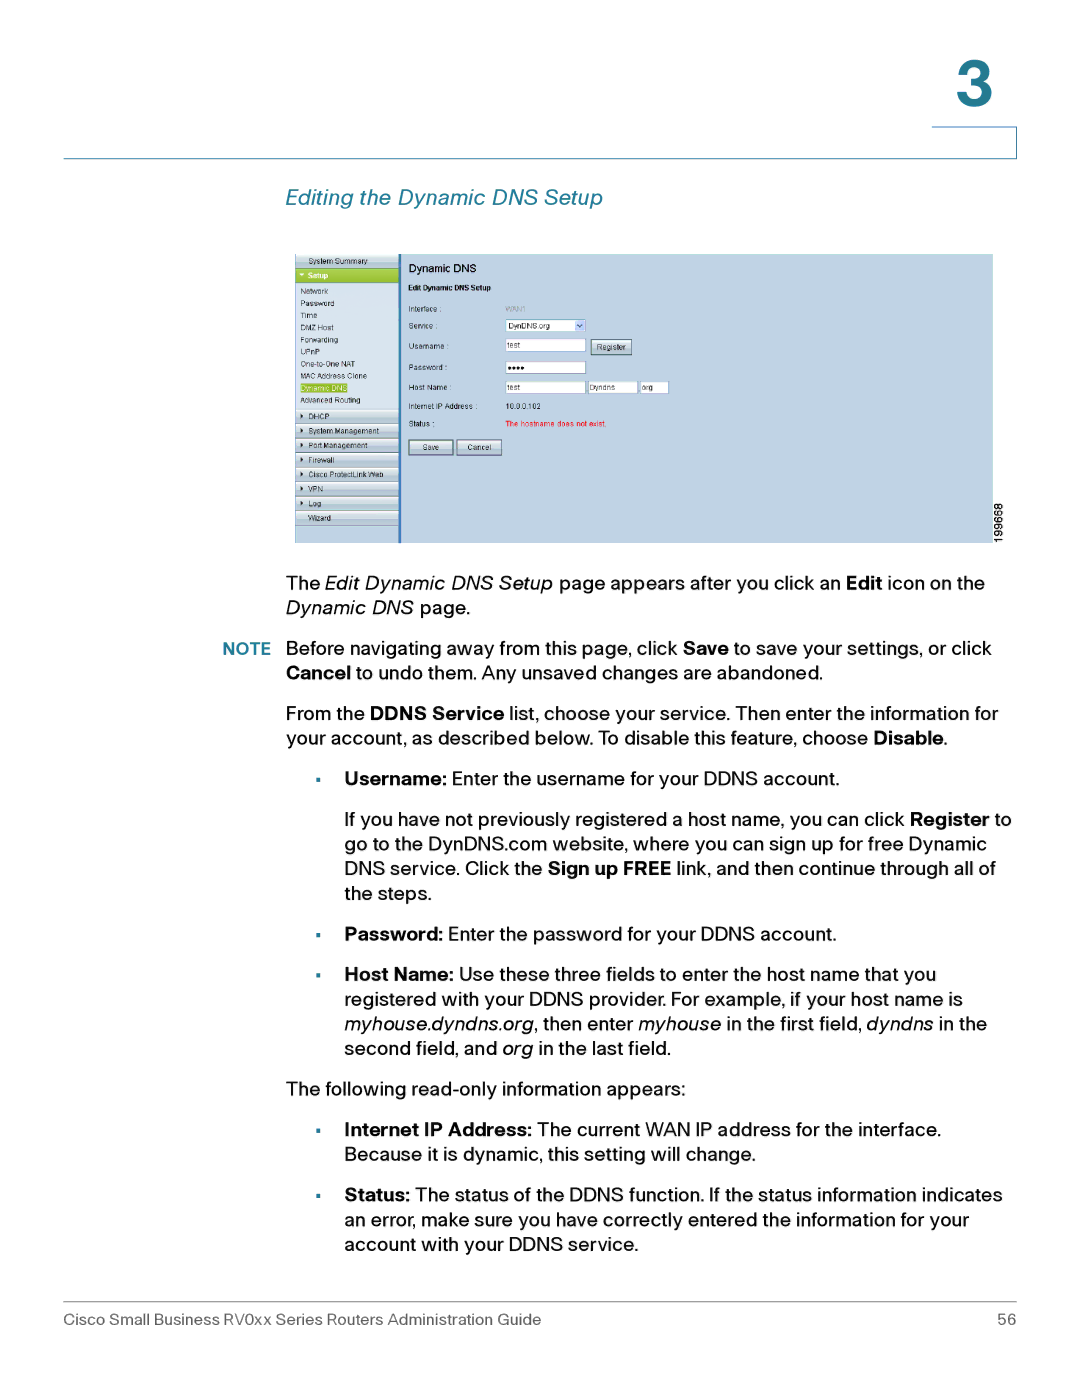
The Edit Dynamic DNS Setup page appears after you click an Edit icon on the Dynamic DNS page.
NOTE Before navigating away from this page, click Save to save your settings, or click Cancel to undo them. Any unsaved changes are abandoned.
From the DDNS Service list, choose your service. Then enter the information for your account, as described below. To disable this feature, choose Disable.
•Username: Enter the username for your DDNS account.
If you have not previously registered a host name, you can click Register to go to the DynDNS.com website, where you can sign up for free Dynamic DNS service. Click the Sign up FREE link, and then continue through all of the steps.
•Password: Enter the password for your DDNS account.
•Host Name: Use these three fields to enter the host name that you registered with your DDNS provider. For example, if your host name is myhouse.dyndns.org, then enter myhouse in the first field, dyndns in the second field, and org in the last field.
The following
•Internet IP Address: The current WAN IP address for the interface. Because it is dynamic, this setting will change.
•Status: The status of the DDNS function. If the status information indicates an error, make sure you have correctly entered the information for your account with your DDNS service.
Cisco Small Business RV0xx Series Routers Administration Guide | 56 |
